TL;DR:
- Closed cooling systems prevent engine overheating without relying on external water.
- Key components include the engine cooling system, heat exchanger, and coolant pathways.
- Use non-toxic antifreeze (e.g., propylene glycol) for environmental safety.
- Essential winterization tools: antifreeze, engine flush kits, coolant testers, wrenches, funnel, screwdrivers, pliers, clean rags.
- Winterization steps: Drain old coolant, flush system, check for leaks, add antifreeze, bleed system, check levels, perform final checks.
- Common issues: leaks from worn gaskets, incorrect antifreeze concentration, airlocks.
- Hiring professionals ensures thorough winterization, optimizes engine protection, and prolongs engine life.
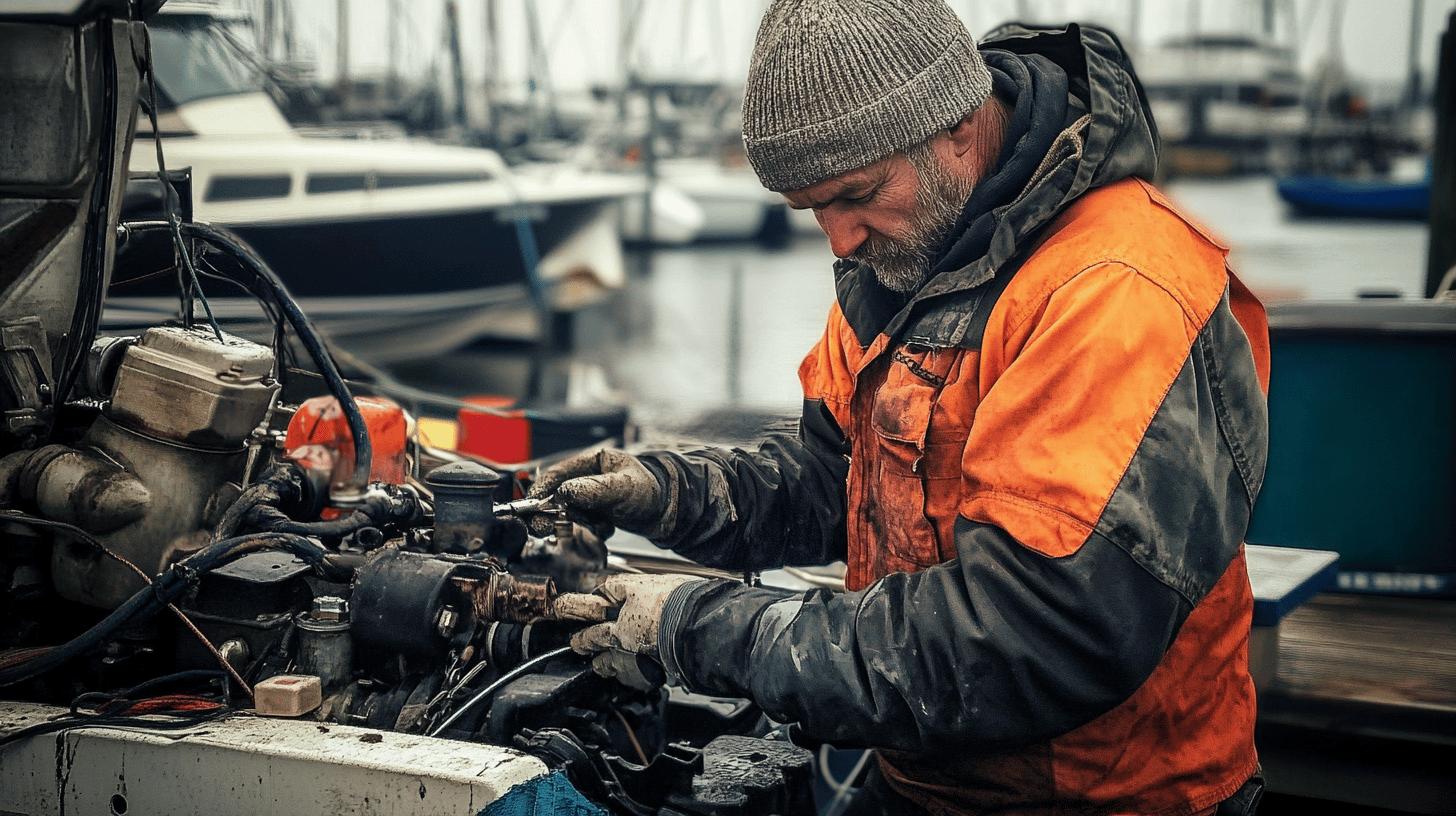
Is your boat’s engine ready for the cold months? Winterizing a closed cooling system might seem tricky, but it’s super important to keep your engine in good shape and ready to go when spring comes. Closed cooling systems are different from raw water ones, so they need special care to avoid freezing. This guide will break down the steps, the tools you need, and how to get it done. By the end, you’ll know exactly how to protect your engine and keep it running smoothly for years. Let’s get started!
Understanding Closed Cooling Systems for Winterization
A closed-loop system in boat engines keeps coolant circulating in a sealed loop, preventing the engine from overheating. Unlike raw water systems that pull water from the environment, closed cooling systems use a coolant mix. This setup helps the engine run smoothly without relying solely on outside water.
The main parts of a closed cooling system include the engine cooling system, heat exchanger, and coolant pathways. The heat exchanger allows engine coolant to release heat to the external water without mixing, which protects the engine from corrosive elements in seawater or other sources. The coolant loop also moves through the engine, keeping temperatures steady.
- Closed-loop systems don’t rely on external water sources. Raw water systems do.
- Closed systems use coolant, while raw systems use untreated water.
- Heat exchangers stop engine coolant and external water from mixing.
- Closed systems reduce corrosion more than raw systems.
- Maintaining closed systems means checking the coolant instead of the water flow in raw systems.
Understanding the differences in cooling systems is important for winterizing your boat. Properly winterizing a closed-loop system helps protect it from freezing temperatures, preventing engine damage and extending its lifespan. By following the right steps, you can keep the engine in good shape and avoid costly repairs.
Essential Tools and Materials for Winterizing
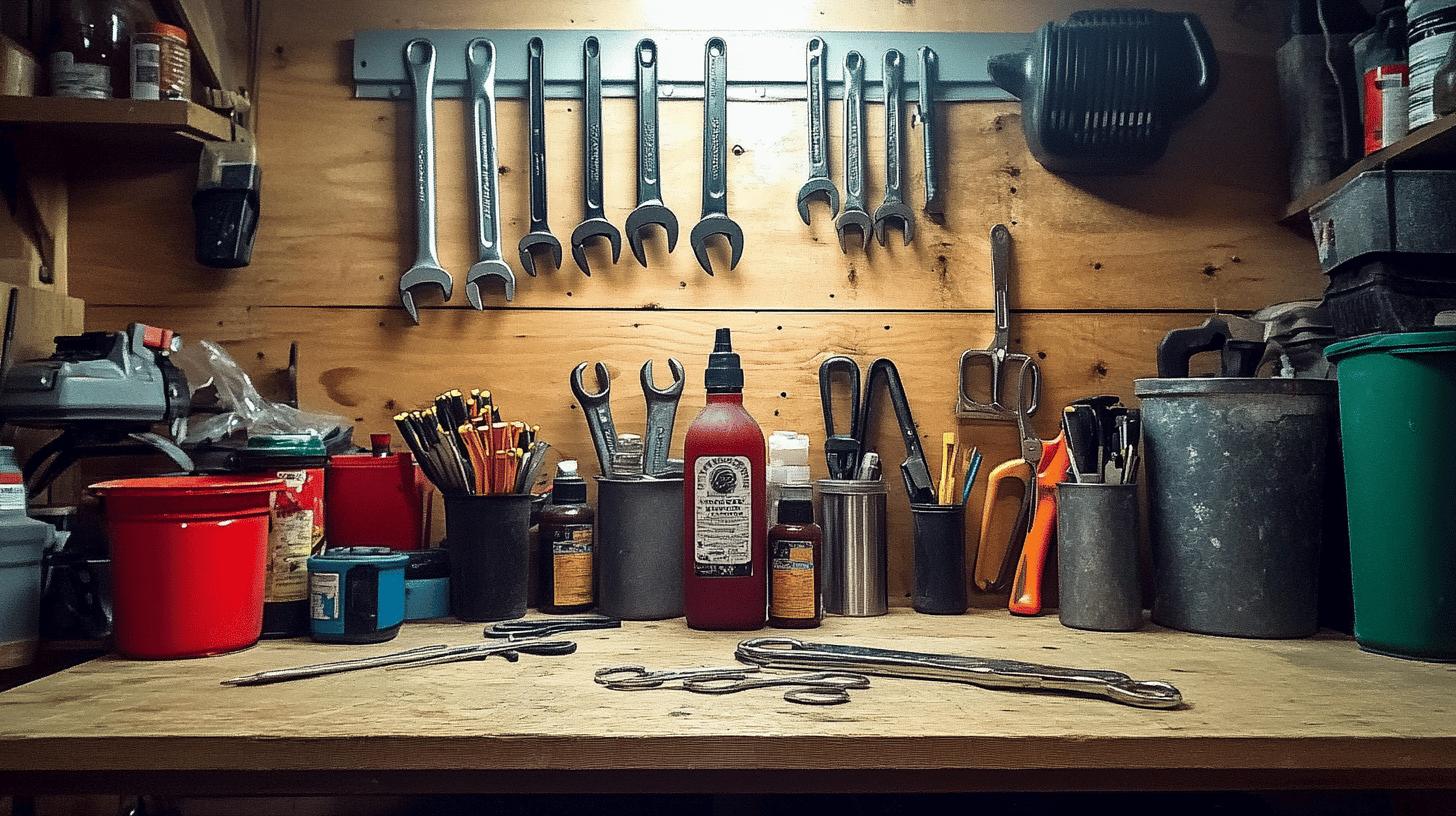
Using the right tools and materials is key to winterizing your closed cooling system. Without the proper equipment, your engine might not be fully protected and could suffer damage from freezing. A full winterization kit should include engine flush kits to clean out residues and hand tools to secure everything. Non-toxic antifreeze is essential for both environmental safety and preventing damage. Propylene glycol is a great eco-friendly option that still offers solid freeze protection. By choosing the right antifreeze and tools, you’ll keep your engine safe and ready for the next season.
- Non-toxic antifreeze
- Engine flush kit
- Coolant testers
- Wrenches
- Funnel
- Screwdrivers
- Pliers
- Clean rags or towels
Having the right tools and materials on hand makes winterization a lot easier and ensures your closed cooling system stays protected. Being prepared helps safeguard your engine from the harsh winter conditions, extending its lifespan and keeping it reliable for the long haul.
Step-by-Step Winterization Process
-
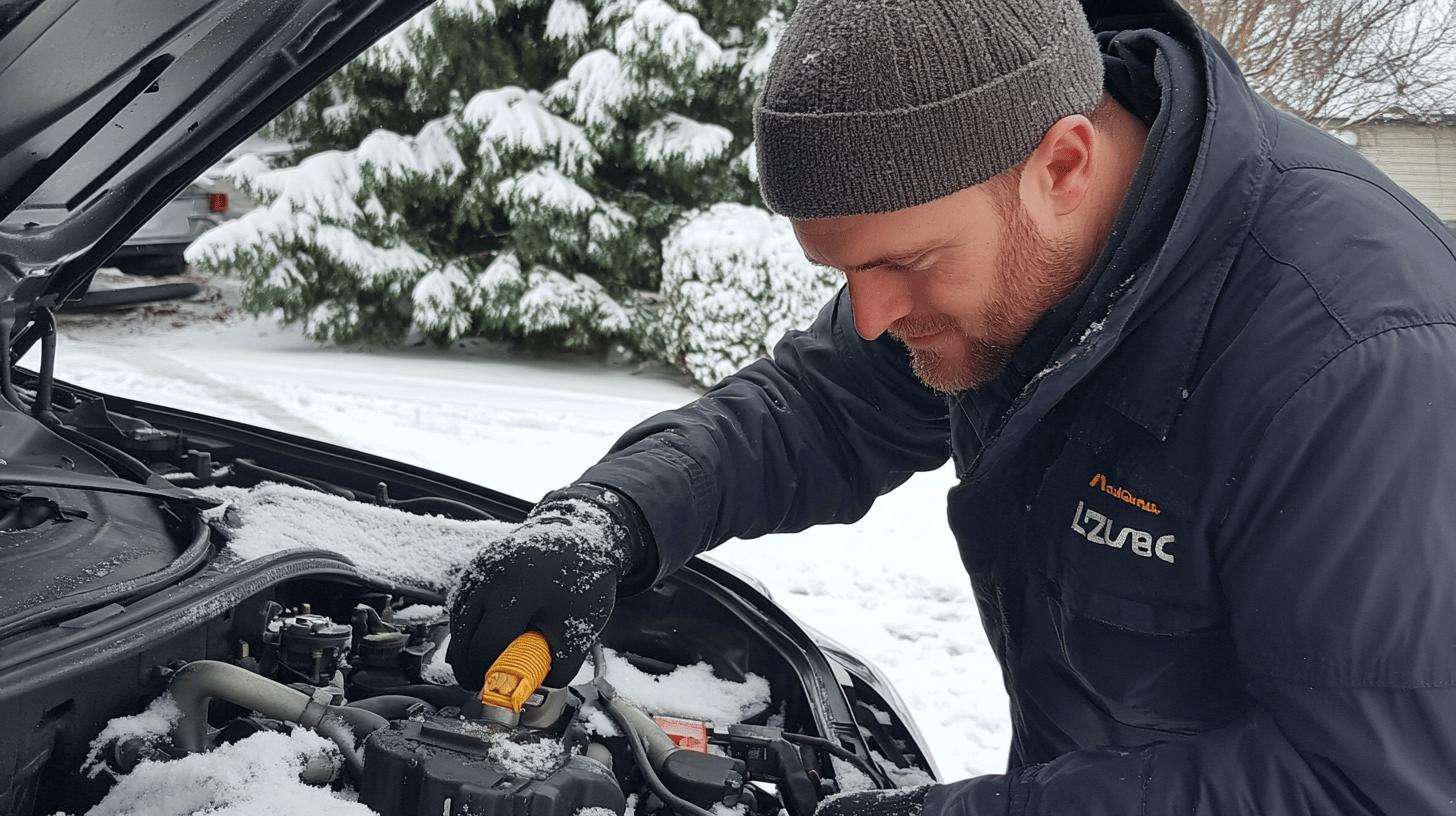
Drain the Old Coolant
Start by draining the old coolant from the closed cooling system. Find the drain plugs on the engine block and heat exchanger. Open them, letting the coolant drain completely. Collect it for proper disposal, as it can harm the environment. -
Flush the System
After draining, flush the system with water or a cleaning solution. Attach a garden hose to the flushing port and run water until it’s clear. This step removes residues, leaving the system clean for new antifreeze. -
Inspect the System for Leaks
Before adding antifreeze, check for leaks in hoses, gaskets, or connections. Tighten loose clamps and replace damaged parts. Fixing leaks now stops issues during storage and keeps the system sound.
-
Add Antifreeze
Pour in the right type of non-toxic antifreeze. Use a funnel to avoid spills. Check the engine manual for the correct antifreeze and concentration for best protection. -
Bleed the System
Bleeding clears air pockets that can disrupt efficiency. Locate bleed screws, usually at the highest points. Open them slowly while the engine idles until you see steady antifreeze flow, ensuring air is expelled. -
Check Coolant Levels
After bleeding, check antifreeze levels. Top off as needed to reach the recommended level. This ensures full protection against freezing.
- Perform Final Checks
Inspect the system, securing all hoses, clamps, and caps. Use a coolant tester for antifreeze concentration to ensure freeze protection. Confirm everything is correct for peace of mind during the off-season.
Troubleshooting Common Winterization Issues
Leaks are a common issue in closed cooling systems, often caused by worn gaskets or loose connections. Regularly check gaskets and hoses for damage, and tighten any loose parts to keep everything sealed and prevent leaks.
An incorrect antifreeze concentration can damage the engine. Use a coolant tester to check the mixture before wrapping up winterization. Adjust the antifreeze levels according to the manufacturer’s recommendations for the best freeze protection.
Airlocks can block coolant flow, leading to overheating or poor protection. To clear them, bleed the system by slowly opening the bleed screws while the engine is idling, until the antifreeze flows steadily. Regularly checking these components helps keep the system running smoothly and effectively.
Importance of Professional Assistance
Hiring a professional for winterization brings valuable expertise and the right tools to get the job done thoroughly. Their experience with marine maintenance helps identify problems you might miss, ensuring every part of your engine cooling system is prepared for winter and minimizing the risk of freezing.
Professional services not only save you money by preventing costly repairs, but they also extend your engine’s life. They carefully optimize antifreeze levels, check gasket conditions, and ensure coolant flows properly, avoiding leaks and improper protection. This attention to detail helps avoid future issues and keeps your engine running smoothly for years.
Final Words
Winterizing a closed cooling system requires understanding its components, choosing the right tools, and following a clear step-by-step process. The coolant loop and heat exchanger are crucial for keeping the engine at the right temperature.
Using essential tools like non-toxic antifreeze and following a solid winterization plan helps protect the engine and maintain coolant flow. Addressing potential issues through proper troubleshooting ensures everything runs smoothly.
While DIY methods can work, professional help adds reliability and peace of mind. Their expertise not only boosts engine lifespan but also helps avoid costly repairs.
FAQ
How to winterize a closed cooling system in winter?
Winterizing a closed cooling system involves draining the old coolant, flushing the system, and refilling with a suitable antifreeze. Each step is crucial to prevent freezing and ensure system integrity.
Do you winterize a boat with antifreeze or drain?
Winterizing a boat requires both draining the system and using non-toxic antifreeze. This dual approach protects against freezing temperatures and prevents internal damage to the closed cooling system.
How to winterize a fresh water cooled boat?
For a fresh water cooled boat, start by draining the current coolant, flush the system thoroughly, and replace with an appropriate antifreeze. Ensure all steps are completed to protect from freeze damage.
How to winterize a swamp cooler in winter?
To winterize a swamp cooler, disconnect and drain the water supply, clean the cooler pads, cover the unit, and ensure all connections are secure to prevent damage during cold weather.
How to winterize a water cooler?
Winterizing a water cooler requires draining remaining water, cleaning the unit, and ensuring all openings are sealed. This prevents freezing and maintains the cooler’s functionality.
How to winterize a closed cooling system pdf?
To find a winterization guide, search for downloadable PDFs or online resources detailing each step. Guides often include detailed instructions and essential tips for properly winterizing closed cooling systems.