Central Air Installation: Top Tips for 2025 Success
Central air installation can transform your home into a haven of cool comfort, especially during those blazing summer months in the Rio Grande Valley. Imagine stepping into a refreshing atmosphere at a consistent temperature while also enjoying improved air quality. Central air systems not only keep your home comfortably cool but also filter out dust and allergens, providing cleaner air for your family.
- Why Install a Central Air System?
- Consistent temperature control throughout your home
- Improved air quality with filtration systems
- Efficient energy use compared to multiple window units
In the next sections, we’ll explain the process of installing central air conditioning, explore the different system types, and address common questions like cost and preparation.

Types of Central Air Systems
When it comes to central air installation, choosing the right type of system is crucial. There are two primary types of central air systems: split systems and packaged units. Each has its own benefits and challenges, so let’s break them down.
Split Systems
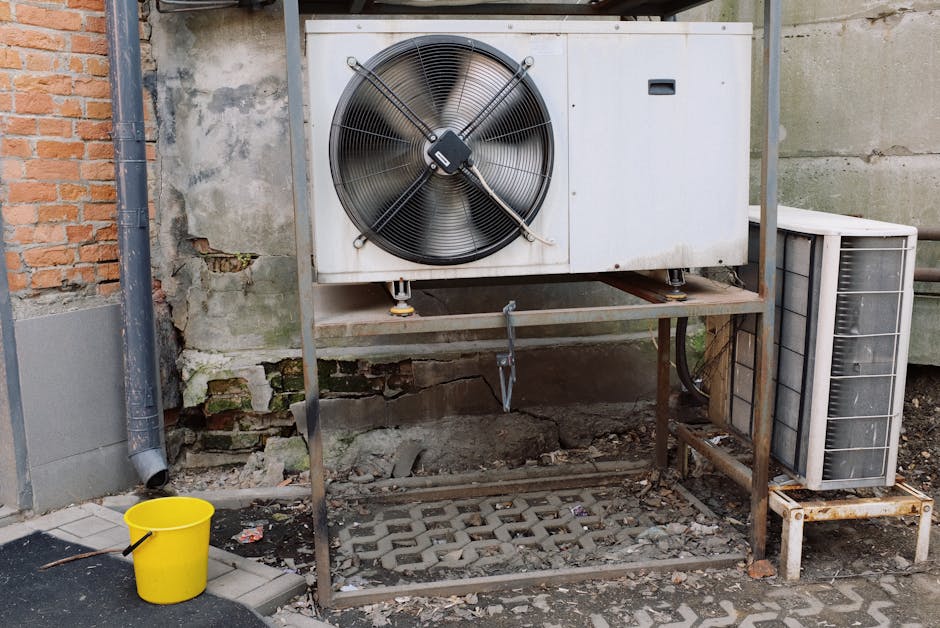
Split systems are the most common type of central air conditioning. They consist of two main components: an indoor unit and an outdoor unit. The indoor unit houses the evaporator coil, while the outdoor unit contains the compressor and condenser.
Benefits of Split Systems:
- Efficiency: These systems are known for their energy efficiency, especially when properly sized and installed.
- Flexibility: They can be installed in various configurations to suit different home layouts.
Installation Challenges:
- Ductwork: Existing ductwork needs to be in good condition, or new ducts may have to be installed, which can add to the cost.
- Space Requirements: Requires space both inside and outside the home for the units.
Packaged Units
Packaged units combine all the components of a central air system into a single outdoor unit. This unit is typically placed on the roof or a concrete slab next to the home.
Benefits of Packaged Units:
- Space-Saving: Ideal for homes with limited indoor space.
- Simplified Installation: Since all components are in one unit, installation can be quicker and less invasive.
Installation Challenges:
- Accessibility: Maintenance can be more challenging due to the location of the unit.
- Efficiency: Generally, they may be less efficient than split systems, especially in extreme climates.
Efficiency Considerations
Choosing an efficient system is key to keeping energy bills in check. Systems with higher SEER ratings (Seasonal Energy Efficiency Ratio) are more efficient but may come with higher upfront costs. However, the long-term savings on energy bills can offset the initial investment.

Installation Challenges
Installing central air systems can be complex. Here are some common challenges:
- Ductwork Issues: Homes without existing ductwork will require additional installation, which can be costly.
- Electrical Upgrades: Older homes may need electrical upgrades to support a new system.
- Permits: Depending on local regulations, permits might be required, adding to the complexity and cost.
By understanding the different types of central air systems and their respective pros and cons, you can make an informed decision that best suits your home and budget. In the next section, we will dig into the key components of a central air conditioning system.
Components of a Central AC System
Understanding the key components of a central air conditioning system can help you make informed decisions about installation and maintenance. Let’s take a closer look at each part:
Compressor
The compressor is the heart of your central AC system. It’s located in the outdoor unit and plays a crucial role in the cooling process. The compressor’s job is to increase the pressure of the refrigerant, turning it into a hot, high-pressure gas. This change is essential for the refrigeration cycle that cools your home.
Condenser
Once the refrigerant is compressed, it moves to the condenser, also found in the outdoor unit. Here, the condenser releases the heat absorbed by the refrigerant into the outside air. This process turns the refrigerant back into a liquid, ready to be cycled back through the system.
Ductwork
Ductwork is the network of ducts that distributes cooled air throughout your home. It carries conditioned air from the central AC system to various rooms and returns warm air to be cooled again. Well-maintained ductwork ensures efficient airflow, consistent cooling, and optimal system performance. If your home lacks existing ductwork, installing it can be an added cost during central air installation.
Evaporator Coil
The evaporator coil is located in the indoor unit. It absorbs heat from the indoor air, cooling it down before circulating it through your home. As the refrigerant passes through the evaporator coil, it evaporates into a gas, pulling heat from the air in the process. This cooled air is then pushed through the ductwork.
Thermostat
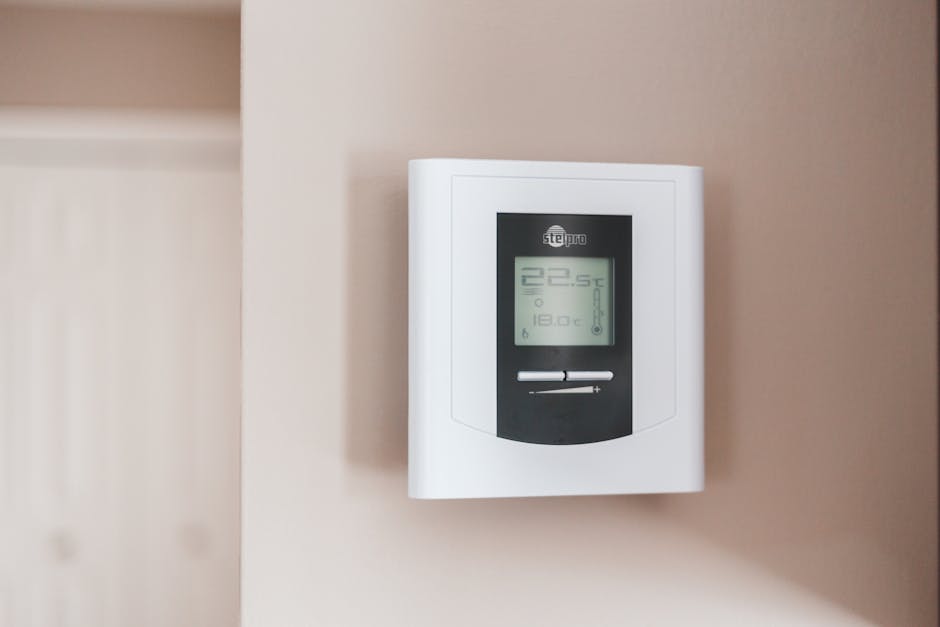
The thermostat acts as the control center for your central AC system. It regulates the temperature by signaling the system to adjust the cooling output to maintain your desired comfort level. Modern thermostats offer programmable settings and smart features, allowing you to manage your home’s climate efficiently.

Each of these components plays a vital role in ensuring your central air system operates smoothly and efficiently. Proper maintenance and understanding of these parts can lead to a longer lifespan and better performance of your AC system.
In the next section, we’ll explore how to assess your home’s cooling needs to ensure you choose the right system for optimal comfort and efficiency.
Assessing Your Home’s Cooling Needs
Choosing the right central air system starts with understanding your home’s cooling requirements. This isn’t just about picking a unit that looks right or fits your budget—it’s about ensuring comfort and efficiency. Here’s a simple guide to help you steer this process.
Heat Gain Calculation
First, it’s crucial to calculate your home’s heat gain. This measures how much heat enters your home from outside sources like sunlight, appliances, and even body heat. Factors like window size, insulation quality, and wall materials can influence heat gain.
Why is this important? A higher heat gain means you need a more powerful air conditioning system to maintain a comfortable temperature. This step helps prevent undersized systems that struggle to cool your home or oversized systems that waste energy.
Unit Sizing
Once you know your heat gain, you can focus on unit sizing. The size of your AC unit is measured in tons, which refers to its cooling capacity. A common guideline is that a 1-ton unit can cool about 400-600 square feet, but this can vary based on climate and insulation.
Using a unit that’s too large or too small can lead to inefficiency, increased energy costs, and reduced lifespan of the system.
Manual J Calculation
For precise sizing, professionals perform a Manual J calculation. This is a standard method set by the Air Conditioning Contractors of America. It considers various factors like room size, number of windows, insulation levels, and even local climate conditions.
A Manual J calculation ensures you get the right system custom to your home’s specific needs. It’s not something most homeowners can do on their own, so hiring a qualified HVAC professional is recommended.
Pro Tip: Schedule a pre-installation evaluation. It might cost around $250 to $420 but can save you thousands in the long run by avoiding the wrong system choice.
With these steps, you can confidently select a central air system that fits your home’s unique needs. This ensures maximum comfort and efficiency, keeping your energy bills in check.
Next, we’ll dive into the costs associated with central air installation and explore what factors can influence these expenses.
Average Installation Costs for Central AC
Installing central air can be a significant investment, but understanding the cost factors can help you plan better. Here’s what you need to know about the expenses involved in central air installation.
Cost Factors
The overall cost of installing central air varies widely, typically ranging from $3,500 to $7,000 or more. Several factors influence this price:
-
Type of AC Unit: The price can differ based on whether you choose a split system or a packaged unit. Split systems are often more expensive but offer better efficiency.
-
Home Size: Larger homes require larger or multiple units, increasing costs.
-
Labor: Installation labor costs can range from $1,000 to $3,000 depending on the complexity of the job and local labor rates.

Ductwork
If your home already has ductwork, you’re in luck—this can significantly reduce costs. However, if new ductwork is needed, prepare for additional expenses. Ductwork installation or modification can cost anywhere from $500 to $2,000. The complexity of the layout and the materials used can push this cost even higher.
Electrical Upgrades
Central air systems often require electrical upgrades, especially in older homes. Upgrading your electrical system to accommodate a new AC unit can cost thousands of dollars. It’s essential to consult with a professional to determine if your current electrical setup is adequate.
Permits
Before starting the installation, you’ll likely need permits, as required by local building codes. Permit fees vary by location but typically range from $100 to $500. These permits ensure that the installation meets safety and efficiency standards.
Pro Tip: Always factor in potential unexpected costs like ductwork repairs or additional electrical work. Planning for these can prevent budget surprises.
Understanding these cost factors can help you budget more accurately for your central air installation. Next, we’ll discuss how to prepare your home for the installation process, ensuring a smooth and efficient setup.
Preparing Your Home for Central Air Installation
Getting ready for central air installation involves a few key steps to ensure everything goes smoothly. Let’s break it down.
Ductwork Evaluation
First, check your existing ductwork. If your home already has ducts for heating, they might work for your new AC system too. However, it’s crucial to inspect them for leaks, blockages, or poor insulation. Faulty ducts can reduce cooling efficiency and raise energy costs.
If your home lacks ductwork, consider alternative options like ductless mini-split systems or high-velocity systems, which are easier to install in homes without existing ducts.
Choosing the Installation Location
The location of your AC units—both indoor and outdoor—matters a lot for efficiency and performance.
-
Outdoor Unit: Place the condenser in a shaded spot with good airflow. Avoid areas near walls, fences, or windows to prevent restricted airflow and noise issues.
-
Indoor Unit: Choose a central location for the evaporator coil, usually within the furnace or air handler, to ensure even cooling throughout your home.
Obtaining Permits
Before installation begins, securing the necessary permits is essential. Local building codes often require them for HVAC installations to ensure safety and compliance. Permit fees vary by location, ranging from $100 to $500.
Pro Tip: Work with your HVAC contractor to handle the permit process. They are familiar with local regulations and can streamline the paperwork for you.
Preparing your home properly sets the stage for a successful central air installation. With the groundwork laid, you’re ready for the installation process itself, which we’ll explore next.
The Central Air Installation Process
Installing central air in your home is a multi-step process that requires careful planning and execution. Here’s how it unfolds:
Site Preparation
Before any equipment is installed, the site must be prepared. Technicians ensure the area is safe and accessible. This includes clearing debris and ensuring adequate space for both indoor and outdoor units. Proper site preparation prevents future issues and sets the stage for a smooth installation.
Indoor and Outdoor Installation
Once the site is ready, technicians install the indoor and outdoor units.
-
Indoor Unit: This includes placing the evaporator coil inside the furnace or air handler. It’s crucial to position it centrally to ensure even cooling throughout your home.
-
Outdoor Unit: The condenser is placed on a stable surface, such as a concrete pad. It should be in a shaded area with good airflow to improve efficiency. Avoid placing it near windows to minimize noise.
Refrigerant Lines and Ductwork Connection
Connecting refrigerant lines is the next step. These lines link the indoor and outdoor units, allowing the refrigerant to circulate and transfer heat efficiently.
- Ductwork: If your home has existing ducts, technicians will connect them to the new system. They’ll also check for leaks or blockages to ensure optimal airflow. In homes without ductwork, alternative systems like ductless mini-splits might be used.
Electrical Connections
Finally, technicians make electrical connections to power the system. This involves linking the indoor and outdoor units to the home’s electrical system and ensuring everything meets safety standards.
After all connections are complete, the system is tested to ensure everything functions correctly. This includes checking for leaks, vacuuming the system, and charging it with refrigerant.

With these steps completed, your central air installation is ready to provide cool comfort throughout your home. Next, we’ll address some common questions about the costs and considerations involved in installing central air.
Frequently Asked Questions about Central Air Installation
How much does central air cost to install?
Installing central air can be a significant investment, but it often pays off in comfort and efficiency. The average cost ranges from $3,882 to $7,905, with many factors affecting the final price. These include the size of your home, the system’s energy efficiency, and whether you need new ductwork.
Financing options are available to help manage these costs. Homeowners can consider a home equity loan, a home equity line of credit, or a personal loan to spread out payments over time.
What is the $5000 rule for AC?
The “$5000 rule” is a simple guideline to help decide between repairing or replacing your AC unit. Multiply the age of your unit by the cost of the repair. If the result is more than $5,000, it might be more cost-effective to replace the unit rather than repair it.
For example, if your 10-year-old AC needs a $600 repair, the calculation would be 10 x 600 = $6,000. In this case, replacing the unit could be a better long-term investment.
How much does it cost to install AC in a 2000 sq ft house?
For a 2000 square foot house, central air installation costs typically range from $3,400 to $5,400, depending on various factors. These include:
- Unit size: Larger homes require systems with higher BTUs, which can increase costs.
- Energy efficiency: Higher SEER-rated systems may cost more upfront but save on energy bills over time.
- Ductwork: If your home lacks ductwork, installing it can add $10,000 or more to the project.
Properly assessing these factors ensures you choose a system that fits your needs and budget. With the right planning and professional advice, you can enjoy efficient and effective cooling in your home.
Conclusion
Choosing the right company for your central air installation is crucial to ensure comfort and efficiency. Integrity Services & Plumbing stands out as a reliable choice in the Rio Grande Valley. Their expertise in both residential and commercial installations means you get top-notch service every time.
Integrity Services & Plumbing is dedicated to delivering top-notch service. Their team comprises skilled technicians who are continuously trained in the latest HVAC advancements. With a focus on precision and reliability, they ensure each installation is executed flawlessly, offering customers peace of mind and enduring comfort.

With a focus on customer satisfaction, Integrity Services & Plumbing offers comprehensive services, including assessments, installations, and maintenance. They understand that a well-installed system not only cools your home efficiently but also saves you money on energy bills.
For those concerned about costs, Integrity Services & Plumbing provides flexible financing options to make the investment more manageable. This commitment to affordability, combined with their high standards for installation, makes them a trusted partner for your cooling needs.
Ready to experience cool comfort in your home? Contact Integrity Services & Plumbing today to schedule an appointment and learn more about their expert services.

