
TL;DR:
- Plunger Mechanism Parts: Pivot Rod, Clevis, Spring Clip, Lift Rod, Stopper.
- Common Issues:
- Plunger not sealing: Misalignment or debris
- Plunger stuck: Corrosion or wear
- Slow drainage: Clogged drain
- Water leakage: Damaged gaskets
- Loose lift rod: Improper installation
- Essential Tools: Needle-Nose Pliers, Adjustable Wrench, All-Purpose Cleaner, Pipe Wrench, Screwdriver Set.
- DIY Repair Steps: Remove clevis rod, extract stopper, clean components, inspect parts, reassemble, tighten connections, check lift rod alignment.
- When to Call a Professional: Persistent leaks, difficult access, visible damage, no improvement after DIY.
Dealing with a stubborn bathroom faucet plunger can be frustrating, especially when it won’t budge or fails to create a proper seal. These small but important components can disrupt your water flow and daily routine. Understanding how faucet mechanisms and sink parts work is key to fixing the problem with ease. Bathroom faucets come in different types, each with its own mechanism, and knowing these differences will help you tackle repairs more effectively. In this blog, we’ll break down bathroom faucet plunger repairs, giving you the knowledge and confidence to solve these issues and keep your bathroom running smoothly.
Understanding Bathroom Faucet Plunger Mechanisms
Before diving into repairs, it’s important to familiarize yourself with the parts of a bathroom faucet plunger, also known as a pop-up stopper. This mechanism consists of several key components, each playing a specific role in controlling water flow. Understanding these parts will help you diagnose issues and make repairs more effectively. If any part is misaligned or damaged, it can cause the plunger to malfunction, affecting your faucet’s performance. Knowing what each component does makes it easier to identify where things are going wrong and how to fix them.
- Pivot Rod: Connects to the stopper and moves it up and down with the lift rod.
- Clevis: Joins the lift rod to the pivot rod for coordinated movement.
- Spring Clip: Secures the clevis to the pivot rod, maintaining alignment.
- Lift Rod: The rod you pull to engage the stopper and activate the pivot rod.
- Stopper: The plug that seals the sink drain when the mechanism is engaged.
Different faucet types can have varying mechanisms, which means repair methods may differ. Some faucets feature complex linkages or additional parts that require a different approach. Knowing these differences is key, as it allows you to adjust your repair strategy to fit the specific design of your faucet. Understanding these variations can make repairs easier and more effective, even if you’re dealing with an unfamiliar mechanism.
Common Issues with Faucet Plungers
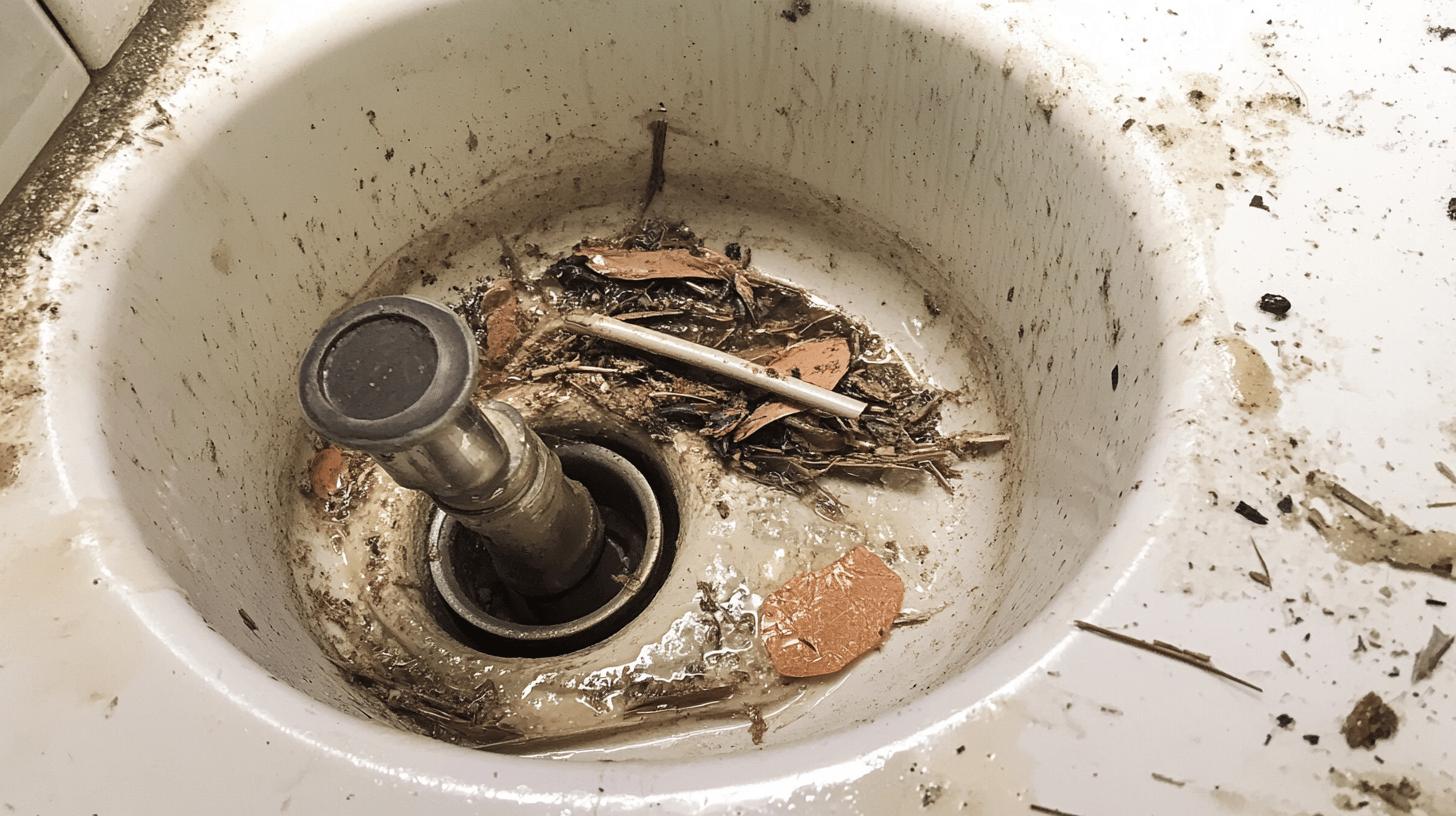
A faulty bathroom faucet plunger can lead to a range of plumbing problems. Common issues include the plunger not sealing properly or getting stuck, usually caused by misaligned parts or debris buildup. When the plunger doesn’t seal correctly, water may drain slowly or not at all, which can lead to overflow or water wastage. Catching these symptoms early can help prevent more serious problems and save you time and money on expensive repairs.
| Problem | Potential Cause |
|———|—————–|
| Plunger not sealing | Misaligned pivot rod or debris buildup |
| Plunger stuck | Corrosion or worn-out parts |
| Slow drainage | Clogged drain or faulty stopper |
| Water leakage | Damaged gaskets or loose connections |
| Loose lift rod | Improper installation or loose screws |
Regular maintenance is essential to avoid common faucet plunger issues. By checking the alignment of parts and clearing away debris, you can extend the life of your faucet. Keeping up with maintenance helps prevent sudden breakdowns and ensures your sink works efficiently. Taking a proactive approach will save you from more complicated repairs and keep your plumbing system in good shape.
Essential Tools for Bathroom Faucet Plunger Repair
Using the right tools for faucet plunger repair is essential to prevent damage and ensure the job is done right. Having the proper tools makes repairs faster and more efficient. Without them, even simple fixes can turn into frustrating and time-consuming tasks. Using plumbing-specific tools also helps protect delicate faucet parts, reducing the need for costly replacements or repairs.
- Needle-Nose Pliers: Handy for gripping small parts and making precise adjustments.
- Large Adjustable Wrench: Useful for loosening and tightening nuts and bolts without stripping them.
- All-Purpose Cleaner: Removes grime and residue, ensuring clean surfaces for reassembly.
- Pipe Wrench: Provides extra leverage for stubborn pipes or fittings.
- Screwdriver Set: Necessary for removing screws and accessing internal faucet components.
With these tools, you’ll be ready to handle most plunger repairs confidently.
DIY Bathroom Faucet Plunger Repair: Step-by-Step Guide
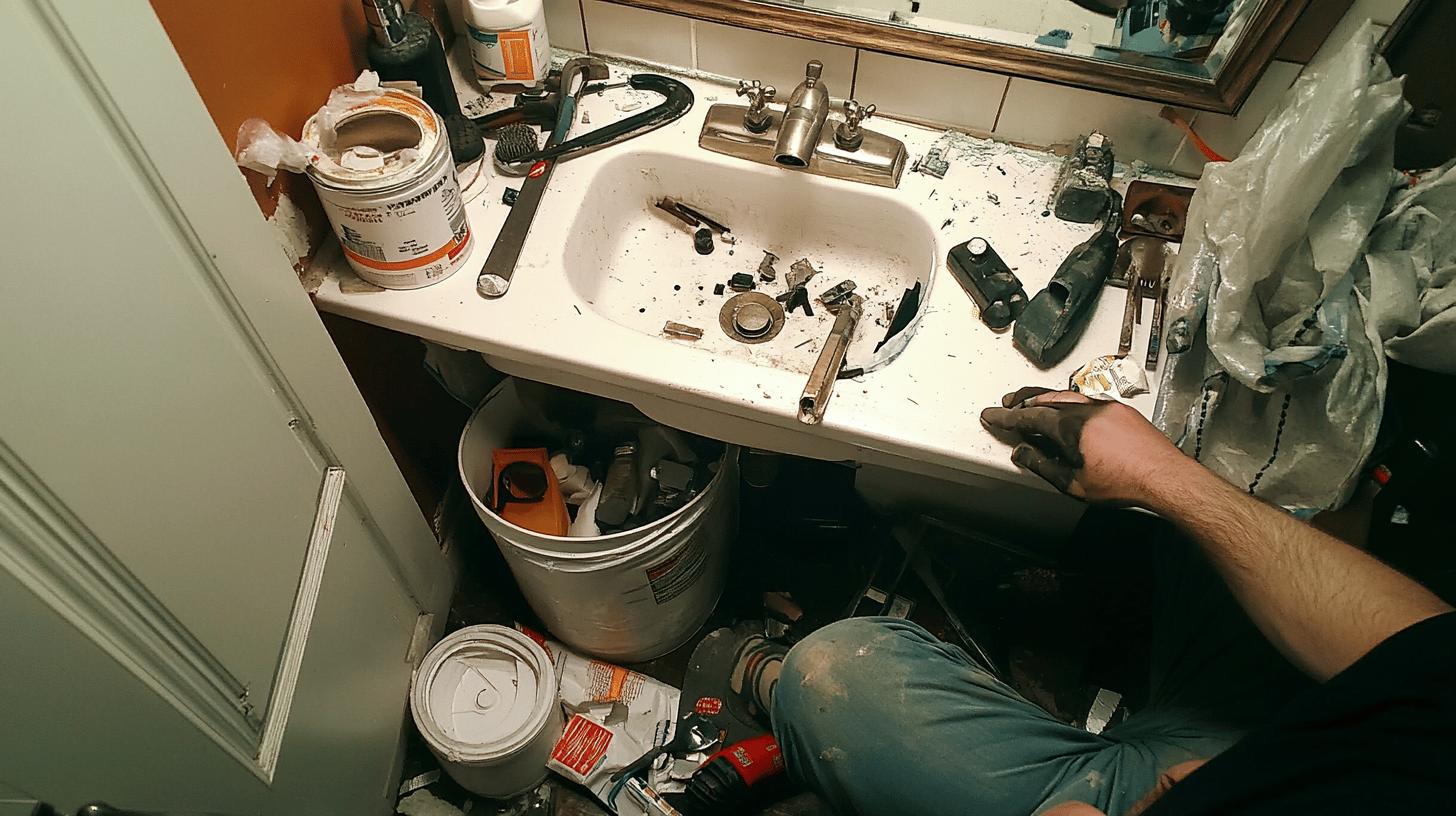
Preparation is key to a successful DIY repair project. Start by clearing items from around the sink for easy access. Place a bucket under the sink to catch any spilled water. Make sure to shut off the water supply to prevent leaks. Once you’re ready, you can begin the repair:
- Remove the Clevis Rod: Detach the spring clip connecting the clevis rod to the pivot rod. Slide the clevis away to access the stopper.
- Extract the Stopper: Carefully pull the stopper out of the sink drain for cleaning or replacement.
- Clean the Components: Use all-purpose cleaner to scrub the stopper and drain area, removing debris.
- Inspect the Pivot Rod and Gaskets: Check for corrosion or wear and replace damaged parts for a proper seal.
- Reassemble the Stopper: Place the stopper back into the drain, aligning it with the pivot rod.
- Reattach the Clevis Rod: Slide it back in place and secure with the spring clip, ensuring proper alignment.
- Tighten Connections: Use an adjustable wrench to tighten connections, preventing leaks.
- Check the Lift Rod Alignment: Ensure smooth movement and adjust the lift rod connection as needed.
After reassembling the faucet, test the repair by filling the sink and checking if the stopper seals correctly without leaking. If any issues arise, go through the steps again to make sure everything is properly aligned and secure. Testing your repair ensures it’s working as expected and helps prevent future problems.
When to Call a Professional Plumber for Plunger Repairs
DIY repairs for bathroom faucet plungers are often feasible but sometimes professional help is needed. If problems persist despite several attempts, consider hiring an expert. Challenges like difficult access or health constraints may hinder effective repairs. A professional plumber can handle these barriers, ensuring thorough and effective repair.
- Persistent leaks despite multiple repair attempts
- Difficulty accessing plumbing components
- Visible damage to the faucet or plunger mechanism
- No improvement after following guides
Calling a professional ensures the issue is resolved efficiently, preventing water damage or further complications. Plumbers offer specialized tools and expertise to diagnose and fix issues that DIY efforts might miss. Hiring a professional saves time, reduces frustration, and provides peace of mind knowing your plumbing is in good hands.
Final Words
Understanding bathroom faucet plunger mechanisms and common issues gives you the confidence to handle minor repairs on your own. With the right tools and a clear, step-by-step guide, you can fix common problems like misaligned parts or debris buildup. Knowing when to call a professional helps prevent small issues from turning into bigger plumbing problems. Regular maintenance and occasional repairs keep your sink functioning smoothly and efficiently, ensuring a hassle-free home experience. Armed with this knowledge, you’re ready to tackle your plumbing needs with ease.
FAQ
How do you fix a bathroom sink stopper that is stuck shut?
In fixing a sink stopper stuck shut, check the pivot rod and clevis for proper alignment and clear any debris. Consider using needle-nose pliers to adjust or remove components if necessary.
Why won’t my sink plunger seal?
A sink plunger that won’t seal might be due to misaligned parts or debris in the drain. Cleaning and realigning components, such as the clevis and pivot rod, can help resolve the issue.
What types of bathroom sink stoppers are there?
Bathroom sink stoppers primarily include pop-up stoppers and push-plugs. Pop-up uses a lever system, while push-plugs require a push to open or close the drain.
Can you replace a pop-up sink plug?
Yes, you can replace a pop-up sink plug. It involves detaching the pivot rod, removing the old stopper, and installing the new one. Ensure all parts, like the spring clip and clevis, are correctly reassembled.
How do you fix a pull-up sink stopper?
To fix a pull-up sink stopper, ensure the pivot rod and clevis are secure and aligned. Clean any debris, and adjust the connections as needed to restore smooth operation.
How do you install a sink stopper?
Installing a sink stopper starts with connecting the clevis to the pivot rod, ensuring smooth movement. Align and secure all components, then test the stopper’s functionality by filling the sink and releasing the water.
What are essential tools for bathroom faucet plunger repair?
Essential tools include needle-nose pliers, a large adjustable wrench, a screwdriver, an all-purpose cleaner, and plumber’s tape. These tools help in dismantling, cleaning, and reassembling faucet components efficiently.
When should you call a professional plumber for plunger repairs?
Consider calling a professional if the stopper remains non-functional after DIY efforts, if parts are inaccessible, or if frequent leaks occur. Professionals can provide the expertise required for persistent or complex issues.