
TL;DR:
- Common types of water shut off valves: Sweat, Compression, Threaded, Quarter-Turn Ball, Push-Fit.
- Tools needed for replacement: Pliers, Channel locks, Crescent wrench, Adjustable wrench, Replacement valve, Bucket/rag.
- Replacement steps: Turn off main supply, Drain pipes, Remove supply line, Disconnect old valve, Install new valve, Reconnect supply line, Check for leaks.
- Common issues: Leaks (tighten connections), Improper fit (double-check measurements), Worn components (replace as needed), Difficulty removing (use penetrating oil), Persistent leaks (check all connections).
- Cost: DIY ($20-$50), Professional ($150-$300).
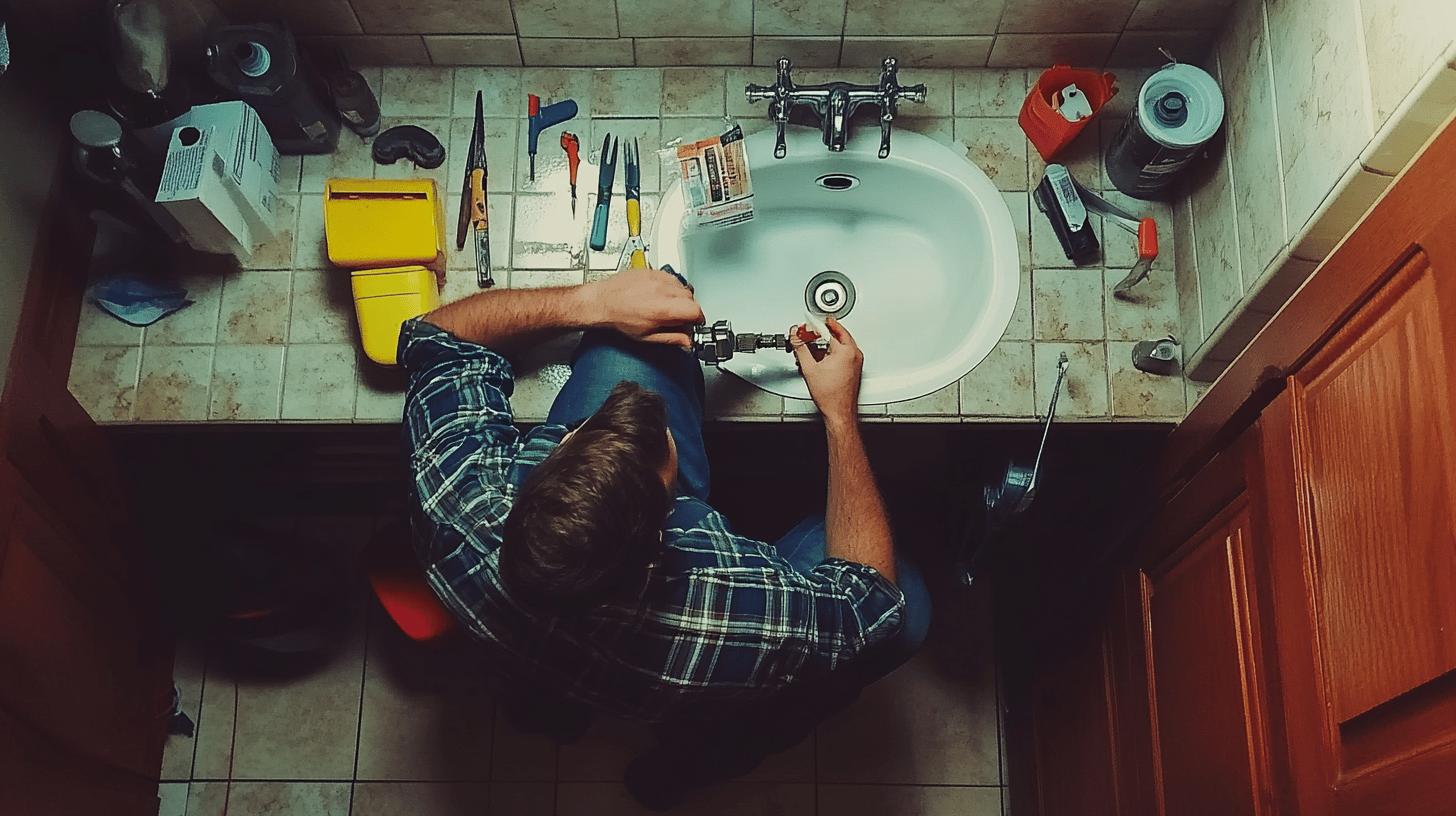
Ever asked yourself, “Do I really need to call a plumber to replace that valve under my sink?” It might seem intimidating, but replacing a water shut-off valve is actually pretty simple. Doing it yourself not only saves you money but also gives you some valuable plumbing know-how. In this guide, we’ll cover everything from identifying the type of valve you have to a step-by-step walkthrough of how to replace it. By the end, you’ll be able to tackle the job confidently and easily. Ready to become your own plumbing expert? Let’s dive in!
Identifying Types of Water Shut Off Valves Under Sink
Knowing the type of water shut-off valve under your sink is important for making maintenance and replacement easier. Identifying the valve correctly helps you troubleshoot faster and ensures you have the right tools for the job. Each valve type has its own installation requirements, so understanding them can prevent future plumbing issues.
Here are some common types of water shut off valves you might find under sinks:
- Sweat Valves
- Compression Valves
- Threaded Valves
- Quarter-Turn Ball Valves
- Push-Fit Valves
Each type of water shut-off valve has its own advantages and disadvantages. For example, sweat valves provide a permanent solution with soldering but require more skill and tools. Compression valves are easier to install for DIYers, though they might not last as long. Threaded valves are simple to install and remove but can leak if not tightly secured. Quarter-turn ball valves offer great control and durability, though they can be pricey. Push-fit valves are quick to install and work with different pipes, but they may not handle high-pressure systems well. Knowing these differences helps you choose the best valve for your needs.
Tools and Materials Needed for Replacing Shut Off Valves
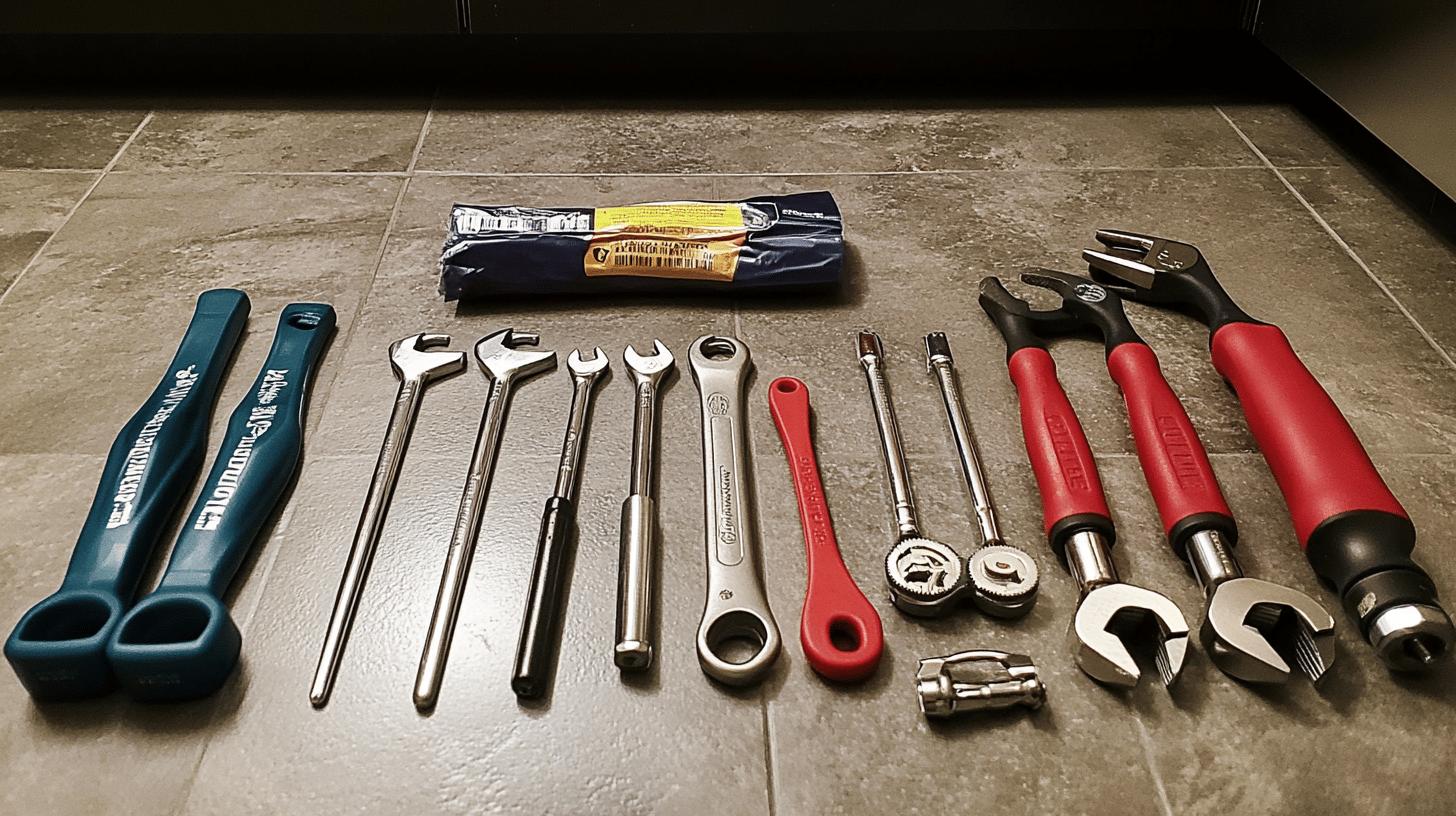
Preparation is essential when replacing a water shut off valve under your sink. Having the right tools and materials ready with you ensures a smooth process and reduces risks. By gathering everything beforehand, you can avoid distractions and focus solely on the replacement task. Here’s what you’ll need:
- Pliers
- Channel locks
- Crescent wrench
- Adjustable wrench
- Replacement valve
- Bucket or rag
Each tool has its job. Channel locks and wrenches help loosen or tighten connections. A bucket or rag will catch any leftover water, so you don’t make a mess. Getting everything ready beforehand saves time and stress, so you can focus on getting the job done right.
Step-by-Step Guide to Replacing the Water Shut Off Valve
Replacing a water shut-off valve under your sink might seem tough, but with a step-by-step approach, it becomes much easier. This guide will walk you through each stage, making sure you do it safely and correctly. By understanding each step, you’ll be able to fix your plumbing and get everything working again with confidence.
-
Turn off the main water supply.
Locate the main valve, usually outside or near the water meter, and turn it off to stop water flow. -
Drain pipes by opening faucets.
Open faucets at different levels of your home to empty any leftover water from the pipes, reducing spills when removing the valve. -
Remove the water supply line.
Use a crescent wrench or channel locks to disconnect the line linked to the valve. Keep a bucket or rag handy for any remaining water.
-
Disconnect the old valve.
Depending on the valve type, use the right tool, like pliers or a wrench, to remove it. Loosen the nut for compression valves or unscrew threaded valves. -
Install the new valve.
Place the new valve on the pipe and secure it using the right method. Tighten the nut for compression valves or screw in threaded valves. -
Reconnect water supply line.
Attach the line to the new valve using a wrench to ensure a snug fit without overtightening.
- Open main water supply and check for leaks.
Slowly turn on the main water supply and inspect your work. Tighten any loose connections if leaks are present.
Ensure all connections are tight and the valve suits your system. If issues persist, consulting a professional might be wise to avoid further complications.
Safety Precautions and Troubleshooting Tips
Safety is crucial when replacing any valve to prevent accidents and plumbing damage. Always turn off the main water supply first to avoid water damage. Handle tools like pliers, wrenches, and channel locks carefully, ensuring secure but controlled grips.
Here are common issues you might face during replacement with solutions:
-
Leaks at connection points:
Tighten connections gently. Too much force can damage threads or components. -
Improper valve fit:
Ensure the valve matches the pipe and fittings. Double-check measurements before installing. -
Worn components:
Inspect parts during disassembly for wear. Replace any worn washers, nuts, or seals to avoid future leaks.
-
Difficulty removing old valve:
Use penetrating oil to loosen stuck connections and the correct tool for each valve. -
Persistent leaks after installation:
Check all connections again. Seek professional help if leaks continue.
If issues like constant leaks or improper fittings persist, professional help is recommended. Plumbers have the expertise and tools to solve complex problems, ensuring safety and functionality.
Cost Considerations and Professional Assistance
Replacing a water shut off valve can vary in cost, depending on whether you DIY or hire a plumber. Professionals usually charge $150 to $300, depending on regional rates and job complexity. DIY projects are cheaper but include the value of your time and possible errors.
| Service | Cost Range |
|—————————–|————-|
| DIY Replacement | $20 – $50 |
| Professional Replacement | $150 – $300 |
Choosing a professional ensures correct and efficient valve replacement, preventing leaks or system damage. Experienced plumbers can handle stubborn fittings or unique setups. Investing in their expertise may prevent extra costs and issues later, giving you peace of mind.
Final Words
Replacing a water shut-off valve under your sink involves identifying the right valve and gathering the necessary tools. With proper preparation and safety in mind, you can handle the task effectively. Following each step carefully and using the right techniques will lead to a successful installation. If issues come up, it’s always smart to call a professional for help. With these tips, you can confidently keep your plumbing in good shape.
FAQ
How do you replace a water shut-off valve under a kitchen sink?
To replace a water shut-off valve, start by turning off the main water supply. Disconnect the supply line, remove the old valve, and install the new one. Reconnect the supply line and check for leaks.
How can you replace a water shut-off valve on a copper pipe?
To replace a valve on a copper pipe, turn off the main supply, disconnect the pipe using the appropriate tool (sweat, compression, or threaded), remove the old valve, and install a compatible new one.
What are the types of sink shut-off valves?
Sink shut-off valves include sweat, compression, threaded, quarter-turn ball, and push-fit valves. Each type has specific applications and installation methods, affecting ease of use and durability.
Can you replace a shut-off valve without turning off the water?
Replacing a shut-off valve without turning off the main supply isn’t typically recommended. To avoid water damage and ensure safety, always turn off the main water supply first.
How much does it cost to replace a shut-off valve under the sink?
The cost to replace a shut-off valve professionally ranges from $150 to $300. DIYers can save on labor costs, assuming they have the necessary tools and expertise.
How do you fix a leaking water shut-off valve under the sink?
To fix a leaking shut-off valve, try tightening the packing nut gently. If leaking persists, you might need to replace the valve to ensure a secure and durable seal.
How do you remove an old water shut-off valve?
Removing an old valve involves turning off the main supply, disconnecting the water supply line, using appropriate tools to detach the valve, and cleaning the connection before installing a new valve.