TL;DR:
- Leaks in shut off valves typically occur at the stem, handle, threads, packing nut, or washer.
- To fix leaks, first tighten the packing nut (1/8th turn clockwise) or replace the packing washer after shutting off the main water supply.
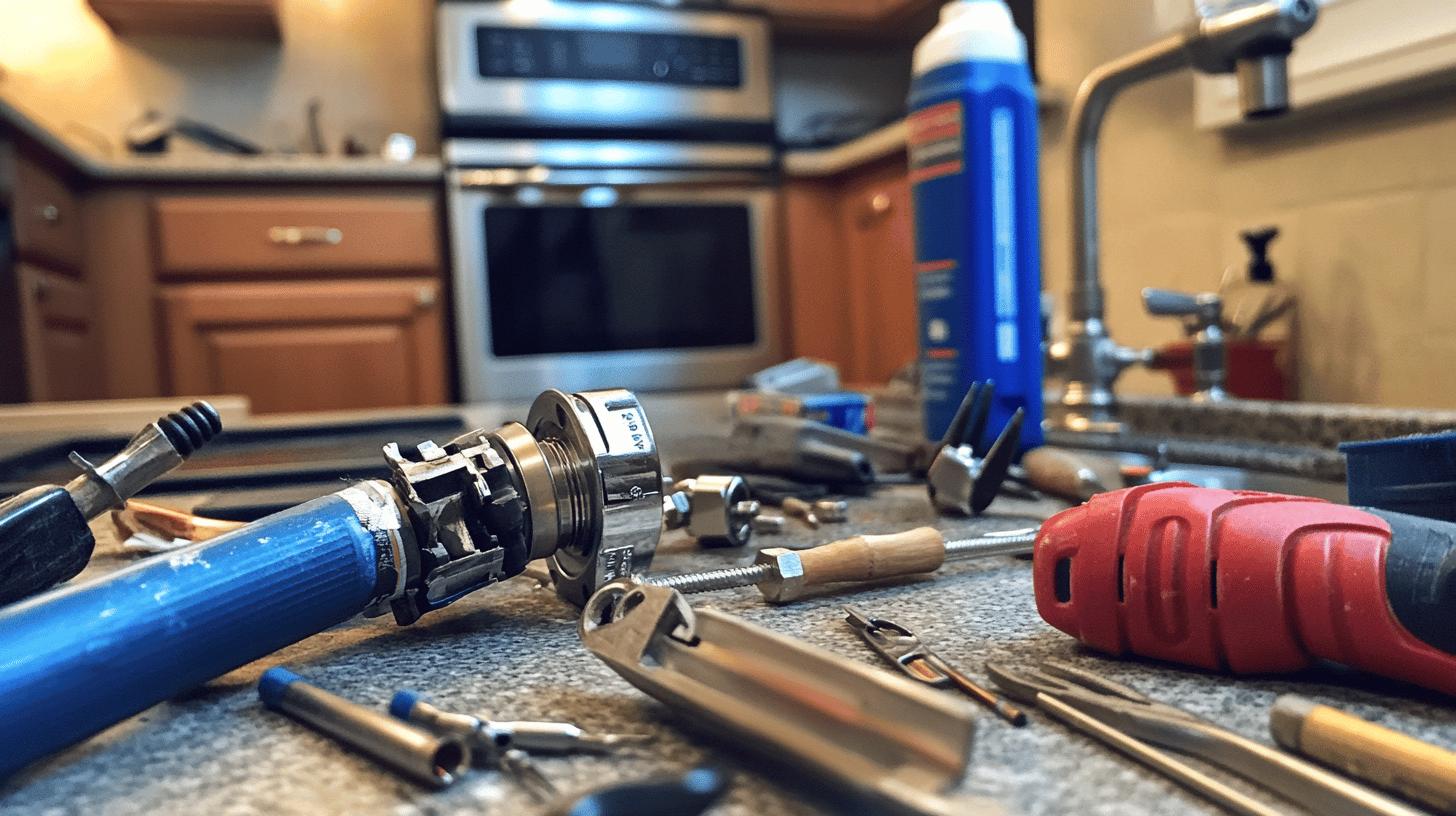
- Tools needed: wrench, shut off valve repair kit, screwdriver, plumber’s tape, bucket.
- Hire a professional plumber for complex leaks; they provide expertise, tools, and code knowledge.
- Prevent future leaks by using valves regularly, lubricating parts, inspecting for wear, replacing washers, and scheduling professional inspections.
Got a leaky water shut-off valve? Before you call a plumber, take a second to figure out the problem. Sometimes, a quick adjustment is all it takes to stop the leak and save you money. This guide will show you how to fix leaks around the threads or handle. By knowing what’s causing the leak, you’ll be able to fix it yourself or know when it’s time to get help. Keep reading for easy solutions to your plumbing problems!
Identifying the Source of a Leaking Water Shut Off Valve
If your water shut-off valve is leaking, the first step is to find where the leak is coming from. Leaks often happen at the valve stem, especially if the valve’s been closed for a while. The stem passes through a packing nut and washer, which are supposed to create a tight seal, but over time, these parts can wear out. You might also notice leaks around the valve handle, which is usually due to the same packing nut and washer. In some cases, damaged threads on the valve can cause water to leak out too.
Check these areas to locate the leak:
- Valve stem
- Valve handle
- Threads
- Packing nut
- Washer
Many leaks can be fixed with simple adjustments or by replacing worn parts. But if the leak keeps happening or is coming from a hard-to-reach spot, it’s a good idea to call a plumber. They have the right skills and tools to fix the problem properly and make sure everything’s working smoothly.
DIY Fixes for Leaking Water Shut Off Valves
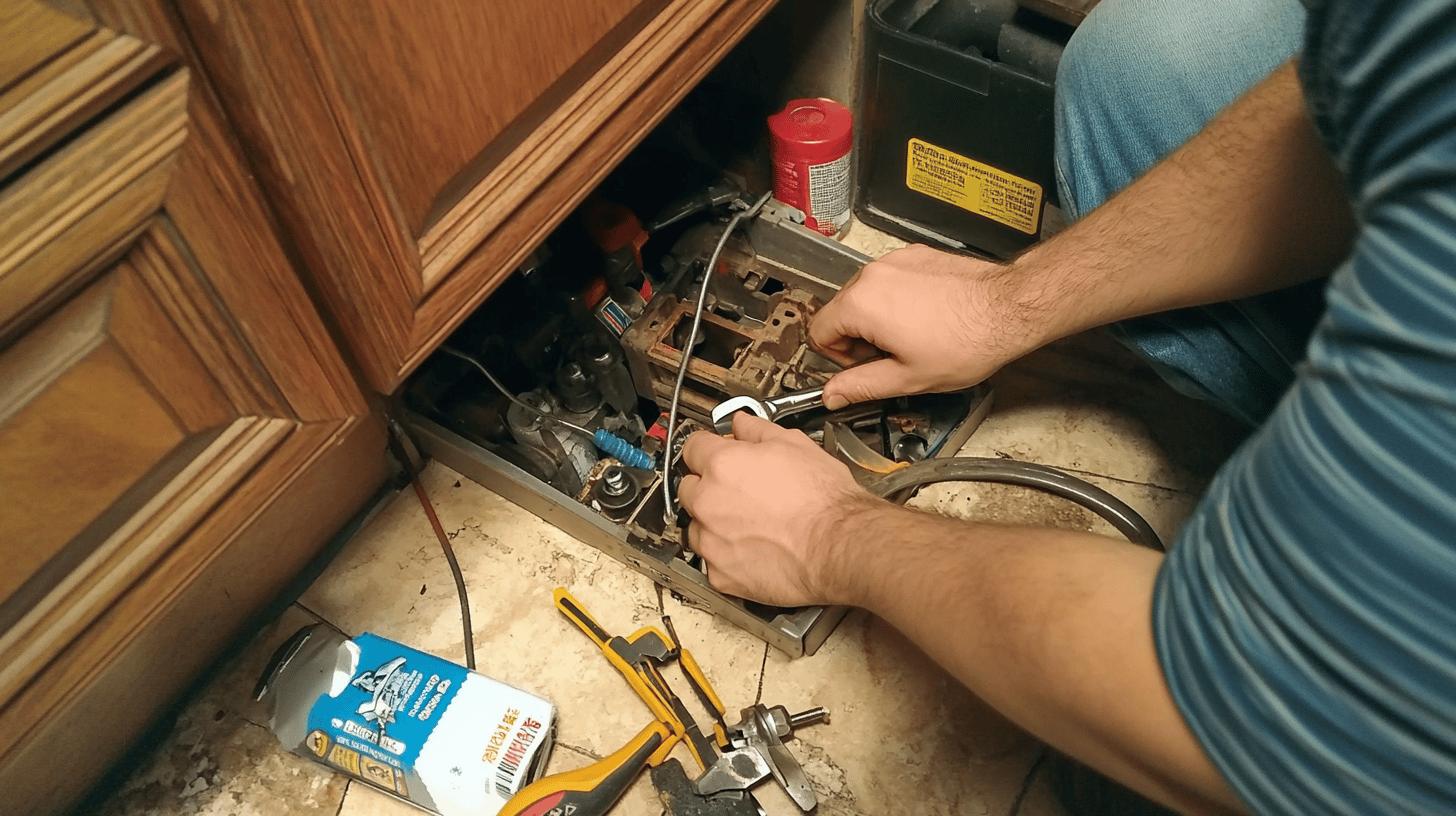
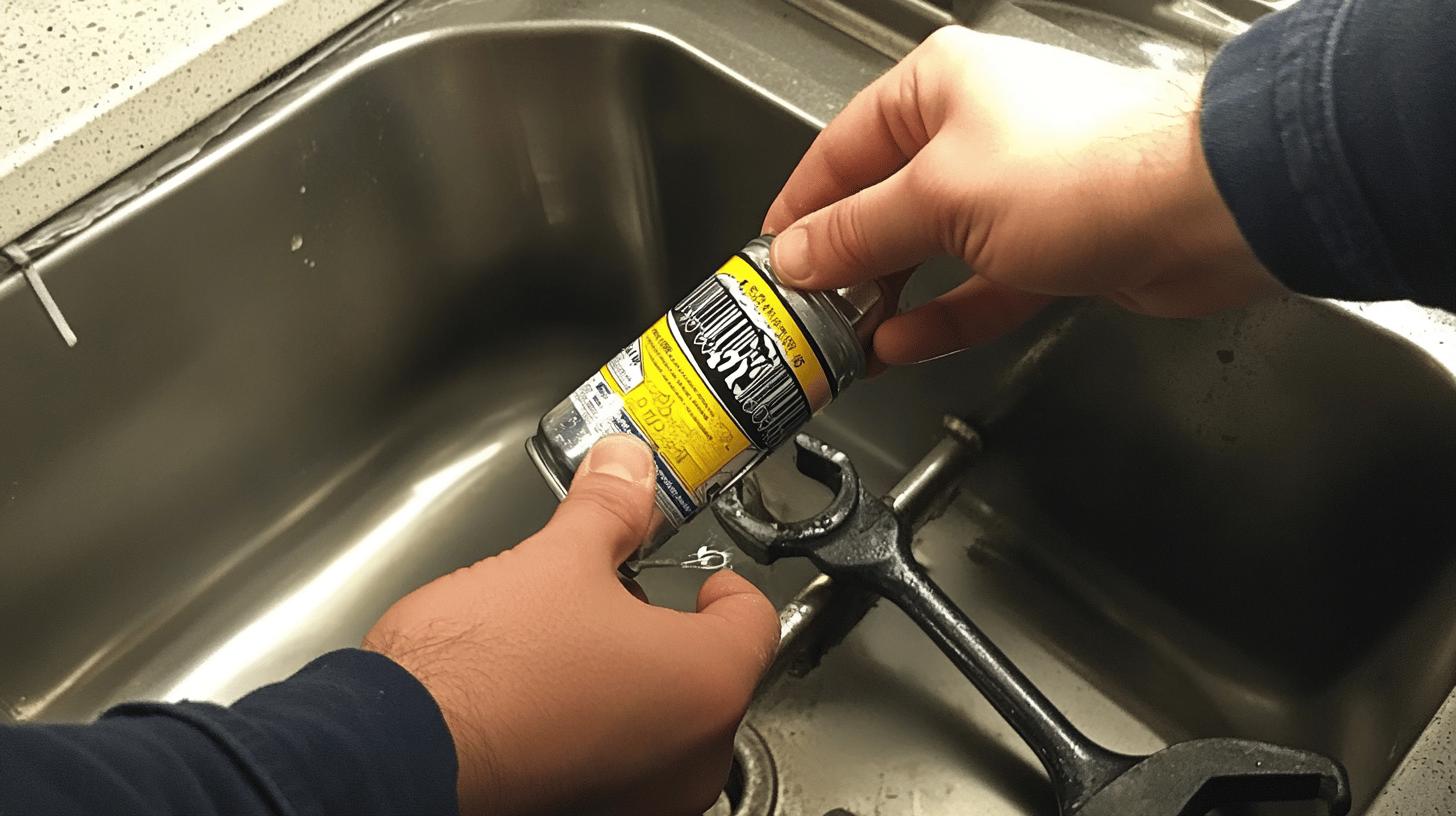
If your shut-off valve leaks, start by tightening the packing nut. Usually, a small 1/8 turn clockwise with a wrench will do the trick, as it compresses the washer enough to stop the leak. Just be careful not to overtighten, or you might damage the washer or valve stem.
If the leak doesn’t stop, you might need to replace the packing washer. These washers wear out over time, especially if the valve is used a lot or sits unused for a while. First, turn off the main water supply, then remove the valve handle and packing nut to replace the washer with a new one from a repair kit. Make sure the new washer fits properly to avoid leaks down the line.
| Tool/Material | Purpose |
|———————|———————–|
| Wrench | Tightening packing nut|
| Shut off valve repair kit | Replacement washer |
| Screwdriver | Remove valve handle |
| Plumber’s tape | Seal threads |
| Bucket | Catch excess water |
Make sure you have the right tools on hand to avoid delays. Some leaks might be trickier and require more than just a washer replacement. If you’re not sure, it’s a good idea to call a plumber. They can identify the issue and fix it properly, preventing more damage and saving you time and stress.
Importance of Professional Plumbing Services for Shut Off Valve Leaks
Hiring a professional plumber for a leaking shut-off valve is often the best option. Plumbers have the expertise to deal with complicated leaks that can be tricky for beginners. They can quickly pinpoint the source of the leak, even in hard-to-reach or complex systems. With the right tools and understanding of local codes, they ensure repairs are done correctly and meet all necessary regulations.
Reasons to hire a plumber:
- Expert handling of complex plumbing
- Access to specialized tools
- Knowledge of local building codes
- Comprehensive inspection skills
Professional plumbing services, like replacing shut-off valves, can vary in cost depending on the job’s complexity and your location. While it may seem pricey upfront, hiring a plumber can save you money by preventing further damage down the line. Plumbers also provide preventive maintenance to keep your system running smoothly. Plus, many offer emergency services 24/7 for urgent plumbing issues.
Preventive Measures for Avoiding Future Valve Leaks
Regular maintenance of water shut-off valves is essential to avoid leaks and water damage. If you don’t use the valves often, they can stick, so it’s good to operate them occasionally. Lubricating the moving parts with something like WD-40 helps keep them working smoothly and reduces the chances of leaks. It’s also important to check components like packing washers to maintain a good seal and catch any potential issues before they become bigger problems.
- Regular valve operation to prevent sticking
- Lubricate moving parts
- Inspect for wear and tear
- Replace washers and seals as needed
- Schedule professional inspections
Professional inspections can help extend the life of your water shut-off valves. Experts can spot early signs of wear, allowing for timely repairs or replacements. By adding these inspections to your routine, you can prevent leaks and avoid costly repairs down the road.
Final Words
Knowing how to spot and fix a leaking water shut-off valve can save you from expensive repairs and water damage. This guide covered important areas to check for leaks and offered simple DIY solutions like tightening the packing nut or replacing a washer.
While DIY fixes are helpful, it’s important to know when to call in professionals for more complicated leaks. Regular maintenance is key to preventing issues and keeping your plumbing running smoothly. By staying proactive, you can protect your home and ensure your water system remains reliable.
FAQ
Q: What to do if the water shut-off valve is leaking?
A: Identify the leak source by inspecting the valve stem, handle, threads, packing nut, and washer. Tighten loose components or replace damaged parts to stop the leak.
Q: Why is my water leaking when the water is turned off?
A: A leak when the water is off can be due to a faulty water shut-off valve. The packing nut, washer, or stem may be compromised, causing continuous leaks.
Q: How can I fix a leaking water shut-off valve?
A: Tighten the packing nut slightly. If the leak persists, replace the packing washer. Have the necessary tools on hand to complete the repair efficiently.
Q: What tools and materials are needed to repair a water shut-off valve?
A: You need an adjustable wrench, screwdriver, packing washer, pliers, and plumber’s tape. Each tool serves a specific purpose, such as tightening nuts or replacing washers.
Q: Who is responsible for replacing the main water shut-off valve?
A: Homeowners are typically responsible for replacing the main water shut-off valve, but check local regulations for any exceptions or guidelines.
Q: How much should it cost to replace a water shut-off valve?
A: Replacing a water shut-off valve generally costs between $150 and $300, depending on the complexity and location of the valve.
Q: When should I hire a professional plumber for valve leaks?
A: Hire a professional if leaks persist despite DIY efforts or if you lack the necessary tools or expertise to perform the repair safely.
Q: What are some preventive measures to avoid future valve leaks?
A: Regularly rotate valves, lubricate parts, inspect for damage, replace worn components, and schedule routine inspections to maintain valve health.