
TL;DR:
- Water shut-off valves control flow, prevent leaks, and can fail to seal due to mineral buildup, rust, or damaged parts.
- Signs of failure: dripping water, hissing sounds, difficulty turning handle, rust, inconsistent pressure.
- Troubleshooting steps: check for leaks, tighten connections, inspect for damage, test handle, evaluate supply line, replace if necessary.
- DIY fixes include loosening the packing nut and applying lubricant.
- Call a plumber for persistent leaks or valve issues not resolved by DIY methods.
- Before valve replacement, turn off the main water supply and drain the system.
- Safety precautions: keep the area dry, use correct tools, and wear safety goggles.
Ever had a water shut-off valve that won’t fully close? It’s annoying and can waste water or even cause damage. Luckily, it’s a common problem you can usually handle with the right know-how. This guide explains why valves don’t seal, how to troubleshoot, and some simple DIY fixes. Plus, it’ll help you know when to call a pro. Let’s get your plumbing back in shape!
Understanding Why Your Water Shut Off Valve Won’t Fully Close
A water shut-off valve is super important for your home’s plumbing. It lets you control the water flow for maintenance or emergencies, helping protect your home from leaks and damage.
But sometimes, the valve might not close all the way, which can cause problems. This often happens because of mineral buildup or rust, especially if you have hard water. Over time, these deposits can stop the valve from sealing properly. Multi-turn valves (the ones you twist multiple times) can wear out and have trouble closing fully. A damaged washer or valve seat can also leave the valve partly open.
Signs your valve isn’t closing fully:
- Dripping water even when appearing closed
- Hissing sounds from water flow
- Difficulty turning the valve handle
- Visible rust or corrosion around the valve
- Inconsistent water pressure in fixtures
Taking care of your shut-off valve regularly can keep these problems away. Open and close the valve once in a while to clear out any buildup. Check for signs of rust or a worn-out washer so you can fix issues early. Staying on top of maintenance helps your valve last longer and cuts down on surprise plumbing problems.
Step-by-Step Troubleshooting for a Water Shut Off Valve Issue
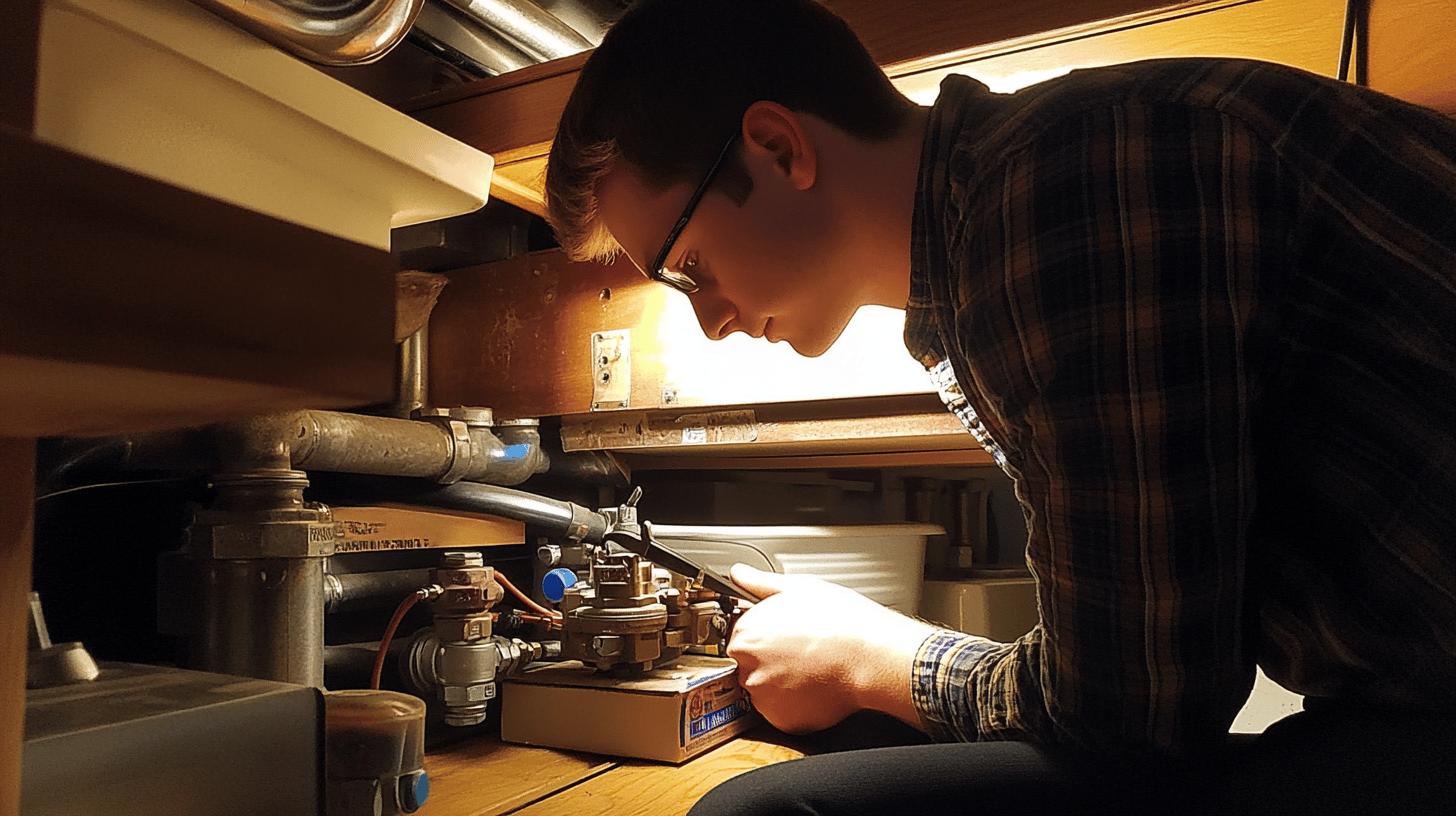
If a water shut-off valve won’t seal, it can cause leaks and damage. Before replacing it, try troubleshooting, which can solve many common problems. This method saves time and money, addressing the issue without unnecessary replacements.
-
Check for Leaks at Connection Points:
Look for visible leaks using a flashlight. Check for signs of water drips or moisture around the valve and pipe connections. -
Tighten Connection Points:
Use a wrench to ensure all fittings are snug, as loose connections often cause leaks and incomplete sealing. -
Inspect the Valve for Damage:
Check for cracks or corrosion on the valve body or handle. If evident, the valve may need replacement.
-
Test the Valve Handle:
Ensure it turns freely. If stuck, apply lubricant to the valve stem and move the handle to loosen it. -
Evaluate the Supply Line:
If leaks persist after tightening, consider replacing the supply line. A worn line can lead to incomplete sealing. -
Replace the Valve if Necessary:
If steps 1-5 fail, the valve may need replacement. Ensure the main water supply is off before doing so.
If these steps don’t solve the issue, consult a professional plumber. They provide peace of mind by addressing complex problems. Professionals can also recommend upgrades for better reliability and performance.
DIY Fixes for a Stuck or Faulty Water Valve
If your water valve is stuck or not working right, try these easy fixes before calling a plumber. Use slip-joint pliers to loosen the packing nut, but wrap it with cloth or tape first to avoid damage. Check if the valve handle is too tight or rusty—gently wiggle it to loosen it up. These simple steps might solve the problem.
Tools needed for DIY valve repairs:
- Slip-joint pliers
- Cloth or masking tape
- Lubricant spray
These fixes work but have limits. If the valve stays stuck or leaks, professional help may be needed. Plumbers have tools and know-how for issues DIY might miss, ensuring lasting solutions.
When to Call a Professional Plumber for Valve Issues
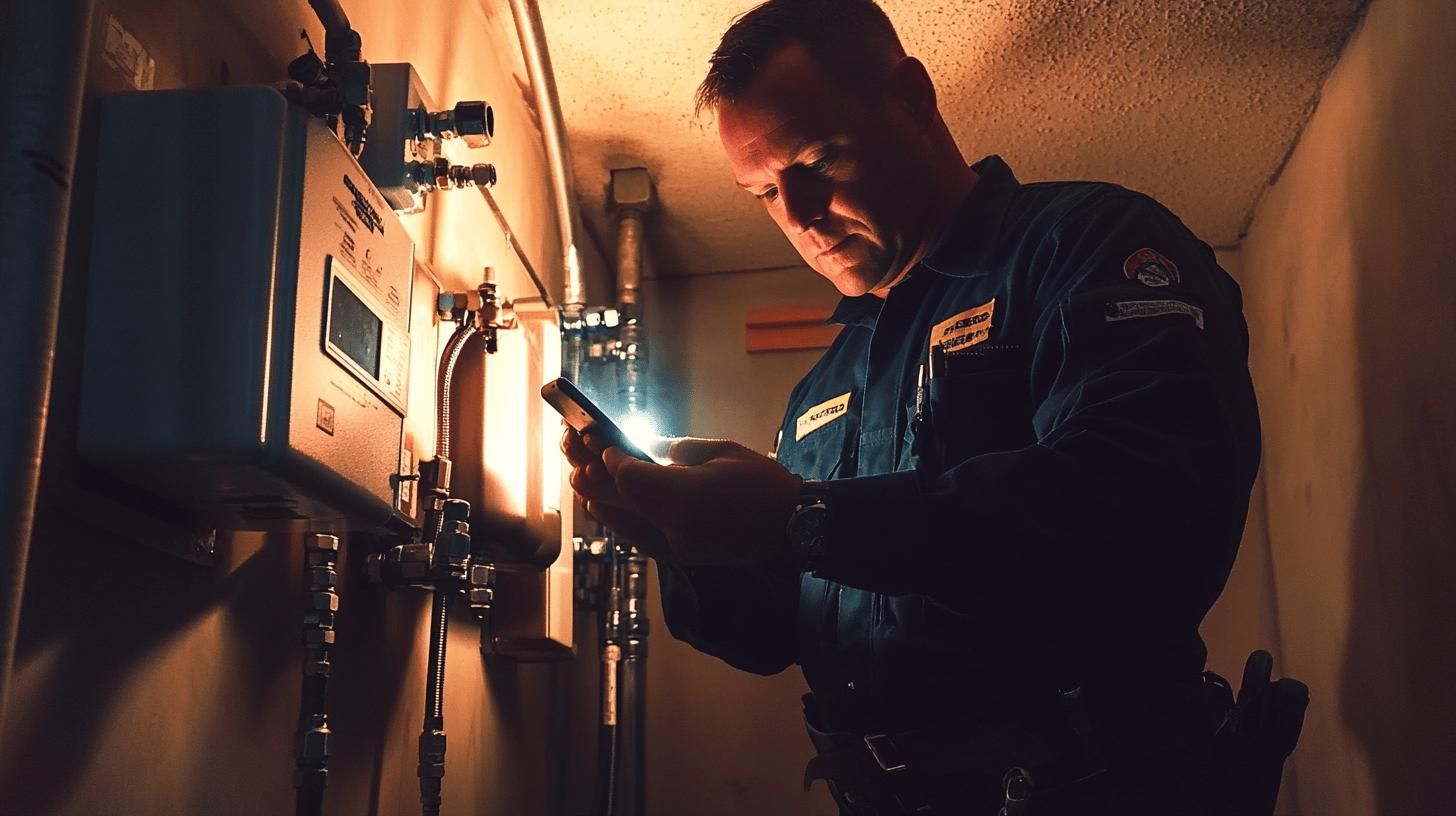
If your valve keeps leaking or won’t shut off, it’s time to call a plumber. These problems often point to deeper issues that DIY fixes can’t solve. A failed valve or constant leaks after repair attempts means you need expert help. Plumbers can figure out the exact problem, fix it right, or replace the valve to prevent more damage.
Hiring a licensed plumber comes with perks like access to advanced options like smart fixtures, which can save water and cut energy bills. They also make sure your plumbing runs smoothly and lasts longer, saving you from bigger problems and costs down the line.
Valve Replacement and Safety Precautions
Before replacing a broken valve, turn off your main water supply. Inside, check places like the basement, laundry room, or under the sink for the main shutoff. If the valve is outside, you may need to contact your water company. Once the water’s off, open a few faucets to drain the system and release pressure. This helps avoid spills during the job.
Safety matters. Keep the area dry to prevent slips or shocks. Use the right tools, like slip-joint pliers or a pipe wrench, to avoid damaging pipes. Wear goggles to protect yourself from water or debris. Taking these steps makes the process smoother and reduces the chance of injuries or mistakes.
Replacing a faulty valve ensures a tight seal, stopping leaks and saving water. It also helps your plumbing last longer, saving you from expensive repairs later on.
| Step | Description |
|——|——————————————————-|
| 1 | Turn off the main water supply at the house or street.|
| 2 | Open faucets to drain water and relieve pressure. |
| 3 | Use appropriate tools to remove and replace the valve.|
Final Words
Fixing a water shut-off valve that won’t fully close can prevent plumbing headaches. We’ve covered common causes like mineral buildup and wear and why regular maintenance is key to avoiding these issues.
Troubleshooting tips can help with small leaks or faulty seals, but for bigger problems, calling a professional is the safest bet. They’ll ensure the job is done right and your system works smoothly. Replacing a valve properly, with the right tools and safety steps, is crucial for reliable plumbing.
With these tips, you can handle valve issues confidently and keep your plumbing in great shape.
FAQ
Q: Why is my water shut-off valve not fully closing?
A: Water shut-off valve issues often stem from mineral buildup or rust, which obstructs closure. Worn parts like washers inside multi-turn valves can also prevent them from sealing properly over time.
Q: Why is water still running when the valve is turned off?
A: If water continues to run when a valve is turned off, mineral deposits, rust, or damaged internal components are likely impeding the valve’s full closure.
Q: How can I loosen a corroded or stuck water valve?
A: To loosen a stuck valve, gently attempt to turn it using slip-joint pliers. Protect the valve finish using cloth or masking tape to avoid damage during the process.
Q: What should I do if my toilet shut-off valve is closed but water is still running?
A: Inspect the valve for damage or obstruction. If issues persist, check connections for leaks and consider calling a plumber to ensure complete shut-off.
Q: How long does it take for water to stop after turning off the main valve?
A: Once the main valve is off, water may take a few moments to stop completely due to residual pressure within the plumbing system.
Q: Why is my water shut-off valve still leaking when closed?
A: A leaking valve, despite being closed, indicates worn or damaged seals. Inspect for deterioration and replace the valve or seals as needed for a complete fix.
Q: When should I call a professional plumber for valve issues?
A: Call a professional when experiencing persistent leaks, complete valve failure, or if simple troubleshooting fails. Licensed plumbers provide advanced solutions and efficient repairs.
Q: What are the safety precautions for valve replacement?
A: Ensure main water supply is off, dry the area, and use appropriate tools during valve replacement. Properly replacing valves ensures long-term plumbing efficiency and safety.