TL;DR:
- Bathroom putty: Clay-like sealant, stays flexible, water-resistant.
- Common uses: Sink drains, bathtub edges, shower drains, faucet bases, toilet flanges.
- Comparison with sealants: Putty remains pliable; caulk dries rigid; silicone requires clean surfaces, takes up to 24 hours to cure.
- Application steps: Clean surface, mold putty, press into gaps, smooth excess, let settle.
- Avoid mistakes: Ensure clean surfaces, check material compatibility, use appropriate putty amount.
- Recommended brands: Oatey, Harvey’s, DAP, Hercules Sta Put.
- Professional help advised for complex installations to prevent errors.
Ever wondered what keeps your bathroom dry and leak-free? The answer might just be bathroom putty, the unsung hero behind many sealed sinks, bathtubs, and toilets. This clay-like material plays a crucial role in preventing water damage by sealing joints and filling gaps around bathroom fixtures. It’s flexible, durable, and easy to apply, offering a simple solution to common leaks.
Knowing how to use bathroom putty effectively can save you time, money, and headaches down the line. In this post, you’ll learn the techniques for creating water-tight seals, ensuring a dry, trouble-free bathroom. Let’s dive into how this simple tool can make a big difference in your bathroom maintenance!
Understanding Bathroom Putty and Its Uses
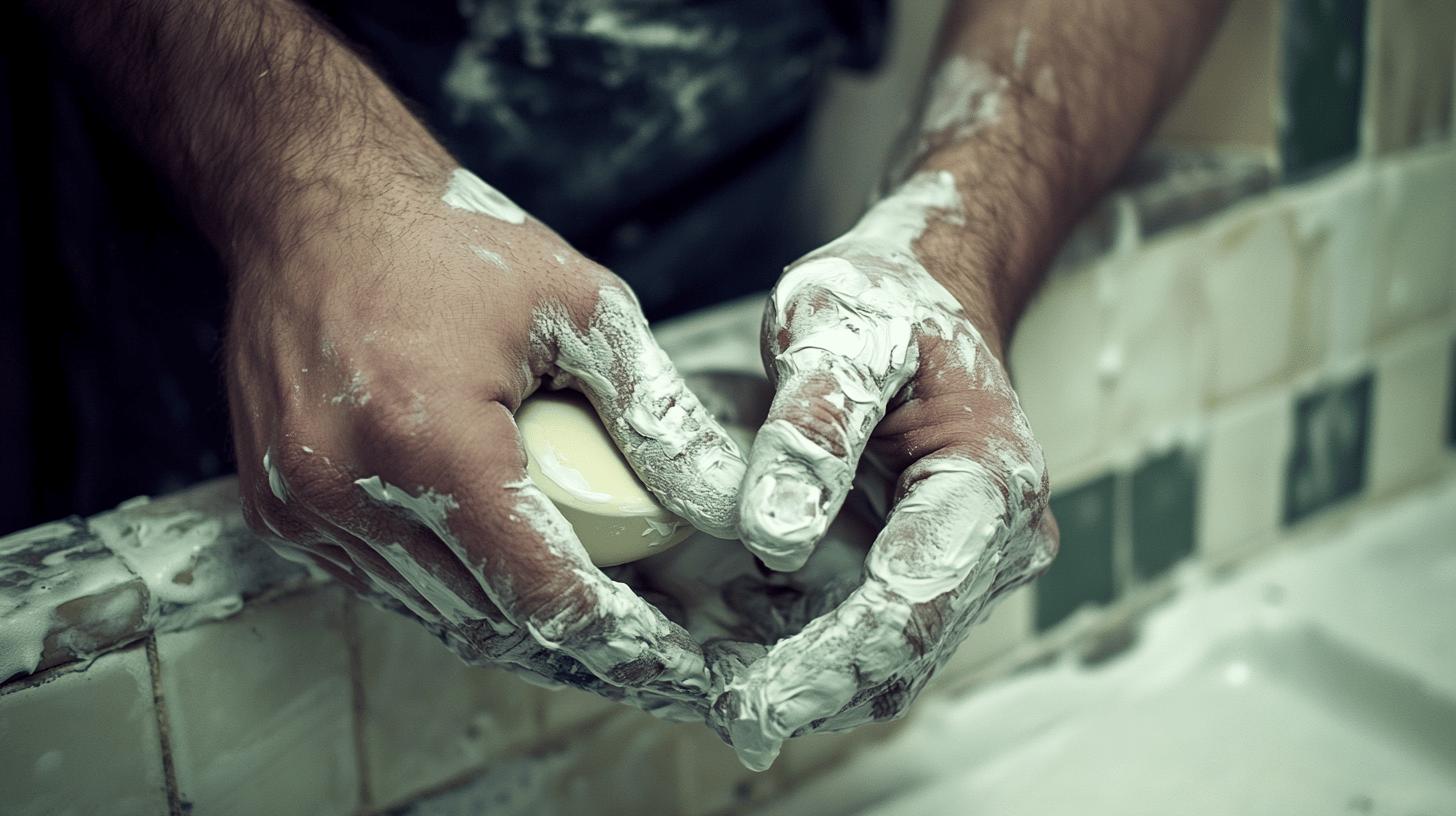
Bathroom putty is a versatile, clay-like material used to seal joints and fill gaps in bathroom fixtures. Its pliability makes it perfect for preventing water leaks around drains and faucets, ensuring a reliable, water-tight seal. The reason for its popularity? It stays flexible over time, allowing it to adjust to small movements or changes in fixtures like sinks, bathtubs, and toilets, where rigid materials could crack or leak.
What sets bathroom putty apart from other sealants is its flexibility and water-resistant qualities. While traditional sealants like caulk harden, bathroom putty remains malleable, which makes it easy to adjust while still providing a solid seal against water. This flexibility is key in areas that experience slight shifts or vibrations, where more rigid materials might fail. Plus, its water resistance guarantees long-lasting leak protection, making it the go-to choice for many plumbing tasks.
Common uses of bathroom putty include:
- Around sink drains
- Bathtub edges
- Shower drains
- Faucet bases
- Toilet flanges
For complex installations or repairs, it’s best to hire professional plumbers. They have the skills and tools to handle tough-to-reach areas and ensure a precise, durable seal. Their expertise reduces the risk of leaks, helping to keep your bathroom’s infrastructure in excellent condition and preventing expensive water damage.
Bathroom Putty vs. Sealants: Making the Right Choice
When comparing bathroom putty to other sealants like caulk, the main difference lies in flexibility and where they’re best used. Bathroom putty stays pliable, making it perfect for sealing spaces under flanges or areas that require flexibility, such as around sink drains and bathtub edges. Its flexibility ensures slight movements won’t break the seal. On the other hand, caulk, which is made from acrylic and latex, dries rigid and is best for permanent, fixed seals, like where walls meet tiles. Silicone sealants require clean, dry surfaces for good adhesion and can take up to 24 hours to cure, making them ideal for creating durable, watertight bonds.
| Property | Bathroom Putty | Sealant/Caulk |
|———————-|—————-|——————-|
| Flexibility | Remains pliable| Dries rigid |
| Ideal Use Case | Spaces under flanges | Sealing seams |
| Drying Time | None | Up to 24 hours for silicone |
Choosing the right product for your bathroom is key to effective sealing. For fixtures that experience movement, bathroom putty’s flexibility helps prevent leaks by adapting to shifts. For fixed joints that need stability, go with a more rigid sealant like caulk or silicone. By evaluating your bathroom project’s needs, you can select the best sealing solution, ensuring both durability and functionality.
How to Apply Bathroom Putty Effectively
To get an effective seal with bathroom putty, start by making sure the surface is clean and dry. Why is this important? A clean surface helps the putty adhere properly, preventing leaks and keeping the seal intact. Moisture, dirt, or debris can stop the putty from bonding well, which could lead to water damage. So, proper preparation is key to achieving a strong and lasting seal.
Here’s a guide to applying bathroom putty:
- Clean and dry the surface.
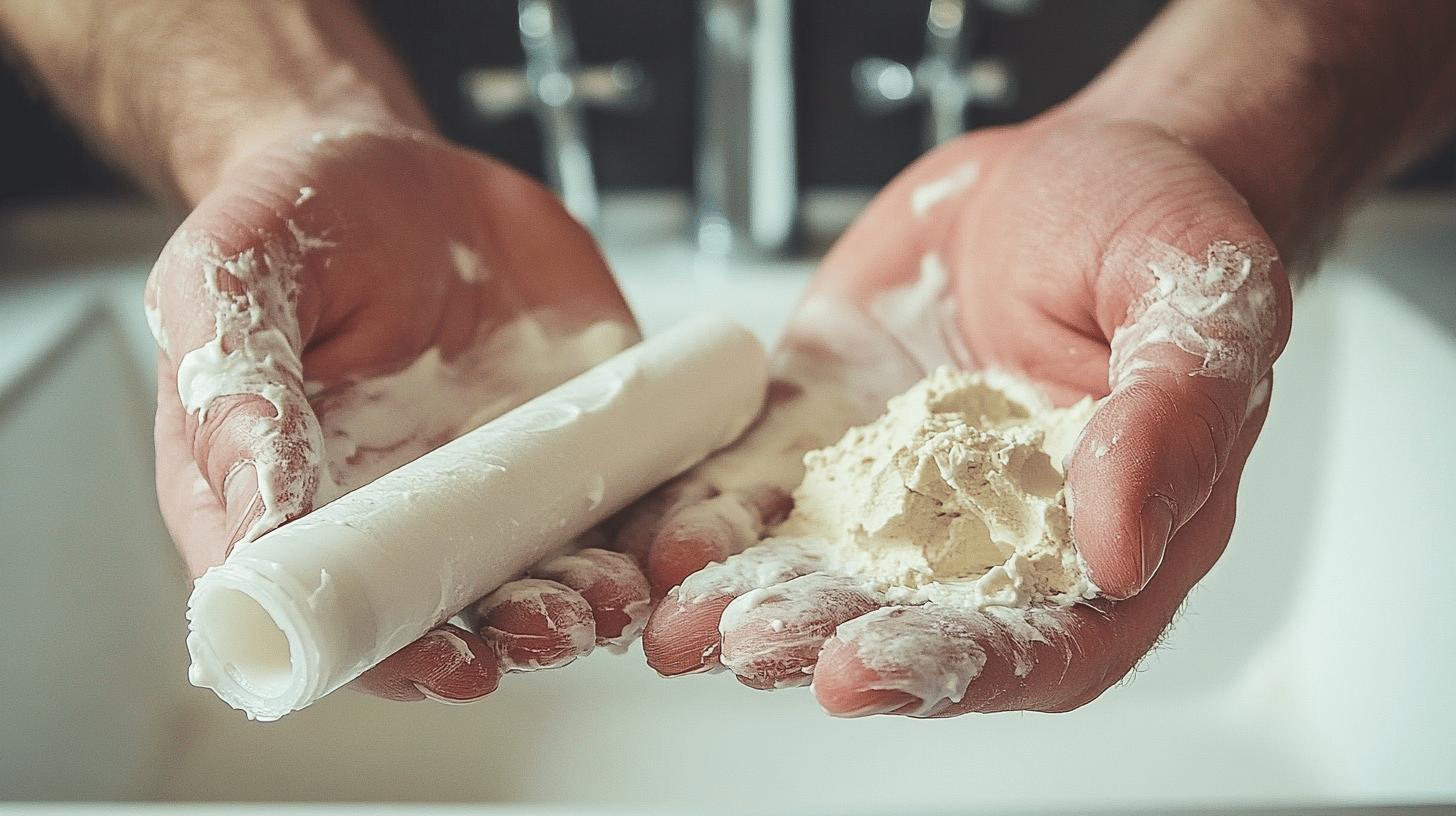
- Mold the putty by hand into a snake shape.
- Press the putty firmly into gaps.
- Smooth any excess for a neat finish.
- Allow the putty to settle undisturbed.
Avoiding mistakes is just as important as applying bathroom putty correctly. A common error is using too much putty, which can lead to uneven sealing and excess material. Another mistake is applying putty to surfaces like acrylic or ABS plastics, which can be damaged by the oils in the putty. Proper preparation and using the right amount of putty help prevent these issues, ensuring a secure, long-lasting seal.
In more complicated areas with overlapping seals or tight spaces, professionals may be needed. Plumbers have the expertise and tools for these challenging tasks, ensuring the job is done right the first time and saving you from future repairs and headaches.
Choosing the Right Bathroom Putty: Tips and Recommendations

When choosing the right bathroom putty for repairs, several key factors should guide your decision for a lasting and effective seal. First, consider water resistance to prevent leaks in wet areas. Durability is essential to ensure the seal remains intact over time, even with regular use. Ease of application is important for DIY projects, making it easier to work with and achieve a reliable seal without professional help. Lastly, ensure the putty is compatible with your bathroom materials, such as metal, ceramic, or certain plastics, to avoid any adverse reactions that could damage your fixtures.
Some recommended brands include:
- Oatey Plumber’s Putty: Water-resistant, easy to use
- Harvey’s Plumber’s Putty: Long-lasting, durable
- DAP Plumber’s Putty: Suitable for various materials
- Hercules Sta Put: Ideal for heavy-duty applications
Silicone is a great alternative to bathroom putty in situations where a permanent, adhesive bond is necessary. Use silicone around areas that experience significant movement or stress, like shower enclosures or bathtubs. Its curing process creates a flexible, durable seal, making it ideal for high-moisture environments where putty might not perform as well. When evaluating your repair needs, consider silicone for its long-lasting, waterproof seal, especially in areas requiring more flexibility and durability than putty can offer.
Common Bathroom Putty Mistakes and How to Avoid Them
Common mistakes when applying bathroom putty include improper surface preparation, using it on incompatible materials, and applying the wrong amount. Not cleaning and drying the surface properly can prevent the putty from adhering, leading to leaks and poor sealing. Using putty on materials like certain plastics, such as acrylic or ABS, can cause damage because of the oils in the putty. Applying too much or too little can result in an uneven seal, leaving gaps or excess material that may affect performance. Avoiding these errors is key to ensuring a strong, lasting seal and preventing leaks.
To avoid these issues:
- Ensure surfaces are clean and dry before application.
- Check material compatibility.
- Use the correct amount of putty for effective sealing.
Seek professional help when dealing with complex applications or materials that may not be compatible with bathroom putty. Professionals have the expertise to assess the situation accurately and prevent costly errors. They can handle intricate installations and ensure a durable, watertight seal. Hiring a professional reduces the risk of mistakes, protecting your bathroom from potential water damage and ensuring the job is done right the first time.
Final Words
Bathroom putty plays a crucial role in sealing fixtures like sinks and toilets, thanks to its flexibility and ability to prevent water leaks. Its resilience makes it a better choice than rigid sealants in many cases. Proper application is key to avoiding common issues like leaks, ensuring your fixtures stay secure and functional. Choosing the right product and avoiding mistakes during application will lead to more successful repairs. By investing time in learning the proper techniques, you can achieve durable, reliable results that make bathroom maintenance much easier.
FAQ
What is plumber’s putty used for?
Plumber’s putty is used for sealing joints and gaps in bathroom fixtures like sinks, bathtubs, and toilets. It prevents water leakage around drains and faucets due to its flexible nature.
Can I use putty in the bathroom?
Yes, you can use plumber’s putty in the bathroom, particularly around sink drains, faucet bases, bathtub edges, shower drains, and toilet flanges for effective sealing.
When should you not use plumber’s putty?
Avoid using plumber’s putty on porous surfaces or where staining can occur, such as marble or granite. Use it only in areas requiring elastic sealing without curing or hardening.
Is plumber’s putty a permanent fix?
Plumber’s putty is not a permanent fix. It remains pliable and should be replaced if remodeling or sustained pressure affects its seal over time.
Is it better to use plumber’s putty or silicone?
The choice between plumber’s putty and silicone depends on the application. Use plumber’s putty for flexible sealing under fixtures. Opt for silicone when a more permanent, watertight seal is needed.
Can plumber’s putty be used for leaks?
Yes, plumber’s putty can be used to prevent leaks around areas like kitchen sinks, drains, and faucets. It’s effective in areas needing slight movement.
When not to use plumber’s putty?
Do not use plumber’s putty on plastic threads or when a permanent bond is required. Silicone or another sealant might be better suited in such cases.
What are key differences between plumber’s putty and sealants?
Plumber’s putty stays flexible and works well under flanges, while sealants like silicone require a dry surface and form a rigid, lasting seal after curing.
How should surfaces be prepared for applying plumber’s putty?
Ensure that surfaces are clean and dry before applying the putty. This helps in achieving a strong seal and preventing water leaks.
What’s a common mistake when using bathroom putty?
A common mistake is not preparing surfaces properly. Cleaning and drying surfaces beforehand can prevent inadequate sealing and future leaks.