Ductless Mini Split Installation: Top DIY Guide 2025
Ductless mini split installation has become a popular choice for homeowners looking to improve their home’s heating and cooling efficiency. With the ability to heat and cool individual rooms without the need for ductwork, these systems offer a flexible solution for many living spaces, especially in the diverse climate of the Rio Grande Valley.
Why consider DIY installation?
- Cost savings: Avoid hefty installation fees.
- Control: Customize temperature settings per room.
- Flexibility: Perfect for homes with unique layouts.
The growing trend of DIY installation is not just about saving money; it’s about gaining control over your home’s comfort systems. While professional installation offers ease and expertise, many homeowners find satisfaction in tackling the project themselves, aided by step-by-step guides and readily available tools. However, it’s important to note that handling refrigerant lines and electrical connections may require professional oversight or adherence to local codes.
Curious about how you can get started? We’ll guide you through understanding ductless systems, the installation process, and potential costs to ensure your DIY project is a success.

Understanding Ductless Mini Split Systems
Ductless mini split systems are a modern solution for efficient home heating and cooling. They are particularly useful in places like the Rio Grande Valley, where temperature fluctuations can be extreme. But what exactly are these systems, and how do they work?
What Are Ductless Systems?
Unlike traditional HVAC systems, ductless mini splits do not require ductwork to distribute air. This makes them ideal for older homes or spaces where installing ducts is impractical. Instead, they consist of two main components: indoor air-handling units and an outdoor condenser.
Indoor Air-Handling Units
The indoor component, the air-handling unit, is typically mounted high on a wall and blows air into the room. They are compact and designed to blend into the room’s decor. Each unit can be controlled independently, allowing you to set different temperatures in different rooms. This zoning capability is one of the key benefits of ductless systems.
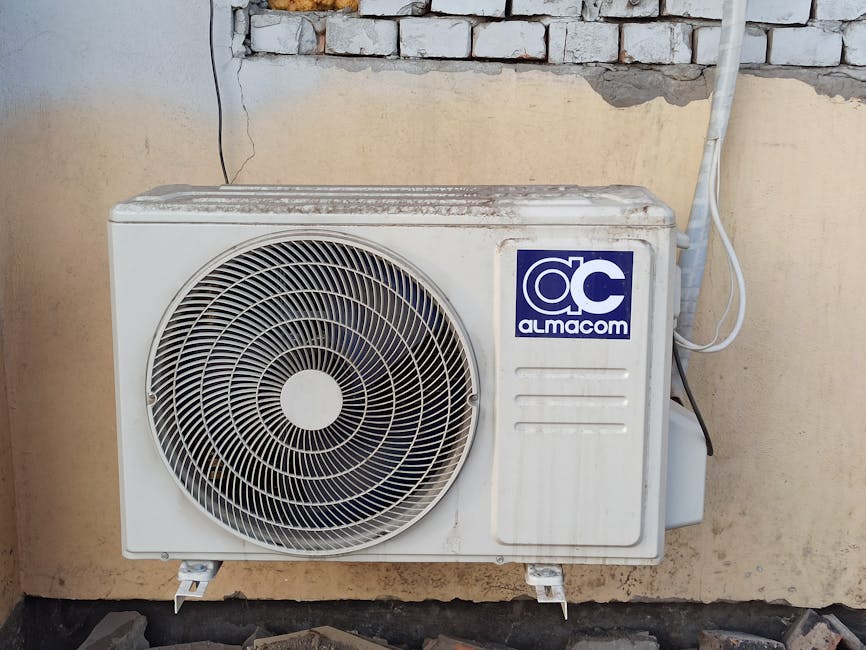
Outdoor Condenser
Serving as the system’s powerhouse, the outdoor condenser contains the compressor, which circulates refrigerant between the units. It contains the compressor, which circulates the refrigerant between the indoor and outdoor units. The condenser is usually installed on a flat surface outside the home and connects to the indoor units through a line set. This line set includes refrigerant tubing, a power cable, a suction tubing, and a condensate drain.
How Do They Work Together?
The system operates by transferring heat between the indoor and outdoor units. In cooling mode, the indoor unit absorbs heat from the room and transfers it to the outdoor condenser, which releases it outside. In heating mode, the process is reversed, drawing heat from the outside air and bringing it indoors.
Advantages of Ductless Systems
- Energy Efficiency: These systems reduce energy loss because they don’t use ducts.
- Flexible Installation: There’s no need for major remodeling or adding ductwork.
- Quiet Operation: Indoor units operate very quietly, almost like a whisper.
Ductless mini splits are a versatile and efficient option for many homes. Whether you’re looking to improve comfort in a single room or throughout your home, understanding how these systems work is the first step toward making an informed decision.
Next, let’s dive into the step-by-step guide on how to install your own ductless mini split system.
Step-by-Step Guide to Ductless Mini Split Installation
Preparing for Installation
Before starting your ductless mini split installation, it’s crucial to prepare thoroughly. This includes ensuring you have the right tools and understanding the electrical requirements.
Electrical Circuit: A ductless mini split typically needs a dedicated 20-amp circuit. If you’re not comfortable with electrical work, it’s wise to hire a professional. This ensures the system is powered safely and efficiently.
Placement: For an easier installation, it’s best to mount the indoor air-handling units on exterior walls. This simplifies the process of connecting the indoor units to the outdoor condenser. However, if you choose an interior wall, be prepared for a more complex installation.
Warranty Considerations: Some brands, like MRCOOL, require professional installation to honor their warranty. If you want to DIY, check the warranty terms to avoid voiding it.
Heights and Ladders: If installing units on the second floor, ensure you have a tall enough ladder. For safety, scaffolding is preferred if available.
Single Unit or System: Decide if you need a single unit for one room or a multi-zone system that can handle multiple rooms. This will guide your installation process and equipment needs.
Installation Process
Once prepared, follow these steps to install your ductless mini split system:
-
Mount the Air-Handling System: Begin by mounting the indoor unit on the wall bracket. Ensure it’s level and securely attached.
-
Drill the Line Set Hole: Drill a hole through the wall for the line set. This will connect the indoor unit to the outdoor condenser. Make sure the angle of the hole allows for proper drainage.
-
Run the Line Set: Feed the refrigerant tubing, power cable, and condensate drain through the hole. Connect them to the indoor unit.
-
Mount the Outdoor Condenser: Place the outdoor unit on a flat surface, ideally on a concrete pad. Ensure it’s level and has enough clearance for airflow.
-
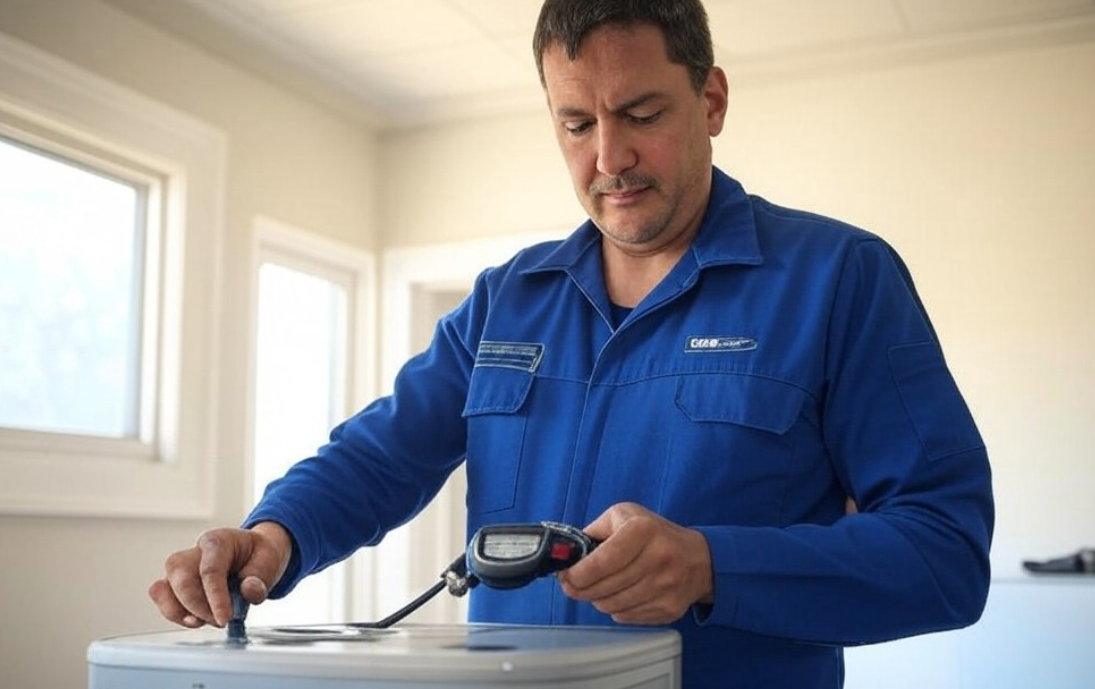
Connect Refrigerant Lines: Attach the refrigerant lines from the indoor unit to the outdoor condenser. Ensure all connections are tight and leak-free.
-
Power Up: Connect the system to the dedicated electrical circuit. Double-check all connections before turning on the power.
-
Cover the Line Set: Use a line set cover to protect the tubing and cables. This not only improves the appearance but also protects the lines from weather damage.

By following these steps, you can successfully install your ductless mini split system. However, if you encounter challenges, don’t hesitate to consult a professional to ensure everything is installed correctly and safely.
Next, we’ll explore the cost considerations associated with installing a ductless mini split system.
Cost Considerations for Ductless Mini Split Installation
When considering ductless mini split installation, understanding the potential costs is crucial. Costs can vary significantly based on several factors, including the number of zones you plan to install, your home’s layout, and your location.
Installation Cost: On average, installing a single-zone ductless mini split can range from $3,000 to $10,000. This includes both the equipment and labor costs. Multi-zone systems, which allow you to control the temperature in different rooms individually, tend to be more expensive. Each additional zone can add around $500 to $2,000 to the total cost.
Zones: The number of zones you choose plays a significant role in your overall cost. A single-zone system is ideal for cooling or heating one room, such as a bedroom or home office. In contrast, a multi-zone system can cover multiple rooms or even an entire home, providing more flexibility but at a higher cost.
Additional Considerations: Other factors that can influence the cost include the need for electrical upgrades, which may be necessary if your current setup can’t support the new system. Additionally, if your installation requires extensive work on walls or ceilings, this could increase labor costs.
While DIY installation might seem like a way to save money, it’s essential to weigh the potential savings against the complexity of the job and the potential for voiding warranties. Hiring a professional installer ensures that the system is set up correctly, maximizing efficiency and longevity.
Understanding these cost considerations can help you make informed decisions about your ductless mini split installation. Next, we’ll address some common questions about this process.
Frequently Asked Questions about Ductless Mini Split Installation
How much should it cost to install a ductless mini split?
The cost of installing a ductless mini split varies widely. On average, a single-zone installation can cost between $3,000 and $10,000. This range covers both equipment and labor. Multi-zone systems, which allow temperature control in multiple rooms, tend to be pricier. Each additional zone might add $500 to $2,000 to the total cost.
National Average: HomeAdvisor reports the national average cost for a ductless mini split installation is about $5,000. This figure can change based on local labor rates and the complexity of your setup.
Can I install my own ductless mini split?
Yes, installing your own ductless mini split is possible, especially if you’re handy and have some experience with similar projects. Many homeowners choose the DIY route to save on labor costs. However, there are a few important things to keep in mind:
- Electrical Work: A ductless mini split usually requires a dedicated 20-amp circuit. If you’re not comfortable with electrical work, it’s best to hire a professional.
- Warranty Concerns: Some manufacturers, like MRCOOL, may void the warranty if the system isn’t installed by a licensed HVAC contractor.
- Professional Recommendation: Hiring a professional ensures the system is installed correctly and efficiently. This can help avoid problems down the road and ensure optimal performance.
What are the disadvantages of a mini split system?
While mini split systems offer many advantages, there are a few potential downsides to consider:
- Oversized Units: An oversized unit can lead to short cycling, where the system turns on and off frequently. This can increase wear and tear and reduce efficiency.
- Aesthetic Concerns: Some people find the indoor units less visually appealing compared to traditional vents. Their placement on walls can be a design consideration.
Understanding these aspects will help you decide if a ductless mini split installation is right for you.
Conclusion
When installing a ductless mini split system, selecting a provider with expertise and a commitment to quality is key. Integrity Services & Plumbing is a reliable choice for heating and cooling needs in the Rio Grande Valley. Their decades of experience ensure expert solutions custom to meet your specific requirements.

Their team of professionals is dedicated to ensuring that every project is completed on time and within budget, while maintaining the highest standards of integrity and excellence. Whether you’re considering a DIY approach or seeking professional installation, Integrity Services & Plumbing can guide you through the process, offering valuable insights and support to ensure your ductless mini split installation is a success.
By choosing Integrity Services & Plumbing, you benefit not only from their expertise but also from their strong commitment to customer satisfaction. They strive to deliver solutions that improve your comfort and efficiency, making them a reliable choice for your home or business.
For more information on their services and how they can assist with your installation needs, visit Integrity Services & Plumbing.