TL;DR:
- Common faucet problems: Dripping spout, noisy faucet, low water pressure, leaky handle, water temperature issues.
- Signs to inspect: Every 3-6 months to prevent leaks.
- Essential tools: 4-in-1 screwdriver, faucet repair kit, adjustable wrench, plumber’s tape, slip-joint pliers.
- Repair steps: Turn off water, remove handle, inspect parts, replace washers/O-rings, clean, reassemble, test for leaks, adjust pressure.
- Faucet types: Cartridge, ball, compression washer – each with specific repair methods.
- When to hire professionals: Persistent leaks, complex installations, plumbing codes, urgent issues.
- Benefits of professional help: Expertise, compliance, rapid diagnosis, emergency response.
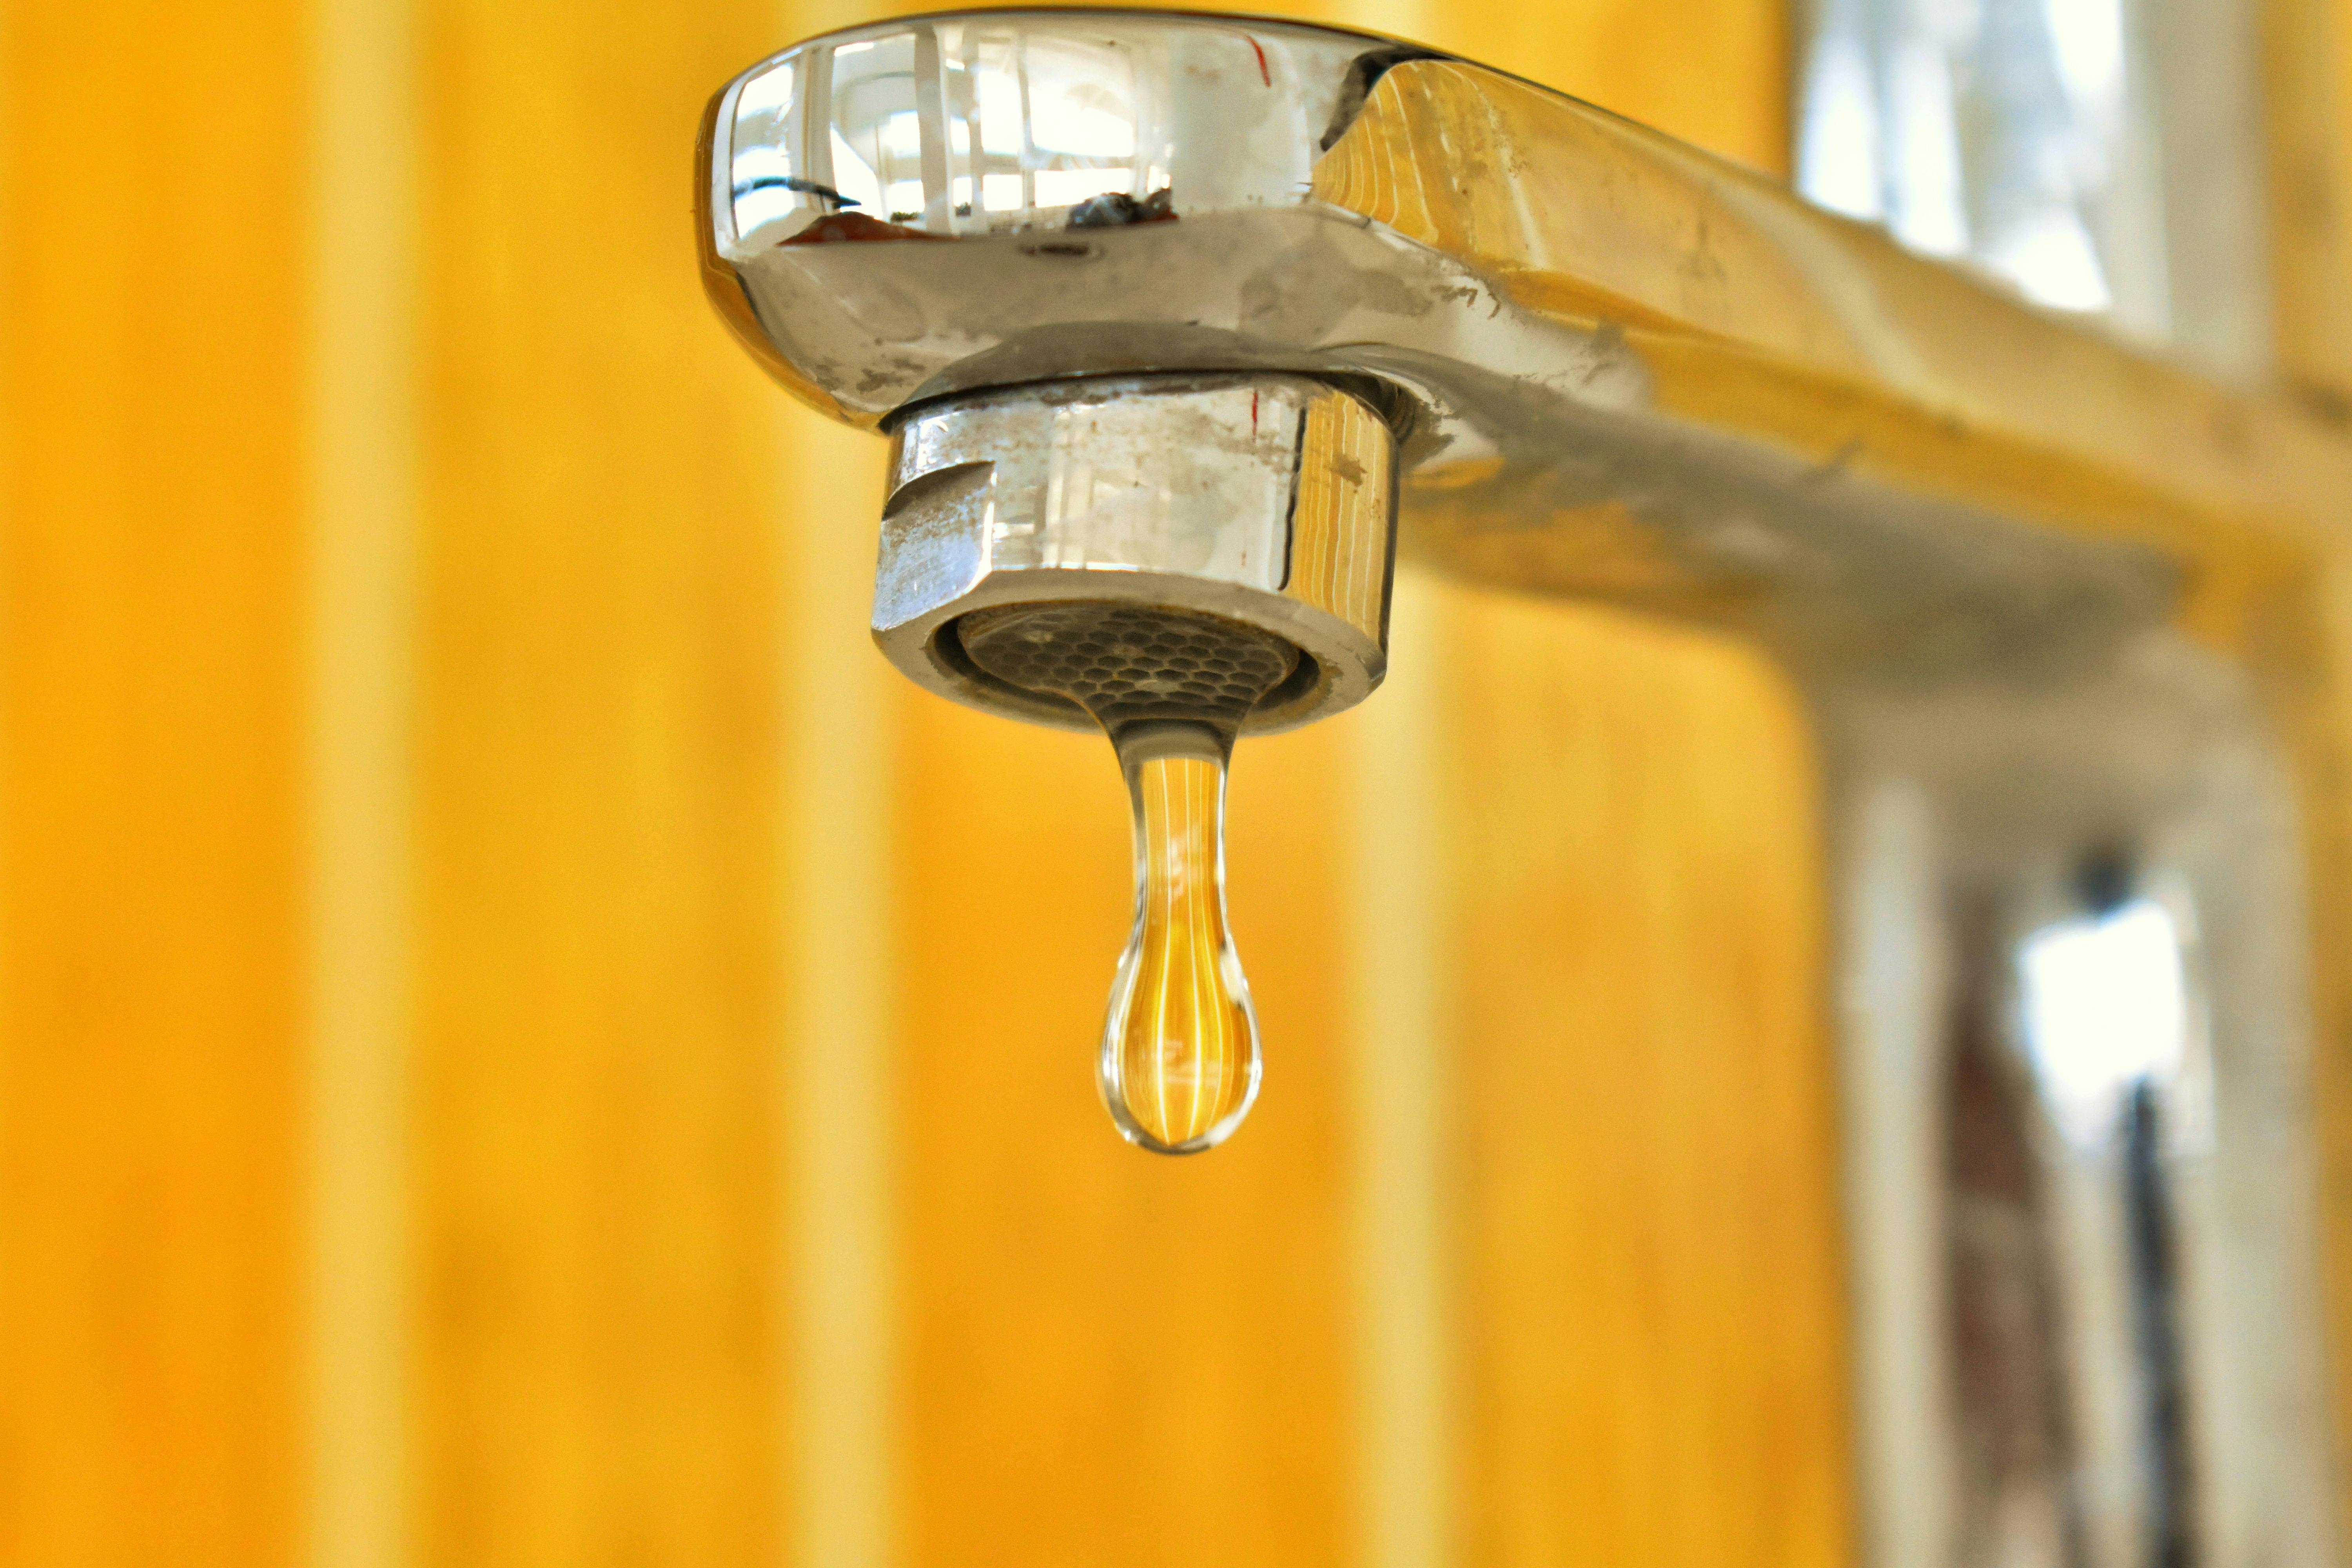
Is your water bill suddenly way too high, or are you fed up with that annoying drip from your faucet? A single leaking faucet can waste over 3,000 gallons of water a year, which can really add up! Fixing it might seem tough, but it’s usually just about spotting common problems like worn-out parts or too much water pressure. In this guide, we’ll show you simple ways to figure out what’s wrong and how to fix it. By taking care of that leaky faucet, you’ll save money on your bills and stop the noise. Let’s jump into the solutions to get your plumbing back in shape!
How to Diagnose a Broken Faucet
Understanding why your faucet is broken is key to fixing it and saving water. A dripping faucet can waste more than 3,000 gallons a year, which can really hike up your water bill. Common issues include worn-out parts, corrosion, or high water pressure. Spotting these problems early means you can make effective repairs that last.
Signs of Faucet Problems
- Dripping spout: Often from worn or corroded parts.
- Noisy faucet: Could be due to small pipes or scale buildup.
- Low water pressure: Might indicate a faulty diverter valve.
- Leaky handle: Often from worn washers or O-rings.
- Water temperature issues: Could be a misaligned or faulty cartridge.
Inspect your faucet every three to six months to catch leaks or wear early on. This simple routine can prevent bigger problems and save water. Regular maintenance not only extends your faucet’s lifespan but also cuts costs and reduces your environmental impact.
Tools and Materials for Faucet Repair
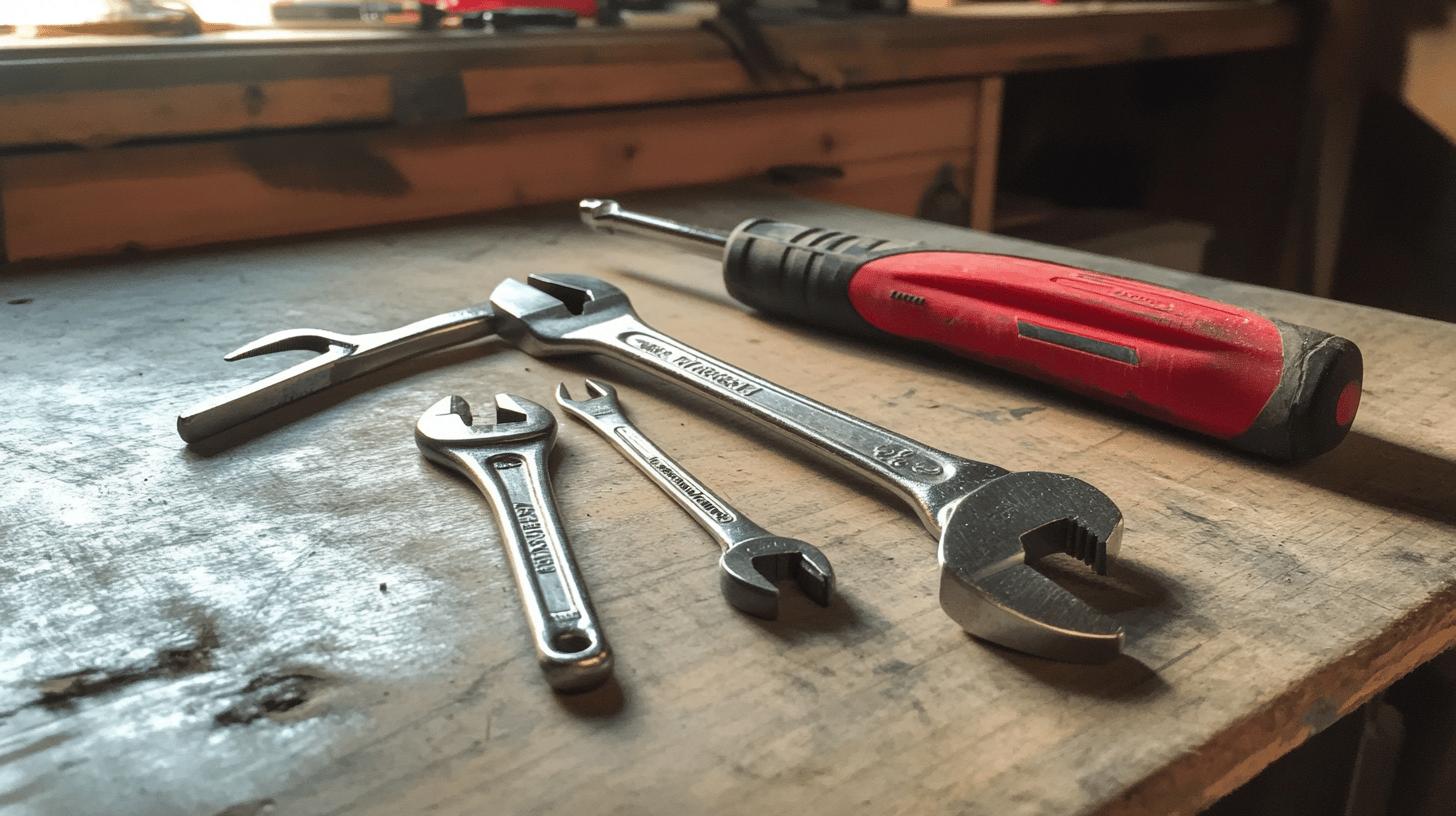
Having the right tools is essential for fixing your faucet successfully. Using the right DIY tools saves time and avoids causing more damage. For instance, a 4-in-1 screwdriver and a faucet repair kit are essential. A rotary ball faucet kit should include a ball, springs, seats, O-rings, and a small tool. Being ready with these tools helps you make confident and effective repairs.
| Tool/Material | Purpose |
|——————–|———————————-|
| 4-in-1 Screwdriver | General disassembly |
| Faucet Repair Kit | Contains necessary replacement parts |
| Adjustable Wrench | Loosening and tightening parts |
| Plumber’s Tape | Seals pipe threads |
| Slip-joint Pliers | Unscrewing components |
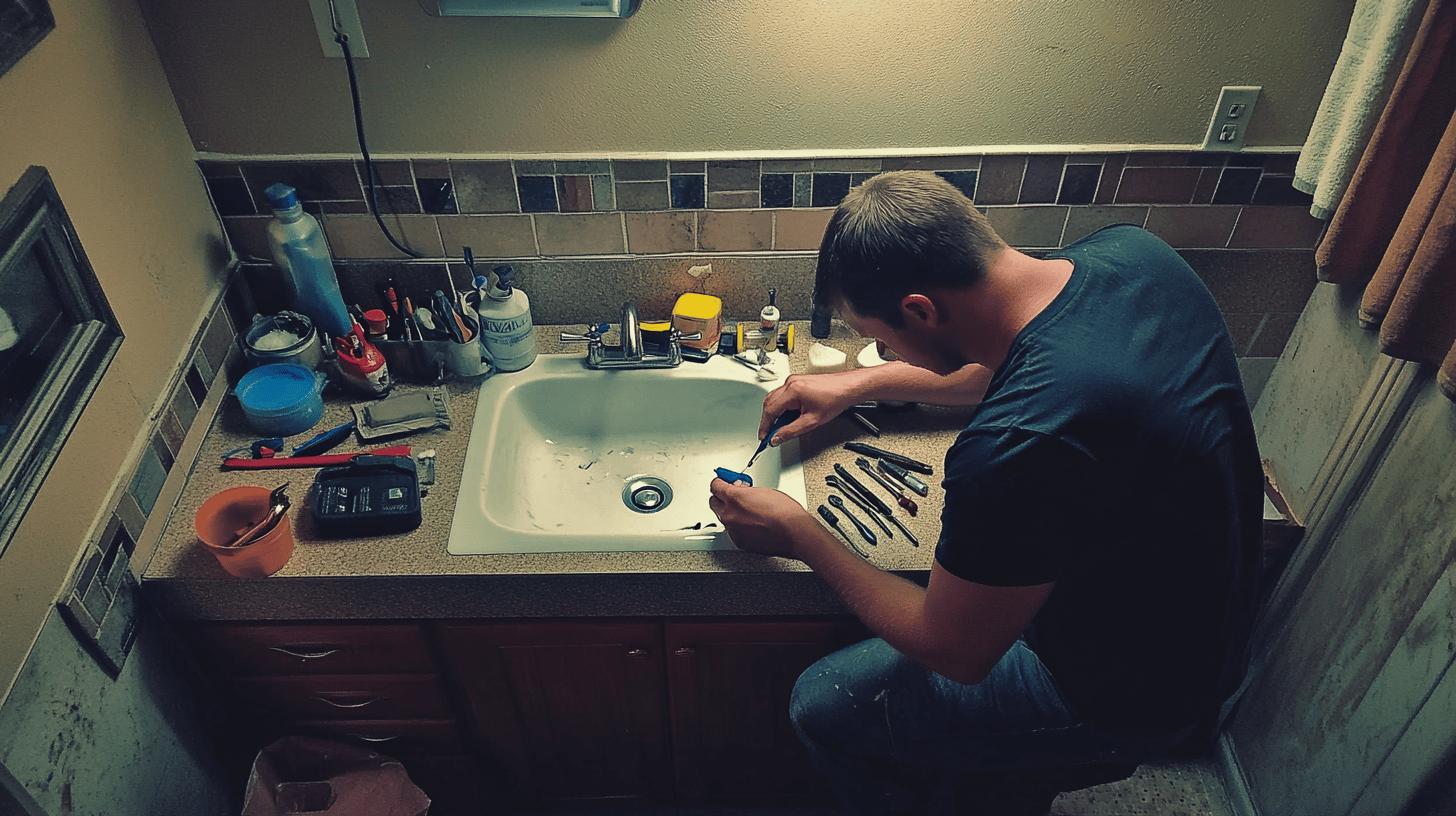
Step-by-Step Guide to Fixing Leaky Faucets
To fix a broken faucet, follow these steps to prevent any more damage. This step-by-step method will help you tackle leaks and get your faucet back in working order effectively.
- Turn off the water supply under the sink.
Ensure no water spills by turning the valve clockwise. - Remove the handle using a screwdriver.
With the water off, unscrew the handle to check internal parts. - Detach the valve stem carefully. Gently pull the valve stem to avoid damage to nearby parts.
- Inspect components for wear.
Check washers, O-rings, and valve seats for damage. - Replace damaged washers or O-rings.
Swap out faulty components to stop future leaks. - Clean the faucet body and valves. Wipe away debris for the best seal with new parts.
- Reassemble the valve stem and handle.
Put back the parts carefully to prevent operation issues. - Secure all components tightly.
Make sure everything is tightened properly. - Turn on the water supply and test. Check for leaks by running water through the faucet.
- Adjust water pressure if needed.
Set the pressure right to keep the faucet working well.
Follow these steps to fix common faucet issues. If problems persist, consider a professional plumber for more help.
Specific Repair Techniques for Different Faucet Types

Understanding the different types of faucets helps you fix them the right way. Each type has its own specific methods for handling problems, so knowing this will make your DIY repairs quicker and safer.
Cartridge Faucets
Cartridge faucets, often with two handles, use a cartridge to control the water flow. To fix one, first turn off the water. Then, remove the handle and check the cartridge. If it’s damaged, replace it. Put everything back together and test for leaks.
Ball Faucets
Ball faucets, which are common in kitchens, use a ball mechanism for water control. To fix one, grab a repair kit that includes seats, springs, and a ball. Start by removing the handle and cap, then replace any worn parts and adjust the ball joint.
Compression Washer Faucets
Compression faucets use washers to control water flow. To fix one, turn off the water, remove the handle, and replace the worn washer. After that, reassemble everything to make sure it operates tightly. By using the right techniques for each faucet type, you can efficiently fix leaks. However, for bigger problems, it’s best to call a professional plumber.
Troubleshooting and Fixing Common Faucet Issues
Ignoring faucet problems like leaks can really hike up your water bill, costing you $20 or more. Fixing these issues quickly helps you avoid those extra charges and saves water. Common culprits like loose screws or corrosion can cause leaks, so taking quick action keeps your faucet running smoothly.
- Tighten visible screws and nuts.
- Use rust penetrant on stuck parts.
- Apply heat to loosen corroded pieces.
- Clean aerators for better flow.
- Replace old washers to stop drips.
- Adjust water pressure settings.
Regular maintenance helps prevent faucet problems from coming back. By checking for loose screws and corrosion, you can catch issues early. Cleaning aerators and replacing washers keeps your faucet working well. Consistent upkeep ensures reliable performance and saves you money on your water bill.
The Importance of Professional Plumbing Services
DIY fixes are great for simple faucet repairs, but sometimes you need a pro for tougher jobs. Messing up a repair can lead to more damage and higher costs. When faced with complicated issues, it’s best to call in professional plumbers for accurate and expert help.
- Persistent leaks after repairs.
- Installing complex faucets.
- Meeting plumbing codes.
- Advanced water pressure problems.
- Emergencies needing quick response.
Professional plumbers bring valuable experience and specialized tools to the table. They know local codes, which helps you avoid fines. Plus, they can quickly diagnose complicated problems. In emergencies, their expertise can save you time and money by preventing even bigger issues down the line.
Final Words
Understanding how to diagnose and fix a broken faucet helps you handle common plumbing issues effectively. Whether you’re facing a dripping spout or a more complicated faucet, catching the problem early can save you from wasting water and racking up costly repairs.
Having the right tools and following a clear repair process makes the job easier, and knowing when to call in professionals ensures you get long-lasting solutions. So, follow these steps and take charge of your plumbing with confidence, keeping your faucet in top shape and your mind at ease.
FAQ
How to fix a broken faucet handle?
Start by turning off the water supply.
Use a screwdriver to remove the handle.
Inspect for worn-out parts and replace them as needed before reassembling the handle.
How to fix a leaky faucet single handle?
Turn off the water.
Remove the handle and inspect internal components for wear, such as washers or O-rings.
Replace any faulty parts and reassemble.
How to fix a leaky faucet with two handles?
Shut off the water supply.
Remove both handles and examine parts like washers.
Replace any worn-out components.
Reassemble and test the faucet for leaks.
How to fix a leaky kitchen faucet?
Begin by turning off the water supply.
Disassemble the faucet and inspect all internal parts.
Replace any damaged washers or O-rings and reassemble the faucet.
How to fix a leaky bathroom faucet single handle?
Turn off the water supply.
Remove the handle and examine internal components for damage.
Replace faulty parts, reassemble, and test for leaks.
How to fix a leaky bathroom faucet?
Shut off the water.
Disassemble the faucet handles and inspect all parts.
Replace worn-out components before reassembling and testing for leaks.
How to fix a sink faucet?
Turn off the water supply.
Remove the faucet components.
Inspect for worn parts and replace them before reassembling and testing the faucet.
How to fix a leaking sink faucet?
Begin by turning off the water supply.
Disassemble the faucet and check all internal parts for wear.
Replace any damaged pieces, then reassemble and check for leaks.
How to fix a busted faucet?
Turn off the water supply.
Disassemble the faucet to identify broken components.
Replace parts like washers or O-rings, then reassemble and test the faucet.
How do I stop a faucet from dripping?
Turn off the water supply.
Disassemble the faucet and replace worn washers or O-rings.
Reassemble and test to ensure it’s drip-free.
Why would a faucet suddenly stop working?
Likely causes include a clogged aerator, blocked pipes, or a faulty valve.
Inspect and clean these components to restore function.
How do you fix a defective faucet?
Turn off the water.
Disassemble and inspect for damaged components.
Replace necessary parts such as washers or cartridges, then reassemble and test the faucet.