
TL;DR:
- Winterizing an irrigation system prevents freezing damage during harsh winters.
- Key steps include turning off the water supply, deactivating the controller, and draining the system using one of three methods (manual, automatic, or air compressor).
- Essential tools: water meter key, insulation materials, air compressor, safety goggles.
- Insulate outdoor components with foam sleeves, insulation tape, and covers.
- Drip systems require emitter removal and flushing, while underground systems need complete drainage.
- Hiring professionals costs $100-$300 but ensures thorough protection and expertise, unlike DIY methods ($50-$150) which risk incomplete winterization.
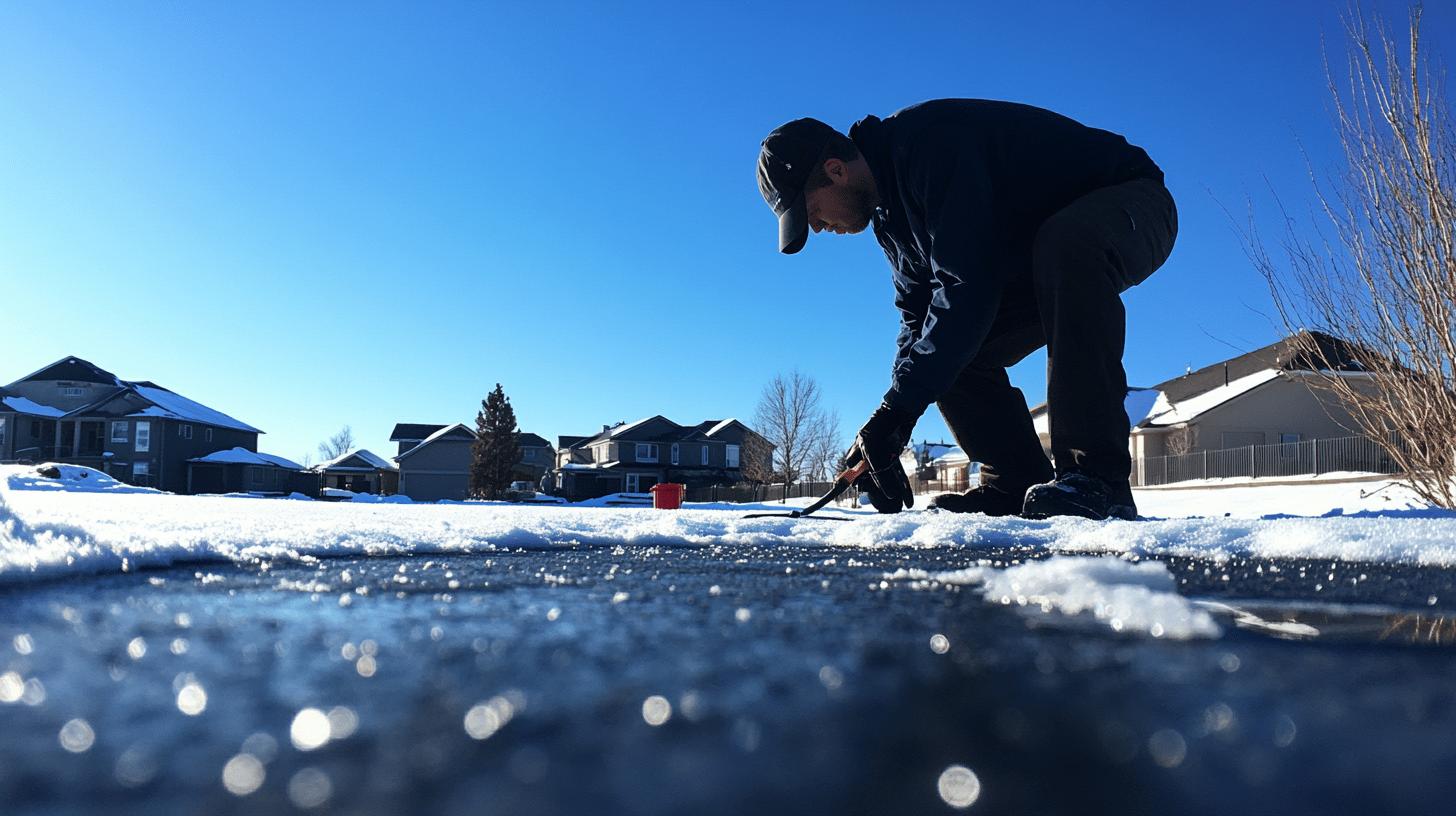
Are you prepared for winter, or are you setting your backyard up for disaster? Winterizing your irrigation system isn’t just a good idea; it’s essential to protect your investment and avoid expensive repairs. Freezing temperatures can cause the water left in your irrigation pipes to expand, leading to cracks and major damage. Taking the time to winterize your system ensures it’s ready for the cold months and performs well when spring comes. Let’s walk through the key steps to winterizing your irrigation system, so you’re not caught off guard when the temperature drops.
The Importance of Winterizing Your Irrigation System
Winterizing your irrigation system is essential in areas with harsh winters. When temperatures fall, any water left in the pipes can freeze, leading to serious damage. Proper winterization protects key components like backflow preventers and valves, ensuring your system is in good shape and ready to work when spring arrives.
If you don’t winterize, potential damages include:
- Frozen and burst pipes leading to expensive repairs.
- Damage to sprinkler heads and valves from ice expansion.
- Cracked backflow preventers that affect water safety.
- Increased risk of leaks from damaged connections.
- System malfunctions needing repair when spring returns.
Hiring professionals to winterize your irrigation system offers great benefits. They know how to properly protect every part of your system, reducing the risk of damage and expensive repairs. With the right tools and expertise, like using air compressors to safely remove water, they make sure everything is done correctly. Choosing professionals means less stress for you and a system that’s ready for winter, saving you time and future repair costs.
Step-by-Step Guide to Winterize Your Irrigation System
Winterizing your irrigation system helps protect it from freezing temperatures, ensuring it lasts longer and avoids costly repairs. Follow these steps to prepare your system for the winter months and keep it in top condition for spring.
Turn Off the Water Supply
Find the main water shutoff valve for your irrigation system. It’s usually in an underground box or your basement. You might need a water meter key for underground boxes. Turning off this valve stops water flow, preventing freezing and damage.
Deactivate the System Controller
Stop accidental activation of the system during winter by deactivating the controller. Turn off automated settings to keep your system off throughout winter. If left on, the controller might schedule watering, leading to freezing and damage.
Drain the System
Draining water from your system is vital. There are three ways to do this:
- Manual Drain Method: Open manual drain valves at low points in the piping to let gravity expel water.
- Automatic Drain Method: Some systems have automatic valves activated by pressure drops. Ensure they work to expel water.
- Air Compressor Method: Use an air compressor to blow out water. Connect it properly, then expel water by cycling through zones. Keep air pressure below 80 PSI to prevent damage.
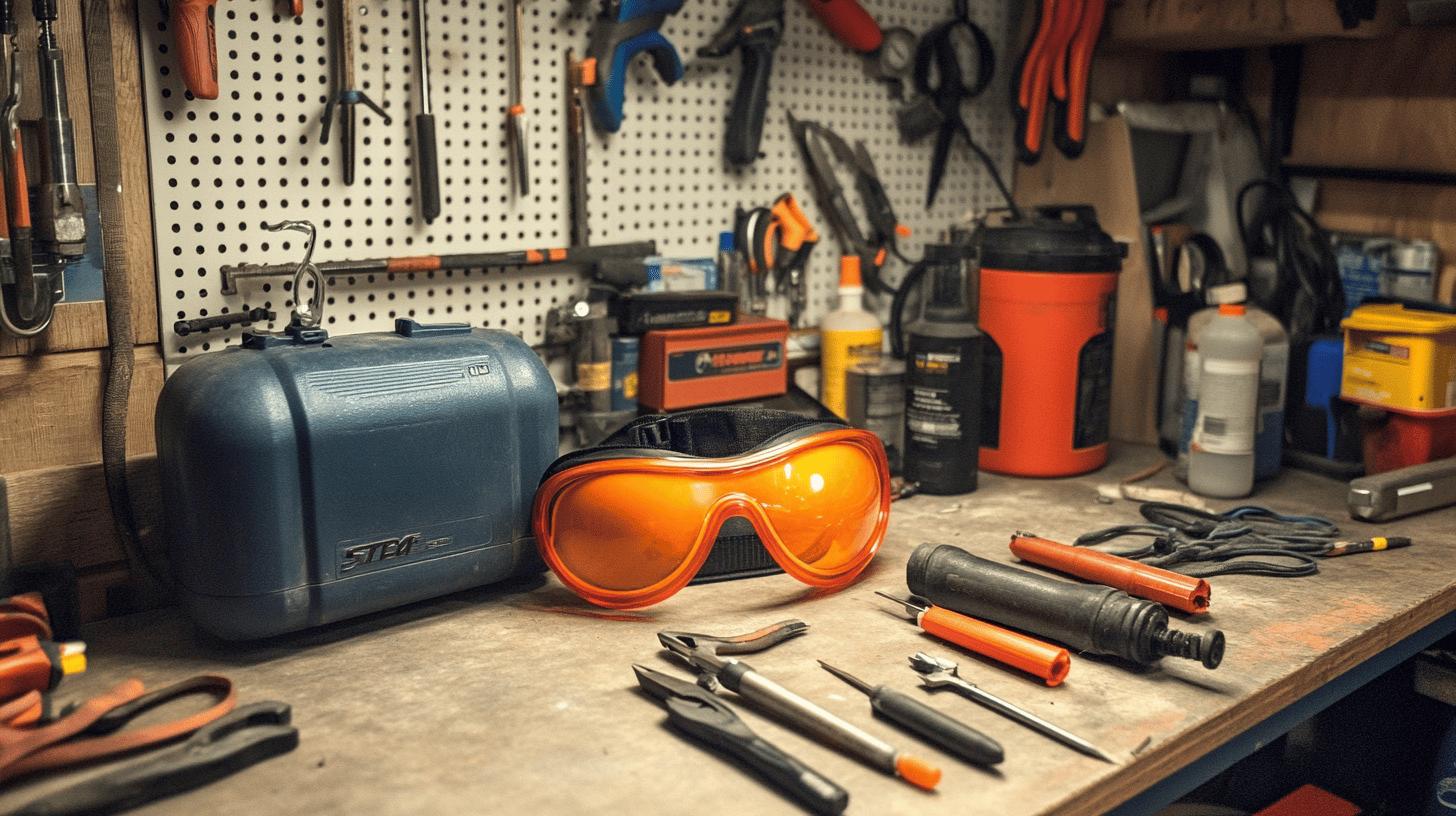
Tools and Materials Checklist
- Water meter key
- Insulation materials like foam sleeves and tape
- Air compressor (for blow-out method)
- Fittings for compressor connection
- Safety goggles
Following these steps and using the right tools helps effectively winterize your system, reducing freezing damage risk and keeping it in excellent shape for the next season.
Using Air Compressors to Blow Out Your Sprinkler System
Choosing the right air compressor is key for clearing water from your irrigation pipes. Go for a compressor that provides at least 20 CFM (cubic feet per minute), as smaller pancake compressors don’t have enough power to push the water out. Also, keep the air pressure below 80 PSI to avoid damaging your sprinkler heads and pipes.
Safety is crucial when using air compressors. Follow these steps:
- Wear ANSI-approved eye protection to avoid debris.
- Secure hose connections to prevent disconnects.
- Keep non-involved individuals clear of the work area.
- Don’t stand over heads during blowouts to avoid injury.
Start the blowout process by connecting the compressor to the blowout port using the right connectors and making sure everything is secure to avoid stress on the hose. Manually activate the first irrigation zone to prevent air traps that could damage the lines. Move through each zone one by one, allowing the air to expel most of the water before moving to the next zone. When you reach the last zone, shut off the compressor before turning it off to prevent heat from damaging the plastic gears in the sprinkler heads. By following these steps, you’ll help protect your system from freezing damage.
Protecting and Insulating Outdoor Irrigation Components
Insulating outdoor irrigation components is key to preventing freezing damage. When water freezes, it expands and can crack pipes, damage valves, and break backflow preventers. Proper insulation ensures your system stays protected and functional throughout the winter.
- Foam sleeves: Wrap around exposed pipes and valves.
- Insulation tape: Seal joints and secure foam sleeves.
- Insulated covers: Protect backflow preventers and other fragile parts.
To protect your irrigation system, wrap pipes and valves with foam sleeves and secure them with insulation tape. Adjust the ball valves on your backflow preventers to a 45-degree angle to allow any trapped water to escape, minimizing the risk of internal damage. If possible, store backflow preventers indoors, especially RPZ models, to keep them safe from freezing temperatures. These straightforward steps can help protect your system throughout the winter.
Considerations for Different Types of Irrigation Systems
Winterizing drip irrigation requires some careful steps to protect it from the cold. Start by removing and storing the emitters in a warm, dry place, as they can be easily damaged by freezing. After that, flush the system to remove all water and prevent it from freezing inside the pipes, which can lead to splits or cracks.
For underground systems, drain the water completely using the compressor method. Connect the compressor and cycle through each zone to expel any water. Keep the pressure below the recommended level to avoid damaging pipes and sprinkler heads. It’s also a good time to check for any existing damage that could get worse with freezing. A completely dry system will prevent costly burst pipes.
For above-ground systems, protect them with insulation or by partially disassembling the parts. Use foam or covers to insulate exposed parts from the cold. If it’s extremely cold in your area, consider taking apart some parts and storing them indoors to prevent freezing damage. By insulating and disassembling parts when necessary, you’ll help keep your system safe from winter’s harsh conditions.
The Cost and Benefits of Hiring Professional Winterization Services
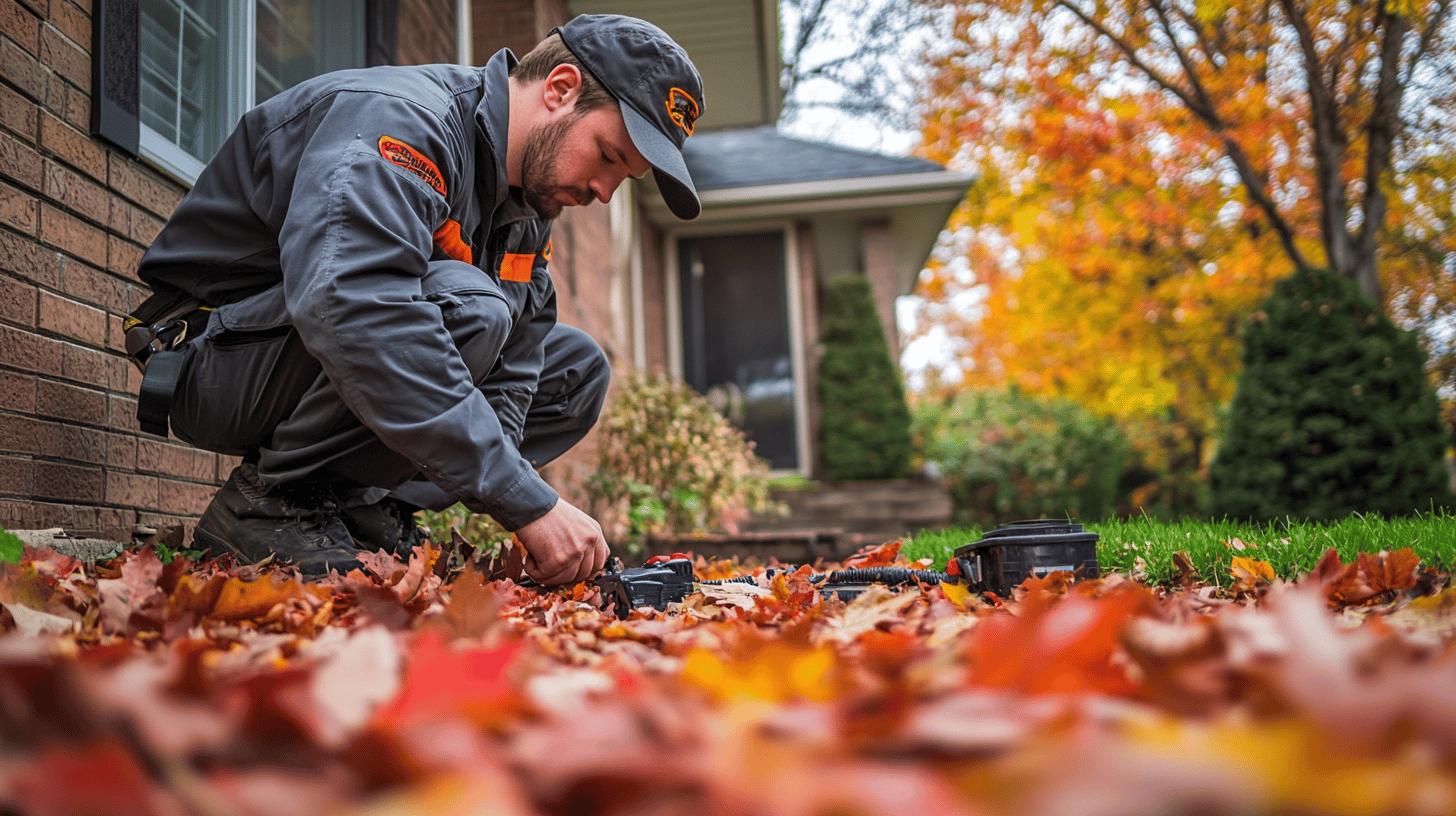
Hiring professionals for winterizing your irrigation system has several benefits. They ensure that every part of your system is properly protected, reducing the risk of issues like burst pipes or broken sprinkler heads. Their expertise allows them to tailor their approach based on local weather conditions, providing the best protection for your system. Though the cost may vary depending on your system’s size and complexity, the savings from avoiding expensive repairs make it a smart investment.
| Service Type | Cost Range | Benefits |
|—————|————-|—————————————————-|
| Professional | $100-$300 | Thorough protection, expertise, and peace of mind |
| DIY | $50-$150 | Cost-saving but risks incomplete winterization |
DIY methods may seem like a way to save money, but they come with risks, especially if you’re unfamiliar with your irrigation system. Incomplete winterization can leave water in the pipes, causing it to freeze and result in costly damage. Without the proper tools and expertise, DIY approaches might miss important steps, increasing the chances of system failure. While DIY may be cheaper at first, the potential long-term costs of poor winterization can outweigh the initial savings, making hiring professionals a safer and more reliable option.
Final Words
Understanding how to winterize your irrigation system is key to protecting it from costly freeze damage. Properly shutting down and securing your system now ensures it will function smoothly when spring arrives. While DIY winterization is possible, hiring professional services can be worth it for complex systems, as they bring expertise and thoroughness.
By following detailed guides and using the right tools, you can safeguard your investment. Regular maintenance, including a yearly winterization routine, helps prevent future issues. Taking these proactive steps now preserves your system’s functionality and saves you money in the long run. Keep your irrigation system safe through the cold months, so it’s ready for action when the weather warms up.
FAQ
How do you winterize an irrigation system yourself?
Winterizing an irrigation system involves shutting off the water supply, deactivating the system controller, and draining the system using manual, automatic, or air compressor methods. Insulate exposed pipes and components.
Can you winterize your own irrigation system?
You can winterize your own irrigation system by following step-by-step instructions. Use appropriate tools and methods to prevent freezing and damage to pipes and components.
How do you winterize a sprinkler system without blowout?
A sprinkler system can be winterized without a blowout by draining water from the pipes manually or using automatic valves. Insulate pipes and components to protect from freezing temperatures.
How do you use an air compressor to winterize a sprinkler system?
To use an air compressor, select one with at least 20 CFM, regulate air pressure below 80 PSI, and connect it securely. Cycle through zones to expel water while wearing safety gear.
How cold does it need to be for irrigation pipes to freeze?
Irrigation pipes can freeze when temperatures drop to 32°F (0°C) or lower. Winterizing systems before temperatures become freezing is crucial to prevent pipe and component damage.
How do you protect irrigation components from freezing?
Insulate components using foam sleeves or insulation tape. Adjust ball valves on backflow preventers and store removable components indoors to protect against freezing temperatures.
What’s involved in de-winterizing an irrigation system?
De-winterizing involves turning on the main water supply, checking for leaks, adjusting valves, and reactivating the system controller to prepare for the irrigation season.
How do you bleed air from an irrigation system?
Bleeding air from an irrigation system involves opening valves and running zones sequentially. This ensures any trapped air is expelled and system pressure is stabilized.