TL;DR:
- Winterize trailer plumbing to prevent frozen pipes, leaks, and costly repairs.
- Key steps for winterizing:
- Drain all water tanks and pipes
- Bypass the water heater
- Add RV antifreeze
- Run antifreeze through all faucets
- Insulate exterior fixtures
- Store the battery indoors
- Essential tools: Water pump converter kit, RV antifreeze, insulation materials, hose, pipe insulation wraps.
- Common mistakes: Using automotive antifreeze, failing to drain all tanks, not bypassing the water heater, neglecting exterior insulation.
- Consider hiring a plumber for complex systems or if unsure about the process to avoid damage and ensure effectiveness.
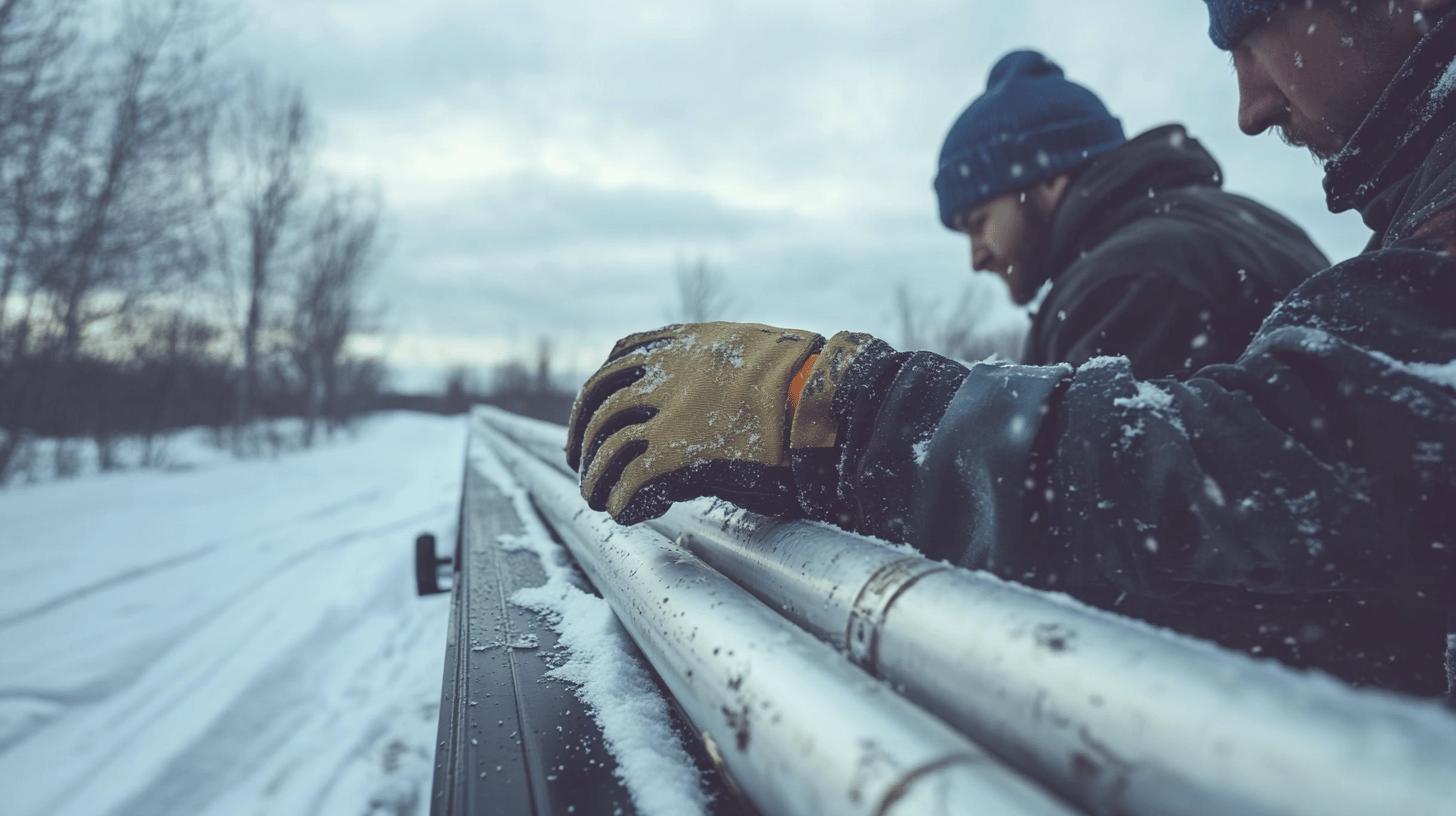
Are you ready for winter’s chill? An unexpected freeze can quickly turn your trailer into a plumbing disaster. But with some simple adjustments, you can avoid expensive repairs. Winterizing your trailer plumbing isn’t just about braving the cold—it’s about preventing frozen pipes, leaks, and pests. With the right preparation, your plumbing system will stay in top condition all season long. Check out our guide to learn why winterizing is essential and how easy it is to do it yourself!
Understanding the Basics of Winterizing Trailer Plumbing
Winterizing your trailer plumbing is key to protecting it from freezing temps, moisture, and pests during the colder months. The main goal is to avoid damage, like burst pipes, which can lead to costly repairs. To winterize, you’ll need to drain all the water, use RV antifreeze, and inspect the trailer’s exterior for any damage. These simple steps can save you from major headaches and repairs later.
- Prevents frozen pipes
- Protects against leaks
- Avoids costly repairs
- Shields from pests
- Maintains plumbing function
If you don’t winterize correctly, you could face major issues. Frozen pipes can burst, leading to expensive repairs. Water freezing inside pipes expands, causing leaks, and unsealed entry points can let pests in. Winterizing your plumbing keeps it safe and functional all winter long, preventing these problems.
Step-by-Step Guide to Winterize Trailer Plumbing
Winterizing involves a careful process to prepare your system for freezing weather. Follow these steps to avoid costly repairs and keep your trailer’s plumbing working throughout winter:
- Drain all water tanks and pipes
- Bypass the water heater
- Add RV antifreeze to the system
- Run antifreeze through all faucets
- Protect exterior fixtures
- Store the trailer battery indoors
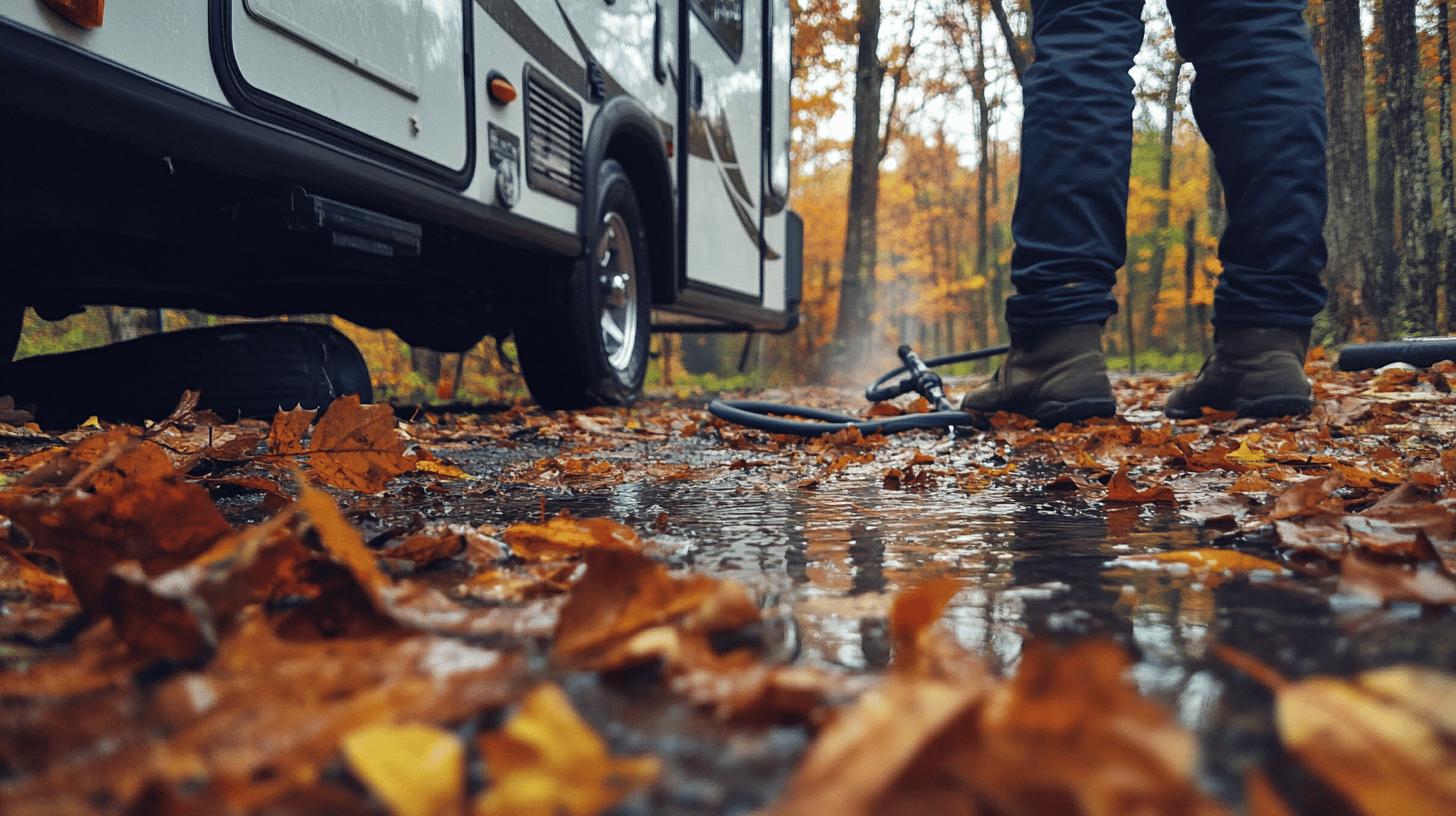
To winterize your trailer plumbing, start by draining all tanks and pipes. Disconnect external water sources and open all faucets, showerheads, and sprayers to let out any water. Make sure the freshwater tank is empty by opening the low-point drains, typically located at the back of the trailer. Don’t forget to drain the water heater—let it cool down first to avoid burns.
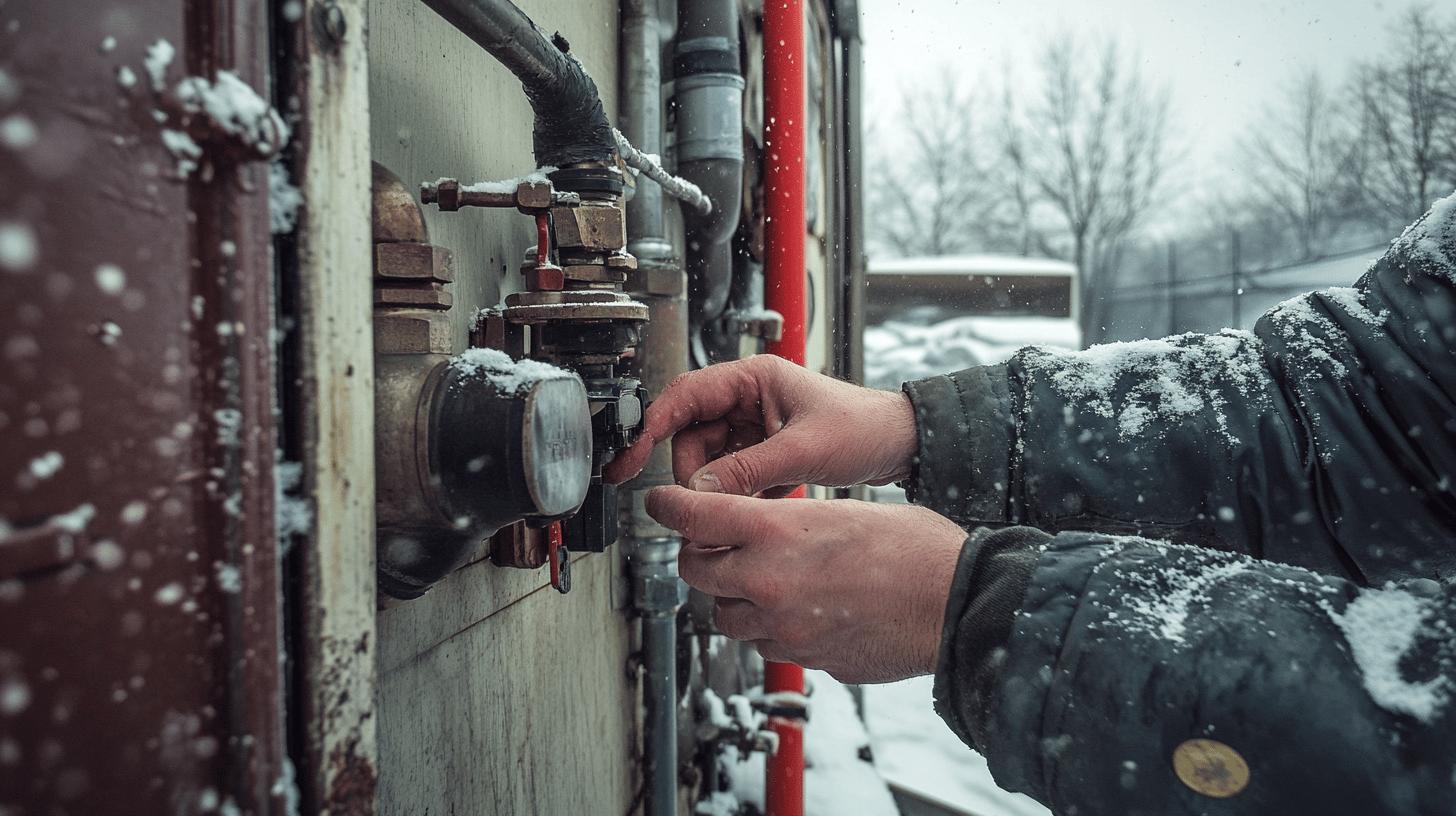
Bypass the water heater to save antifreeze and simplify springtime de-winterizing. Close the valves leading into the heater so water can bypass it. Then, add RV antifreeze using a water pump converter kit to draw it into the lines. Open each faucet, including the shower and toilet, until you see pink antifreeze, ensuring the pipes are fully protected.
Finally, insulate exterior fixtures to prevent freezing and store the battery indoors in a warm place to avoid charge loss or damage. Following these steps will ensure your trailer is ready for winter and your plumbing stays intact.
Necessary Tools and Materials for Winterization
The right tools and materials are key for effective winterization. They ensure a smooth process and protect your plumbing from freezing. Essential supplies include:
- Water pump converter kit
- RV antifreeze
- Insulation materials
- Hose with fitting
- Pipe insulation wraps
The water pump converter kit makes it easy to introduce antifreeze into your trailer’s plumbing system. You’ll connect the kit to a hose that leads to the antifreeze container, ensuring an efficient flow of antifreeze through the lines. It’s important to use RV antifreeze because it’s non-toxic and eco-friendly, making it safe for the environment while protecting your pipes.
Additionally, insulation materials and pipe wraps offer extra protection by keeping pipes from freezing in cold temperatures. These tools, along with the antifreeze, ensure that your plumbing stays intact throughout the winter. Properly preparing your trailer plumbing not only avoids costly repairs but also extends the life of your system, so you’re ready for next season.
Common Mistakes to Avoid When Winterizing Trailer Plumbing
Paying attention to details during winterization is key to preventing costly issues. Common mistakes include using automotive antifreeze, which is toxic and can damage plumbing—always use RV-specific antifreeze instead. Another mistake is not draining all tanks and lines, leaving water that can freeze and burst pipes. Failing to bypass the water heater wastes antifreeze and complicates the de-winterizing process. Lastly, skipping exterior pipe insulation exposes pipes to freezing temperatures, risking damage. Taking the time to avoid these mistakes ensures your trailer plumbing stays protected throughout the winter.
- Using automotive instead of RV antifreeze
- Failing to drain all tanks and lines
- Not bypassing the water heater
- Neglecting exterior pipe insulation
To avoid these mistakes, use RV-specific, non-toxic antifreeze. Drain all water thoroughly by opening all faucets, low-point drains, and valves, and check for any remaining water to prevent freezing. Don’t forget to bypass the water heater to save antifreeze and simplify spring de-winterizing. Insulate exterior pipes with the right materials to protect them from the cold. Following these steps ensures your plumbing stays safe from winter damage and helps you avoid common errors.
Professional Help: When to Call a Plumber
Hiring a professional plumber to winterize your trailer saves time and reduces the chance of mistakes. They have the expertise to handle complex systems, ensuring everything is done correctly. Their experience helps tackle unique challenges and reduces the risk of issues like frozen pipes or leaks, which can cause serious damage. Professionals also use specialized tools and techniques that make the winterization process more efficient. Since insurance may not cover damage from improper winterization, hiring an expert provides peace of mind and protects your investment.
If your trailer has a complicated plumbing setup or you’re unsure about the process, it’s a good idea to call a plumber. Professional help is especially useful if you’re not familiar with the layout or don’t feel comfortable using winterization tools. In these cases, an expert ensures your plumbing is properly prepared for winter, keeping it safe from potential damage.
Final Words
Winterizing your trailer plumbing is key to preventing frozen pipes and costly repairs. Following a clear step-by-step guide helps protect your plumbing system by draining tanks, bypassing the water heater, and using RV antifreeze. Having the right tools makes the process more efficient, while avoiding common mistakes keeps everything running smoothly. If you’re unsure or need expert help, hiring a professional ensures reliable winterization. By taking these steps, you’ll keep your trailer functional through the cold months. Learning how to winterize your trailer plumbing gives you peace of mind, knowing your system is ready for winter.
FAQ
How do you winterize trailer plumbing in winter?
Winterizing trailer plumbing involves draining all water, bypassing the water heater, and circulating non-toxic RV antifreeze through the system. Proper insulation and sealing of exterior fixtures is also essential.
How to winterize a camper with antifreeze?
To winterize a camper with antifreeze, begin by draining all water from the system, bypass the water heater, then pump RV antifreeze through all pipes, faucets, and drains until the antifreeze reaches the faucets.
How do you winterize a camper for beginners?
Beginners can winterize a camper by first draining water from tanks and pipes, bypassing the water heater, and adding RV antifreeze. Run antifreeze through all faucets and drains for complete protection.
Do I need to winterize my RV if I live in it?
If you live in your RV year-round, winterizing might still be necessary, especially in areas with freezing temperatures. Consider insulating pipes and using skirting to protect exposed plumbing.
Can you winterize a camper with air?
Winterizing with air involves using an air compressor to blow out any remaining water in the lines after draining, but it’s still advisable to use antifreeze for comprehensive protection.
How to de-winterize an RV water system?
To de-winterize, flush the antifreeze from the system thoroughly by running fresh water through all lines and faucets. Reconnect the water heater bypass and check for any leaks.
What is an RV Winterizing Kit?
An RV Winterizing Kit typically includes a hand pump or hose adaptor to introduce antifreeze into the water system, ensuring that all parts of the plumbing are adequately protected.
How do you winterize water lines in a trailer?
Draining the water and introducing RV antifreeze into the water lines while ensuring all lines are clear of residual water is crucial for winterizing water lines.
Do you leave faucets open after winterizing an RV?
After winterizing, leaving faucets open can relieve pressure and avoid damage from residual ice expansion, but ensure all antifreeze remains within the system.
How do you winterize a mobile home water system?
Winterizing a mobile home involves draining water lines, insulating pipes, using RV antifreeze in traps, and securing exterior openings against cold air.
How do I prepare my RV pipes for winter?
Prepare RV pipes by draining all water, using antifreeze, insulating exposed pipes, and checking for leaks or weak points in the plumbing system.