TL;DR:
- Failure to winterize sprinkler systems can lead to cracked pipes and costly repairs.
- Essential winterization steps: shut off main water supply, turn off automatic timer, drain system, insulate exposed parts, and consult user manual.
- Required tools: air compressor (20 CFM+), insulation tape, foam covers, flat-head screwdriver.
- Common mistakes: not fully draining system, using incorrect air compressor settings, blocking air vents on backflow preventers.
- DIY can save money but risks costly mistakes; professionals ensure proper winterization and minimize risks.
- Winterization timing varies by region: start late October/early November in cold states, be proactive in milder regions like Texas.
Exploring the functionality, versatility, and eco-friendliness of drain blaster plungers highlights their effectiveness for clearing minor clogs using air pressure. When choosing the right model, consider features, price ranges, and versatile attachments. To use it effectively, ensure a tight seal and follow instructions closely, with video tutorials offering additional guidance. Regular maintenance and safety precautions will help prolong its lifespan and performance. While drain blaster plungers excel for minor blockages, tough clogs may still require professional help. Overall, the drain blaster plunger is a reliable tool for keeping your drains clear with minimal effort.
Understanding the Importance of Sprinkler System Winterization
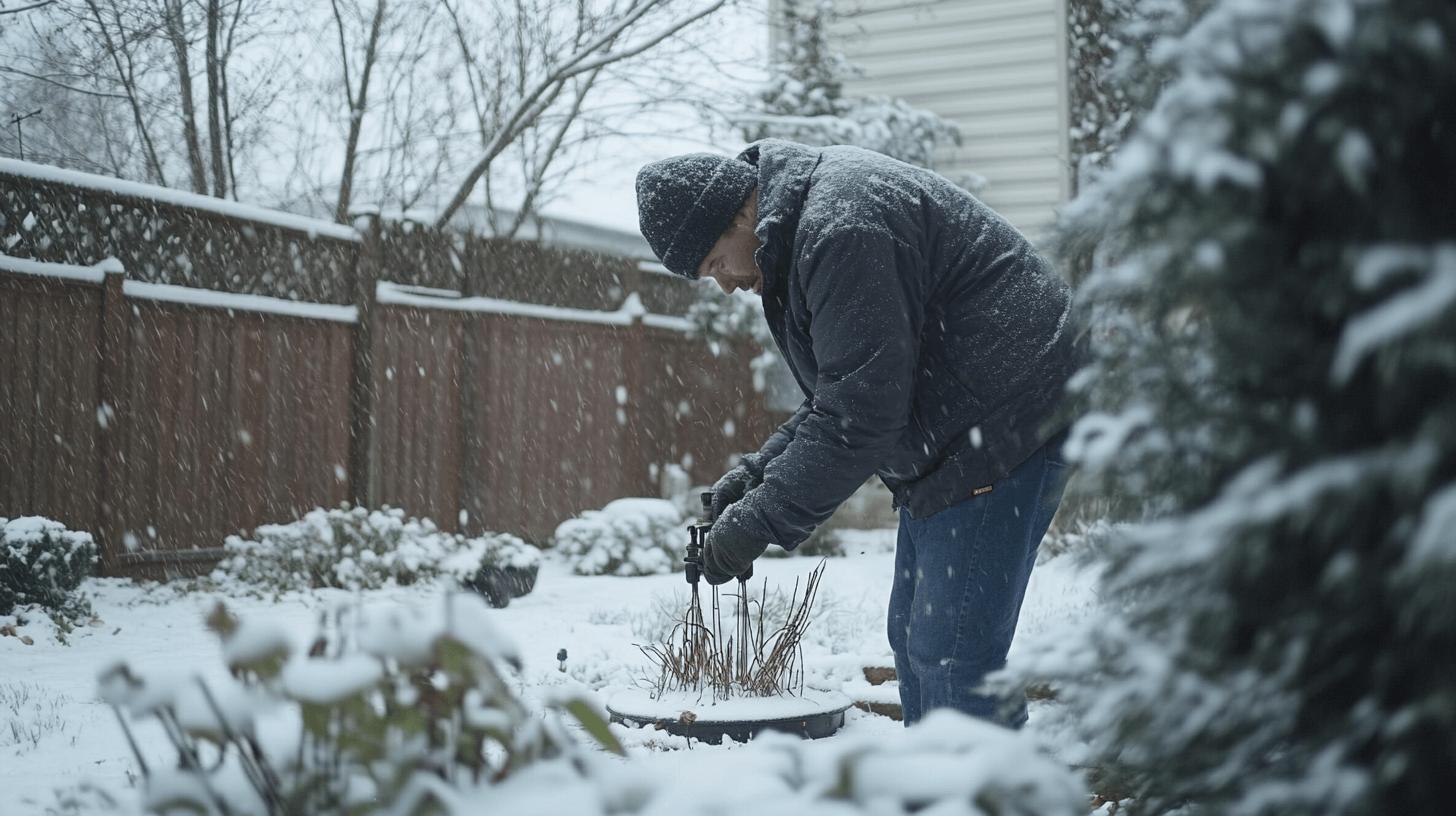
Not winterizing your sprinkler system can lead to serious damage. When temperatures drop, any leftover water in the pipes can freeze, causing expansion that puts pressure on parts like valves and sprinkler heads, leading to cracks or breaks. This damage disrupts irrigation and can lead to costly repairs.
Freezing temperatures cause water inside the pipes to expand, which puts pressure on the system, potentially breaking pipes and other components. Even small amounts of water can cause big issues, making winterization essential to protect your system.
Winterizing your sprinkler system helps you avoid repair and replacement costs. By taking steps now to prepare for the cold, you save money and ensure the system is ready to go when warmer weather arrives.
Step-by-Step Guide to Winterize Your Sprinkler System
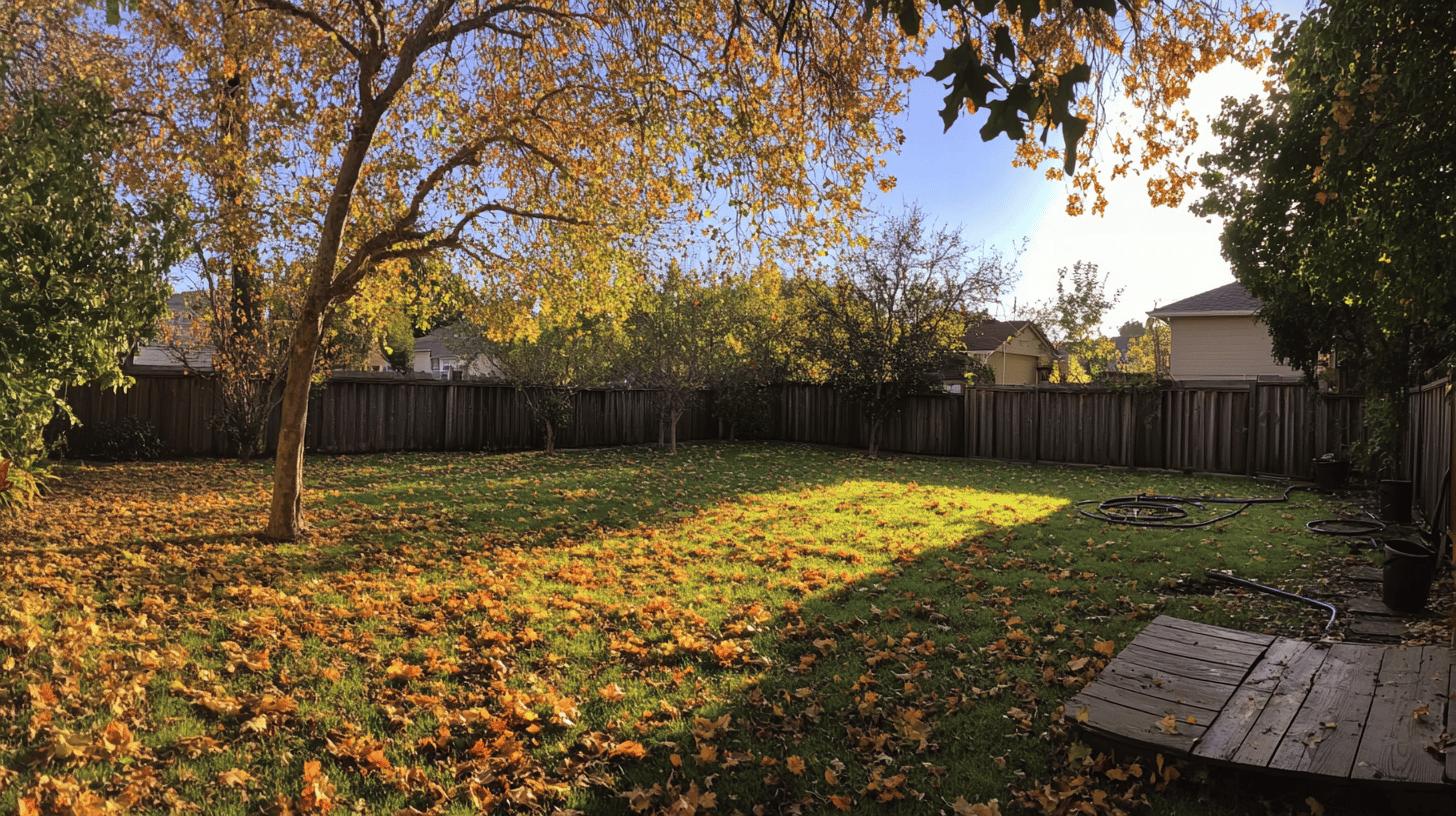
Winterizing your sprinkler system properly involves several key steps to shield it from freezing damage. The process includes turning off the water, draining the system, and insulating above-ground parts.
-
Shut off the main water supply.
Find the main valve near your water meter and turn it off. This stops water flow and prevents freezing. -
Turn off the automatic timer.
To save energy, switch off the timer. If there’s a “rain mode,” use it to keep settings without power usage. -
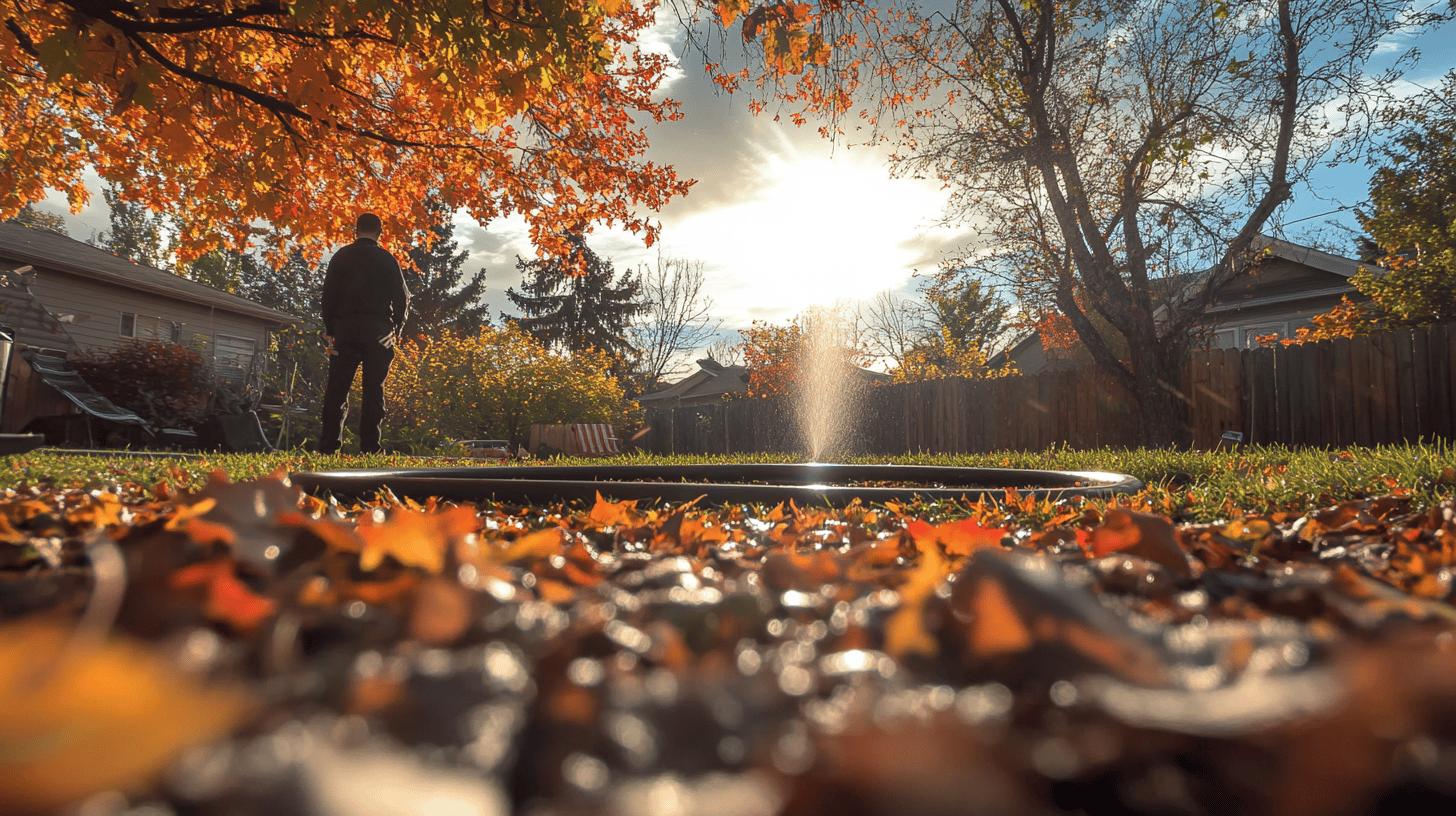
Drain the system using manual, automatic, or blow-out methods.
Choose a draining method suitable for your setup. The blow-out method uses an air compressor to clear pipes and is best done by professionals.
-
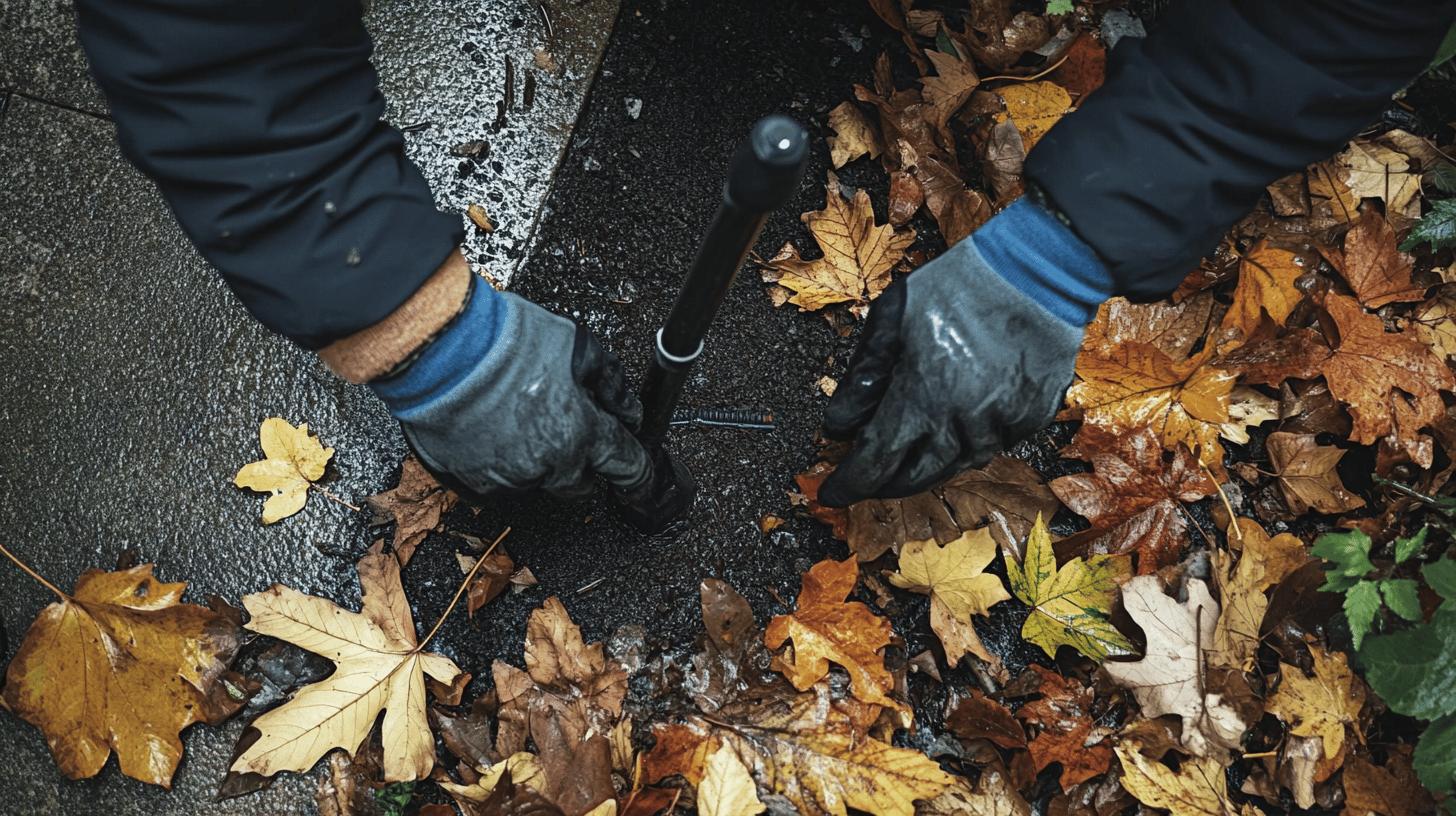
Insulate exposed components.
Cover exposed parts like the main shut-off valve with foam or insulation tape. Keep air vents and drain outlets on backflow preventers clear. -
Consult the user manual for model-specific instructions.
Each system may have unique needs; refer to your manual for extra steps or precautions.
Each step is crucial. Water removal and insulation guard against damage. Following these steps keeps your sprinkler system ready for spring.
Tools and Materials Required for Sprinkler System Winterization
The right tools and materials are essential for effective winterization. Without them, your system might not be fully protected from freezing.
- Air compressor (20 CFM or more)
- Insulation tape
- Foam covers
- Flat-head screwdriver
- Hose bib and couplers
You can find these tools at most hardware stores. A compressor with at least 20 CFM capacity is crucial for blowing out water. A 60-gallon compressor is ideal for large systems, but renting one is a cost-effective option. Insulation materials protect exposed parts from winter weather. Investing in quality tools eases the process and extends your system’s life.
Common Mistakes to Avoid When Winterizing Your Sprinkler System
Avoiding mistakes during winterization is crucial to protect your sprinkler system from damage. Many homeowners overlook important details that can lead to costly repairs when the cold hits.
One common mistake is not fully draining the system. Leftover water can freeze, expand, and crack pipes, so it’s essential to drain all water properly. Another error is using the wrong air compressor settings. Keep the pressure below 80 PSI to avoid damaging system components.
Also, be mindful of blocking air vents or drain outlets on backflow preventers. Ensure they’re clear and working properly.
To avoid issues, check all valves and low points for proper drainage. Use the air compressor correctly, and inspect vents and outlets before winterizing. These steps help keep your system in good shape throughout the winter.
Professional Services vs. DIY: Which is Better for Winterizing Your Sprinkler System?
Choosing between DIY and professional winterization depends on your needs. DIY can be cost-effective if you have the right tools and knowledge, but it requires understanding your sprinkler system and using tools like an air compressor. If you make a mistake, it can lead to expensive repairs.
Hiring a professional ensures proper winterization with expertise and specialized equipment. Although it may cost more upfront, it reduces the risk of mistakes and costly repairs down the line, making it a safer choice for many homeowners.
| Aspect | DIY | Professional |
|———————-|——————————|——————————-|
| Cost | Lower initial cost | Higher initial cost |
| Expertise Required | High; requires knowledge | Low; handled by professionals |
| Risk of Errors | Higher risk due to inexperience | Lower risk due to expertise |
If you’re unsure about winterizing your system or don’t have the right equipment, hiring professionals is a smart choice. It’s especially helpful for complex systems or if you’ve faced problems with DIY winterization in the past. Professionals ensure the job is done correctly, saving you from costly mistakes.
Preparing Your Sprinkler System for Winter in Specific Regions
Winterization strategies vary based on your region’s climate. In colder areas like Michigan, timing is crucial, with cold weather typically arriving by late October to early November. Shut off the main water supply, drain the system, and insulate exposed pipes. Using a strong air compressor will clear out any remaining water.
In milder climates like Texas, winter prep starts earlier. Keep an eye on cold forecasts and act quickly to prevent damage. Insulate above-ground components and rely on manual draining. Being proactive ensures your system is ready to go when warmer weather arrives.
Final Words
Properly winterizing your sprinkler system is essential to avoid expensive repairs and extend its lifespan. Understanding the importance of winterization helps protect your system from freezing temperatures, which can cause damage. By following a clear step-by-step guide and using the right tools, you can complete the task safely and effectively.
Avoiding common mistakes, and deciding between DIY or professional services, will ensure the job is done right. Tailoring your approach to your region—like in Texas—helps you stay ahead of any cold weather. Mastering the winterization process not only protects your sprinkler system but also preserves your landscape’s health for the long term.
FAQ
How to winterize a sprinkler system without blowout?
Winterizing a sprinkler system without using a blowout method involves draining water manually or through automatic drains. Insulating exposed pipes and components is crucial to prevent freezing damage.
How do you DIY winterize a sprinkler system?
To DIY winterize your sprinkler system, turn off the main water supply, deactivate timers, and drain the system using preferred methods like opening valves or using drain plugs. Insulate exposed parts.
How do you winterize your sprinkler system in winter?
To winterize a sprinkler system in winter, ensure that you shut off the water supply, drain all water, and protect exposed components with insulation to prevent freezing damage.
How to use an air compressor to winterize a sprinkler system?
Connect an air compressor (20 CFM or more) to your sprinkler system, and gently blow out water from pipes and sprinkler heads, ensuring no excessive pressure that could damage equipment.
How to winterize a sprinkler system with a backflow preventer?
To winterize with a backflow preventer, turn off the water, drain the system, and use insulation materials to protect the backflow preventer from freezing conditions.
Can I winterize my sprinkler system myself?
Yes, you can winterize your sprinkler system by shutting off the water supply, draining water from the system, and insulating exposed parts. Follow a step-by-step guide for best results.
How do I drain my sprinkler system for winter?
Drain your sprinkler system by turning off the water supply and using manual or automatic drain valves. If water remains, use an air compressor to clear pipes and sprinkler heads.
How do you shut down a sprinkler system for winter?
To shut down a sprinkler system for winter, turn off the main water valve, deactivate timers, and ensure all water is drained from pipes and sprinkler heads.
How to de-winterize a sprinkler system?
To de-winterize, open the main water valve cautiously, check for leaks, and re-enable all system controls. Ensure components like valves and sprinkler heads function properly before full operation.